If you have ever tried staining wood, you know that achieving a flawless finish can be quite the challenge. Whether you are working on a DIY project or reviving an old piece of furniture, knowing the proper technique for staining wood is essential. From prepping the surface to choosing the right stain, this article will guide you through the step-by-step process to achieve professional-looking results. So, grab your stainbrush and let’s unlock the secrets to beautifully stained wood!
Choosing the Right Stain
When it comes to staining wood, the first step is choosing the right stain for your project. There are different types of wood stains available, each with its unique properties and advantages. Understanding these differences is crucial to achieve the desired results.
Oil-based stains are a popular choice for many wood projects. They penetrate deeply into the wood and provide a rich color that enhances the natural beauty of the grain. Oil-based stains are also known for their durability and long-lasting finish.
Water-based stains, on the other hand, offer quick drying times and are more environmentally friendly. They are easier to clean up and have less odor compared to oil-based stains. Water-based stains also come in a wide range of colors, making them a versatile option for various projects.
Gel stains are thicker in consistency and allow for easy control over the color and coverage. They are ideal for vertical applications and can be used to achieve a consistent finish on uneven surfaces. Gel stains are especially effective on woods with large pores, such as oak and mahogany.
Consider the wood species and grain when selecting a stain. Different types of wood have distinct characteristics and may react differently to stains. For example, softwoods like pine and cedar tend to absorb stains more unevenly compared to hardwoods like oak and maple. It’s essential to choose a stain that works well with the specific wood species you are working with.
Additionally, take into account the wood’s grain when selecting a stain color. Stains can either enhance or mask the natural grain pattern of the wood. Lighter stains tend to highlight the grain, while darker stains may hide it. Consider the overall effect you want to achieve and choose a stain color that complements the wood’s natural beauty.
Before committing to a particular stain, it’s always a good idea to test it on a sample piece of the same wood you’ll be staining. This will help you evaluate how the stain color interacts with the wood species and grain, allowing you to make any necessary adjustments before applying it to your project.
Preparing the Wood Surface
Preparing the wood surface is a crucial step in the staining process and ensures that the stain adheres properly and provides a consistent finish. Here are some essential steps to follow when preparing the wood surface:
Start by sanding the wood to a smooth finish. Use sandpaper with the appropriate grit for the job. Lower grits, such as 80 or 100, can be used for initial sanding to remove any roughness or imperfections. Higher grits, like 220 or 320, should be used for final sanding to achieve a smooth surface.
Once sanding is complete, remove any dust and debris from the wood surface. Use a tack cloth or a clean, lint-free cloth to wipe away any particles that may interfere with the staining process.
For certain types of woods, like pine or fir, it may be necessary to condition the wood before staining. Wood conditioner helps to even out the stain absorption and prevents blotching. Apply the conditioner according to the manufacturer’s instructions and allow it to dry before proceeding with the staining process.
If there are any noticeable cracks, holes, or gaps in the wood, take the time to fill them with wood filler. This will ensure a smooth and uniform finish once the stain is applied. Follow the wood filler manufacturer’s instructions for the best results.
Gathering the Necessary Tools and Materials
Before starting the staining process, gather all the necessary tools and materials to ensure a smooth workflow. Here are some essential items you’ll need:
Choose the right brushes or applicators for the job. For large surfaces, a brush or roller can be used, while smaller areas may require a foam brush or a cloth. Consider the type of stain you’ll be using and the surface you’ll be applying it to when selecting the appropriate applicator.
Ensure you have the appropriate safety equipment. Staining wood can involve toxic fumes and chemicals, so it’s important to protect yourself. Wear gloves, safety goggles, and a respirator mask to prevent direct contact with the stain and any potential harmful effects.
Prepare the stain and stain removers according to the manufacturer’s instructions. Some stains may require stirring before use, while others may need thinning. Familiarize yourself with the specific requirements of your chosen stain to achieve the best results.
Organize protective coverings to protect your working area. Lay down drop cloths or plastic sheets to prevent any accidental spills or drips from staining the floor or other surfaces you don’t want to be stained.
Applying the Stain
Once the wood surface is prepared, it’s time to apply the stain. Follow these steps to ensure a successful staining process:
For certain types of woods, like pine or fir, it’s recommended to apply a pre-stain conditioner. This helps to even out the absorption of the stain and prevents blotching. Apply the conditioner according to the manufacturer’s instructions and allow it to dry before proceeding to the next step.
Before applying the stain, thoroughly stir it to ensure consistent color distribution. Some stains may separate over time, so mixing them before use helps to achieve an even application.
Test the stain on an inconspicuous area of the wood to ensure it delivers the desired color and effect. This step is especially crucial if you’re working with a new stain or experimenting with different colors.
Apply the first coat of stain using your chosen applicator. Work in the direction of the wood grain to achieve an even application. Make sure to coat the wood evenly and avoid any overlapping marks or streaks.
After applying the stain, wipe off the excess using a clean cloth or rag. This step helps to remove any pooling or excess stain that may lead to uneven drying or blotching.
Allow the stain to dry for the recommended amount of time specified by the manufacturer. It’s essential to provide sufficient drying time to ensure a durable and long-lasting finish.
Sanding Between Coats
If you decide to apply multiple coats of stain to achieve the desired color or depth, sanding between coats is necessary to achieve a smooth and professional-looking finish. Follow these steps for sanding between coats:
Choose the right grit sandpaper for the job. Higher grits, like 220 or 320, are ideal for sanding between coats as they are less abrasive and won’t remove too much of the previous layer of stain.
Gently sand the wood surface using light pressure. The goal is to smooth out any imperfections or roughness without removing the previous layer of stain completely.
After sanding, remove any sanding dust from the wood surface using a tack cloth or a clean, lint-free cloth. This will prevent any debris from interfering with the next coat of stain.
Applying Additional Coats
Assess the need for additional coats based on the desired color and depth of the stain. If you feel that the previous coat did not achieve the desired results or if you want a more intense color, you may decide to apply additional coats. Follow these steps for applying additional coats:
Repeat the staining process by applying the stain and wiping off the excess as mentioned earlier. Ensure a consistent application to achieve an even finish.
If you decide to apply multiple coats, it’s essential to sand between each coat as mentioned before. This will help to achieve a smooth and seamless look, free from any imperfections or debris.
Sealing the Stained Wood
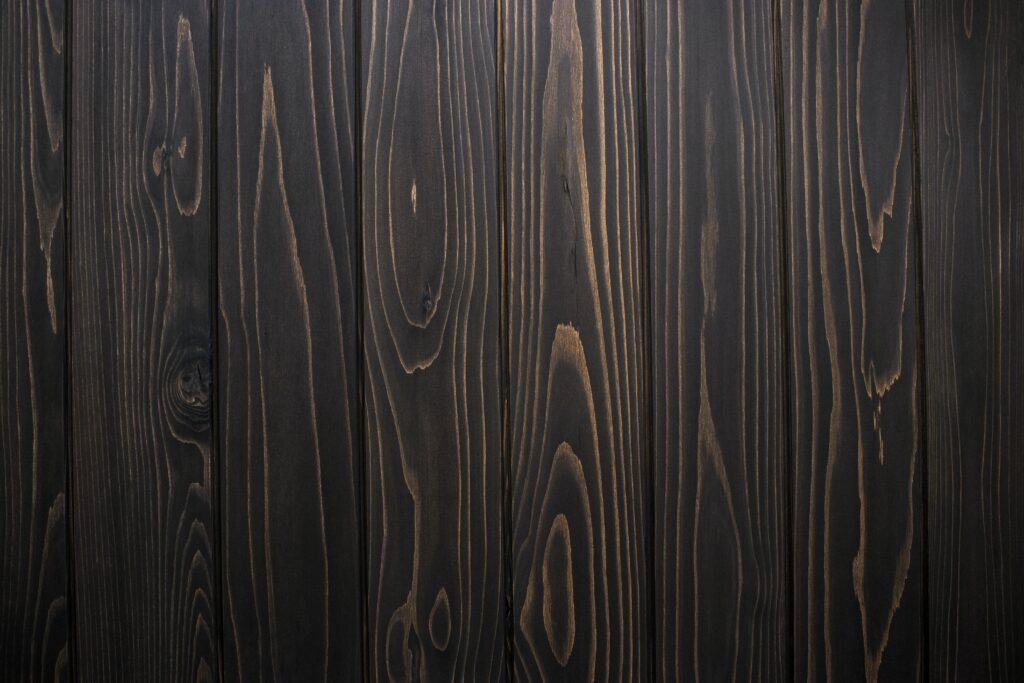
Sealing the stained wood is crucial to protect the finish and enhance its longevity. Here’s what you need to know about sealing:
Understand the purpose of wood sealers. Sealers provide a barrier of protection between the stained wood and external elements like moisture, UV rays, and general wear and tear. They help to maintain the color, prevent fading, and offer added durability to the stained wood.
Choose a suitable sealer based on the type of stain and the desired finish. There are a variety of sealers available, including polyurethane, lacquer, and varnish. Each sealer type offers different levels of protection, sheen, and application methods. Select the sealer that best suits your project’s needs.
Apply the sealer according to the manufacturer’s instructions. Use a brush or an applicator suitable for the chosen sealer type. Apply thin and even coats, allowing sufficient drying time between each coat.
After applying the final coat of sealer, allow the stained wood to cure for the recommended time specified by the manufacturer. Curing time ensures that the sealer fully sets and provides maximum protection to the stained wood.
Cleaning Up
Properly disposing of used materials is essential to maintain a clean and safe workspace. Follow these steps for cleaning up after the staining process:
Dispose of any used stain cans, brushes, or applicators in accordance with local regulations. Some stain containers can be recycled, while others need to be thrown away properly. Check with your local waste disposal center for guidelines.
Clean brushes and applicators immediately after use to prevent the stain from drying and hardening on them. Depending on the stain type, you may need to use a suitable cleaner or solvent to remove the stain from the brushes or applicators.
Store any unused stain or sealers in a cool and dry place. Ensure the containers are tightly sealed to prevent them from drying out or spilling. Proper storage will extend the shelf life of your stain and sealers, allowing you to use them for future projects.
If you encounter any accidental spills or stains during the staining process, address them immediately. Use appropriate stain removers or cleaners recommended for the specific type of stain and surface to effectively remove any stains or spills.
Maintaining and Protecting Stained Wood
Proper maintenance and protection of stained wood is essential to keep it looking beautiful and to extend its lifespan. Follow these tips for maintaining and protecting your stained wood:
Regularly dust and clean the stained wood surface to prevent the buildup of dirt and dust particles. Use a soft cloth or duster to gently remove any debris. Avoid using harsh chemicals or abrasive cleaners that may damage the stained finish.
Periodically re-seal the stained wood to maintain its protective barrier. Over time, the sealer may wear off, leaving the wood vulnerable to moisture, UV rays, and other damaging factors. Follow the manufacturer’s recommendations for re-sealing frequency to keep the stained wood in optimal condition.
To avoid water and sun damage, avoid placing stained wood furniture or items in direct sunlight or areas prone to moisture. Excessive exposure to sunlight can cause fading and discoloration, while moisture can lead to warping, rotting, or mold growth. Consider using protective coatings or covers for outdoor applications.
If the stained wood surface becomes damaged or shows signs of wear, take the time to repair and refinish it. Sand away any damaged areas, apply new stain and sealer, and blend it with the surrounding wood to achieve a seamless and attractive result.
Tips and Tricks for Better Results
To further enhance your staining experience and achieve better results, consider these tips and tricks:
Apply stain in the right conditions. Choose a well-ventilated area with moderate temperatures and low humidity to ensure optimal stain drying and absorption. Extreme temperatures or humidity levels can affect the staining process and result in uneven finishes.
When working with the wood grain, you can achieve a better end result. Always apply the stain in the direction of the wood grain to ensure an even and professional-looking finish.
For custom effects, consider layering stains. Applying multiple layers of different stain colors can create unique and personalized finishes. Experiment with different color combinations to achieve the desired effect.
If you want to achieve unique colors, try mixing stains. Combining different stains can result in custom hues and shades, allowing you to create a truly one-of-a-kind finish. Remember to test the color on a sample piece before applying it to your project.
Don’t be afraid to experiment with different application techniques. Try using brushes, rags, or even sponges to apply the stain and achieve different textures and effects. Practice on a sample piece to familiarize yourself with the technique before applying it to your project.
By following these guidelines and tips, you can ensure a successful wood staining project. Remember to always take your time, be patient, and enjoy the process. With the right preparation, tools, and techniques, you can achieve stunning results and transform your wood into a beautiful and lasting masterpiece.
