
If you’ve ever wondered about the correct method for soldering electrical wires, look no further! In this article, we will explore the proper technique for this essential task. Whether you’re a professional electrician or a DIY enthusiast, knowing how to solder wires efficiently and effectively is crucial for any electrical project. So, grab your soldering iron and let’s dive into the world of wire soldering!
Choosing the Right Soldering Iron
When it comes to soldering electrical wires, one of the first things you need to consider is the wattage of the soldering iron you will be using. The wattage determines how quickly the iron can heat up, which is important for achieving a proper solder joint. Generally, for most electrical wiring tasks, a soldering iron with a wattage between 20 and 60 watts will suffice. However, for heavier gauge wires or more demanding soldering jobs, you may need a higher wattage iron. It’s always a good idea to consult the instructions or recommendations provided by the manufacturer to ensure you select the appropriate soldering iron for your specific needs.
Select the Right Tip Size and Shape
Another crucial aspect of soldering electrical wires is selecting the right tip size and shape for your soldering iron. The tip of the iron is the part that comes into contact with the wire and the solder, so it plays a significant role in the overall quality of the joint. The tip size should match the diameter of the wire you are soldering, as a tip that is too large will heat up more than required and may damage the insulation. Additionally, the tip shape should be chosen based on the specific soldering task. For general-purpose soldering, a chisel or conical tip is often suitable, while for more intricate work, a pointed or bent tip may be necessary. Make sure to have a variety of tips on hand to accommodate different wire sizes and soldering needs.

Ensure Proper Temperature Control
In order to achieve reliable and durable soldered joints, proper temperature control is essential. The temperature should be set according to the type of solder wire you are using and the materials being soldered. Most soldering irons come with adjustable temperature settings that allow you to fine-tune the heat output. It’s crucial to follow the manufacturer’s guidelines or consult soldering temperature charts to determine the correct temperature for your specific application. Setting the temperature too high can lead to overheating and damage to the wire or insulation, while setting it too low may result in poor solder flow and weak joints. Investing in a soldering iron with temperature control capabilities ensures consistent and precise soldering.
Preparing the Wires
Before you can create a strong and reliable soldered joint, it is important to properly prepare the wires for soldering. This involves two key steps: stripping the insulation and tinning the wires.
Strip the Insulation
To expose the bare wire for soldering, you must carefully strip away the insulation on the ends of the wires. The length of the stripped section will depend on the specific joint you are creating, but a general guideline is to strip about 1/2 to 3/4 inch of insulation. It’s important to use a wire stripper tool to ensure clean and precise cuts and to avoid damaging the wire. Once the insulation is removed, you should have a clean and shiny section of bare wire ready for tinning.
Tinning the Wires
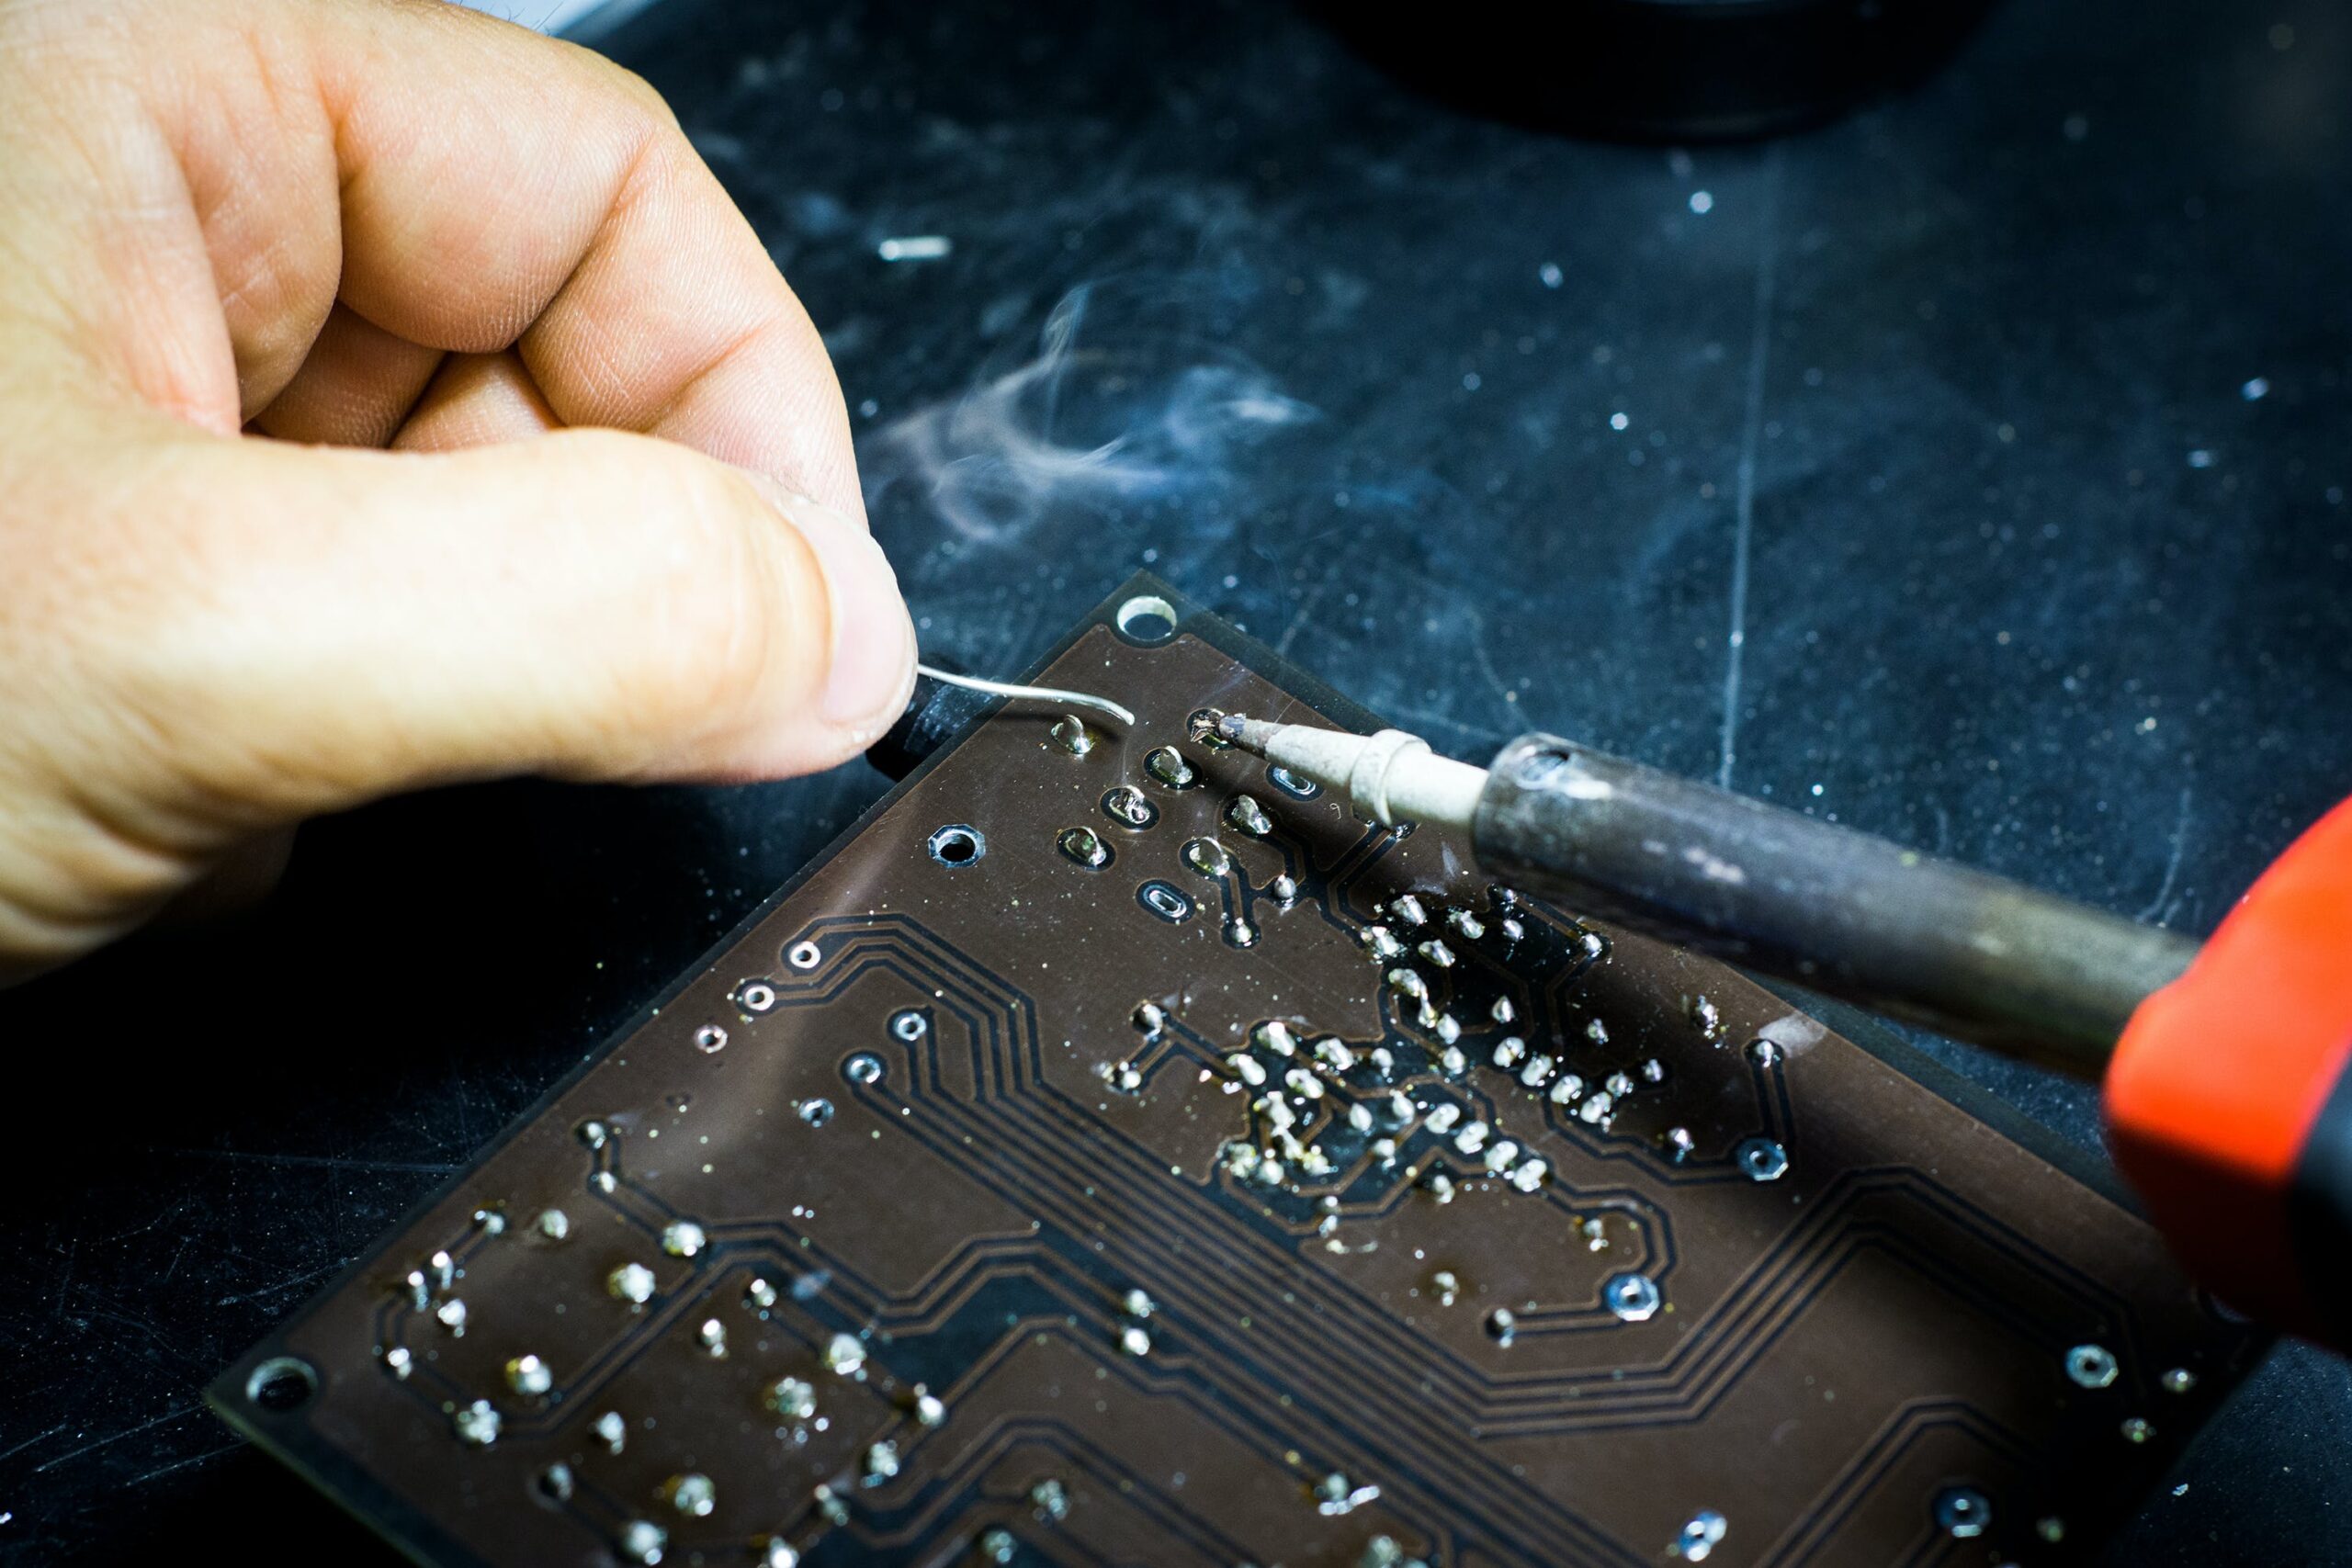
Tinning the wires involves coating the exposed copper with a thin layer of solder. This step helps to improve the solder flow and create a strong connection. To tin the wires, first, make sure that the stripped section is clean and free of any debris or oxidation. Then, heat the wire with the soldering iron tip, making sure the tip touches both the wire and the solder wire simultaneously. Allow the solder to melt and flow onto the wire, ensuring that it evenly coats the exposed copper. Once the wire is adequately tinned, let it cool and solidify before proceeding to the next steps of soldering the joint.
Cleaning and Fluxing
To achieve high-quality solder joints, it is essential to properly clean the wires and soldering iron tip before starting the soldering process. Additionally, the use of flux can greatly enhance the soldering process and improve the final results.
Clean the Wires and Soldering Iron Tip
Before soldering, it’s important to clean the wires and the tip of the soldering iron to remove any dirt, oxidation, or contaminants that may hinder the solder flow or create weak joints. You can use a fine-grit sandpaper or a wire brush to gently scrub the wire’s surface, ensuring that it’s clean and shiny. For the soldering iron tip, a damp sponge or brass wire brush can be used to remove any residue or old solder. Keeping the soldering iron tip clean throughout the soldering process helps maintain proper heat transfer and ensures smooth solder flow.
Apply Flux to the Wires
Flux is a chemical compound that is used in soldering to facilitate the flow of solder and reduce oxidation during the heating process. It is particularly useful when working with larger wires or wires that have been exposed to air for an extended period of time. To apply flux, you can use a flux pen, which allows for precision application. Alternatively, you can use a flux paste or liquid and apply it to the areas where the solder will be applied. Flux helps to remove any impurities or oxides from the wire’s surface, ensuring maximum solder flow and a strong bond between the wire and the solder.
Joining the Wires
Now that the wires are properly prepared, it’s time to join them together using solder. This process involves holding the wires together, applying heat, and melting the solder to create a secure connection.
Holding the Wires Together
To ensure a proper joint, the wires must be securely held together during the soldering process. You can use tools such as helping hands, clamps, or heat-resistant tape to hold the wires in place. It’s important to position the wires in a way that allows easy access for the soldering iron tip and creates a stable connection. Taking the time to properly secure the wires before soldering ensures that they won’t move or shift during the soldering process, resulting in a clean and reliable joint.
Apply Heat to the Wires
With the wires securely held together, it’s time to apply heat using the soldering iron. Bring the tip of the soldering iron in contact with the wires, making sure it touches both the wire and the solder. Apply gentle pressure to ensure good thermal contact and allow the heat to transfer to the wires. The heat will cause the solder to melt, creating a flowing liquid that can bond with the wire and form a solid joint. It’s important to be patient during this step and allow the heat to evenly distribute across the joint for a strong bond.
Melt the Solder
Once the wires are heated, it’s time to introduce the solder. Touch the tip of the solder wire to the area where the wires meet and apply heat. The solder should melt and flow onto the wires, creating a strong bond. Make sure to apply the solder to the opposite side of the soldering iron tip as this will help the solder flow towards the heat source. It’s important to avoid applying excessive amounts of solder, as this can lead to weak joints or cause solder to flow where it is not desired. A small amount of solder is typically sufficient to create a strong and reliable connection.
Inspecting the Soldered Joint
After completing the soldering process, it’s crucial to inspect the joints to ensure they are of high quality and meet the necessary standards. Properly inspecting the soldered joint helps identify any issues and ensures that the connection is secure and reliable.
Check for a Shiny Solder Finish
A shiny solder finish is an indication that the solder has properly flowed onto the wires and created a good bond. Inspect the joint and look for a smooth and glossy appearance. A dull or rough surface may indicate insufficient heat or poor solder flow, which can result in weak or unreliable connections.
Ensure the Solder Covers the Joint Completely
An important aspect of a strong soldered joint is ensuring that the solder fully covers the entire joint area. Inspect the soldered connection and ensure there are no gaps or exposed wires. The solder should completely encapsulate the wires, providing a secure and durable bond. If any areas are not adequately covered with solder, it may indicate that additional heat or solder is needed to create a proper joint.
Check for a Smooth and Continuous Solder Connection
In addition to a shiny finish and complete coverage, a high-quality soldered joint should have a smooth and continuous appearance. Carefully inspect the joint and look for any irregularities, lumps, or blobs of solder. These may indicate excessive solder or poor solder flow, which can compromise the integrity of the joint. A smooth and even surface ensures that the joint is properly formed and will withstand the test of time.
Proper Soldering Techniques
To achieve consistent and reliable soldered joints, it is important to follow proper soldering techniques. These techniques focus on ensuring proper heat distribution, avoiding excessive heat, and using the right amount of solder.
Ensuring Proper Heat Distribution
Proper heat distribution is crucial for achieving strong and reliable soldered connections. When soldering, the heat should be evenly applied across the joint to ensure that the solder flows uniformly and creates a secure bond. It’s important to move the soldering iron tip along the joint, applying steady and even pressure, to distribute the heat evenly. This helps prevent cold solder joints or weak connections that may result from uneven heating.
Avoiding Excessive Heat
While it’s important to ensure proper heat distribution, it is equally important to avoid applying excessive heat during the soldering process. Excessive heat can lead to the melting or burning of insulation, damage to delicate components or wires, or even result in injury. Always set the soldering iron to the appropriate temperature for your specific soldering task and avoid leaving the tip in contact with the wires for an extended period of time. Remember to work efficiently and swiftly to minimize the time the wires are exposed to excessive heat.
Using the Right Amount of Solder
Using the right amount of solder is essential for creating strong and reliable soldered connections. Applying too little solder may result in weak joints that are prone to breaking, while applying too much solder can lead to messy connections and the possibility of short circuits. The goal is to use just enough solder to create a solid bond, ensuring that it flows smoothly onto the wires without excess pooling or drips. Practice soldering with different amounts of solder to develop a feel for the optimal quantity required for each joint.
Common Mistakes to Avoid
While soldering wires, it is important to be aware of common mistakes that can compromise the quality of your soldered joints. By avoiding these mistakes, you can ensure consistently strong and reliable connections.
Applying Too Much Heat
One of the most common mistakes is applying too much heat during the soldering process. Excessive heat can damage the wire insulation, weaken the wire itself, or even melt delicate components. It’s crucial to set the soldering iron temperature appropriately and avoid prolonged contact with the wires. Heat the wires just enough to allow the solder to flow smoothly without overheating or causing any damage.
Insufficient Cleaning and Fluxing
Proper cleaning and fluxing of the wires are essential for achieving high-quality soldered joints. Failing to clean the wires adequately or skipping the use of flux can result in poor solder flow, incomplete coverage, or weak connections. Take the time to thoroughly clean the wires and apply an appropriate amount of flux to ensure optimal soldering conditions and strong joints.
Not Allowing the Joint to Cool
After soldering a joint, it’s crucial to allow it to cool and solidify before handling or moving the wires. Prematurely disturbing the joint can cause the solder to shift or create cold solder joints. Give the joint sufficient time to cool down completely, ensuring that the solder has solidified and formed a strong bond with the wires. Rushing this step can lead to weakened connections that may fail over time.
Troubleshooting Soldering Issues
Even with proper techniques and precautions, sometimes issues can arise during the soldering process. Being familiar with common soldering problems can help you troubleshoot and rectify the situation.
Cold Solder Joint
A cold solder joint occurs when the wire and solder did not achieve proper heat and molten state during soldering. This can happen due to insufficient heat or inadequate soldering technique. Cold solder joints are visually characterized by a dull or grainy appearance and a weak connection. To fix a cold solder joint, simply reheat the joint with the soldering iron and apply a small amount of additional solder. The increased heat will allow the solder to properly flow and form a stronger bond.
Solder Bridge
A solder bridge refers to the unintentional connection between two or more adjacent solder joints. This can happen when too much solder is applied or when the solder flows across neighboring connections. Solder bridges can cause short circuits and malfunctioning of the electrical circuit. To rectify a solder bridge, you can use desoldering braid or a solder sucker to remove excess solder and create separation between the joints. Carefully clean the area and reapply the solder, ensuring proper separation this time.
Dry Joint
A dry joint occurs when there is insufficient solder or poor solder flow during the soldering process. This can result in a weak or incomplete bond between the wire and the solder. Dry joints can be identified by a dull or pitted appearance and a lack of proper adhesion. To fix a dry joint, heat the joint with the soldering iron and add a small amount of additional solder. The heat will help reflow the existing solder and create a stronger connection.
Safety Precautions
Soldering involves working with high temperatures and potentially hazardous materials, so it’s important to take appropriate safety precautions to protect yourself and your surroundings.
Work in a Well-Ventilated Area
When soldering, it’s important to work in a well-ventilated area to prevent the inhalation of harmful fumes. Soldering flux can release irritants and harmful gases, so ensuring adequate airflow helps minimize exposure and maintain a safe working environment. Open windows or use a fume extractor to remove any fumes or smoke generated during the soldering process.
Use Heat-Resistant Gloves
To protect your hands from potential burns or injuries, it’s advisable to wear heat-resistant gloves when soldering. The soldering iron can reach high temperatures and accidental contact with the tip can cause severe burns. Using heat-resistant gloves provides an extra layer of protection and reduces the risk of accidents.
Avoid Touching the Soldering Iron Tip with Bare Hands
The soldering iron tip can reach temperatures that can cause severe burns upon contact. It’s crucial to avoid touching the tip with bare hands or placing it on any flammable surfaces. Always use a soldering iron stand or holder to store the iron when not in use, and remember to let the iron cool down completely before handling or storing it. Safety should be a top priority when working with soldering irons to minimize the risk of burns or accidents.
Alternative Methods of Wire Connection
While soldering is a commonly used method for joining wires, there are alternative techniques available that may be more suitable for certain applications or preferences.
Using Wire Connectors
Wire connectors provide a convenient and reliable method for connecting wires without the need for soldering. They come in various types, such as butt connectors, splices, and crimp connectors, each designed for specific wire sizes and applications. Wire connectors offer ease of use, as they require minimal tools and provide a secure and insulated connection. They are particularly useful in situations where wires may need to be disconnected or when working with multiple wires.
Heat Shrink Tubing
Heat shrink tubing is a thermally activated plastic tube that provides insulation and protection to wire connections. It is slid onto the wires before soldering or joining them and shrinks when heated, enclosing the joint in a tight and secure sleeve. Heat shrink tubing not only ensures electrical insulation but also protects the joint from environmental factors such as moisture or abrasion. It offers a strong and reliable connection without the need for soldering.
Screw Terminal Blocks
Screw terminal blocks provide a convenient method for connecting wires securely without the need for soldering or specialized tools. They consist of a strip with multiple metal screws that can be tightened onto the individual wires, creating a reliable electrical connection. Screw terminal blocks are particularly useful in situations where wires may need to be connected or disconnected frequently, as they allow for easy disassembly and reassembly without damaging the wires.
In conclusion, soldering electrical wires requires careful consideration of various factors to ensure strong, reliable, and safe connections. From choosing the right soldering iron and tip size to properly preparing the wires and practicing proper soldering techniques, each step plays a crucial role in achieving high-quality solder joints. By adhering to safety precautions and being aware of common mistakes and troubleshooting techniques, you can confidently tackle soldering projects and create durable connections for your electrical wiring needs.