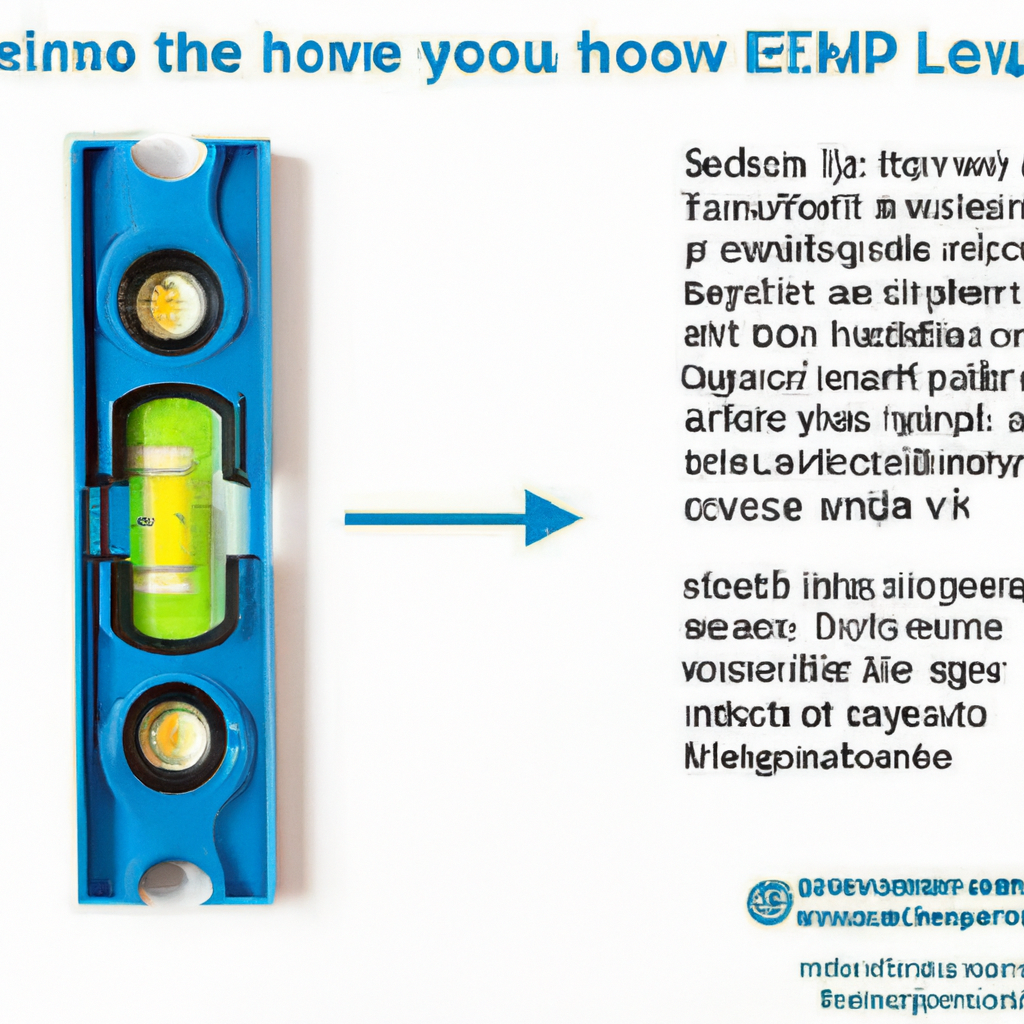
Have you ever found yourself needing to hang a picture frame or install a shelf? It can be frustrating when things aren’t aligned the way you want them to be. That’s where a level comes in handy! But how exactly do you use a level properly? In this article, we’ll explore the ins and outs of using a level effectively, giving you the confidence to tackle any DIY project with ease. So, let’s get started and discover the secret to achieving perfect alignment in your home!

Understanding Levels
Using a level properly is crucial when it comes to achieving accurate and level surfaces. Whether you’re hanging pictures, installing shelves, or aligning tiles, a level is your best friend. It ensures that your project looks professional and visually pleasing. Before diving into how to use a level, let’s understand the importance of using one and the different types and parts of a level.
The Importance of Using a Level
Using a level is essential to ensure that objects or surfaces are perfectly horizontal or vertical. A level helps avoid crooked frames, sloping shelves, and uneven flooring, which can be not only visually unappealing but also impractical. By using a level, you can create a balanced and harmonious environment in your space.
Types of Levels
There are several types of levels available, each serving a specific purpose. The most commonly used levels include:
-
Bubble Levels: These traditional levels have a vial filled with liquid and an air bubble. The bubble indicates if a surface is level or plumb (vertical).
-
Torpedo Levels: These compact levels are shaped like a torpedo and are primarily used for smaller projects. They are known for their versatility and are great for tight spaces.
-
Laser Levels: Laser levels use a laser beam to project a perfectly straight line. They are useful for large-scale projects and provide a high level of accuracy.
-
Digital Levels: Digital levels have a digital display that shows the exact degree of levelness. They are easy to read and provide precise measurements.
Parts of a Level
To effectively use a level, you should familiarize yourself with its different parts. The main components of a level include:
-
Body: The main frame or body of the level gives it stability and structure. It houses the bubble vials and provides a solid base for accurate measurements.
-
Bubble Vials: Bubble vials are glass tubes filled with liquid. They have a bubble that moves within the tube when the level is not positioned correctly. The goal is to center the bubble between two reference lines for a level or plumb reading.
-
Reference Lines: Reference lines are etched or marked on the level near the bubble vials. These lines help determine if the surface you are working on is level or plumb.
Preparing for Leveling
Before you start using a level, it’s important to prepare your workspace and gather the necessary tools. By doing so, you’ll be ready to achieve accurate results efficiently.
Choosing the Right Surface
When selecting a surface to level, consider the material and its condition. It’s best to choose a flat and stable surface that is free of debris or obstructions. If necessary, you may need to prepare the surface by removing any dirt, dust, or unevenness.
Clearing the Workspace
To ensure a clear and clutter-free workspace, remove any items or furniture that might obstruct your view or movement. By doing this, you’ll have better access to the surface you’re working on and can focus on achieving the desired levelness.
Gathering Necessary Tools
Before you start using a level, gather all the required tools. Apart from the level itself, you may also need a pencil, measuring tape, screws or nails, and any other specific tools for your project. Having everything readily available will save you time and prevent interruptions during the leveling process.
Using a Level
Now that you’ve prepared your workspace and gathered the necessary tools, it’s time to learn how to use a level effectively. Follow these steps to achieve accurate leveling results.
Checking the Level for Accuracy
Before starting any project, it’s essential to ensure that your level is accurately calibrated. Place the level on a flat and stable surface, and check if the bubble is centered between the reference lines. If it isn’t, you may need to adjust or re-calibrate your level. Having an accurate level is crucial for achieving precise leveling outcomes.
Positioning the Level for Use
When using a level, it’s important to hold it correctly to ensure accurate readings. Place the level on the surface you want to level, making sure it rests firmly against it. Hold the level with both hands, keeping it parallel to the surface. Avoid exerting unnecessary pressure, as this may cause inaccurate readings.
Reading the Bubble Vials
To determine if a surface is level or plumb, observe the bubble within the vial. In most levels, there are two vials—one for leveling (horizontal) and one for plumbing (vertical). The goal is to center the bubble between the reference lines in both vials. Adjust the surface or object until the bubble is perfectly centered. Once achieved, you can confidently proceed with your project knowing it is level and plumb.
Using a Level for Different Purposes
A level is an incredibly versatile tool that can be used for a variety of projects. Here are some common scenarios where you can use a level to enhance your DIY skills.
Hanging Pictures and Artwork
Using a level is crucial when hanging pictures and artwork to ensure they are straight and aligned. Start by determining the desired height of the artwork. Hold the level horizontally against the wall and adjust the position until the bubble is centered. Once leveled, mark the wall using a pencil or tape based on the reference line. This will guide you in placing your artwork accurately.
Installing Shelves and Cabinets
When installing shelves or cabinets, a level is indispensable to make sure they are parallel to the ground and level. Begin by positioning the level on top of the shelf or cabinet. Adjust the object’s position until the bubble is centered, indicating that it is level. This will ensure a visually appealing and functional installation.
Aligning Tiles and Flooring
One of the crucial steps in tiling or laying flooring is making sure the tiles or flooring boards are level. Use a level to check the levelness of each tile or board as you progress to avoid an uneven surface. Placing the level on top of each tile or board will help you identify any areas that need adjustment.

Tips for Using a Level
While using a level may seem straightforward, there are a few tips and tricks that can enhance your leveling experience and ensure optimum results.
Working with Longer Levels
When working with longer levels, it’s important to have a stable and secure grip on the level to prevent it from bending or flexing. Consider using a level with built-in handles or attach a makeshift handle, such as a small piece of wood, to provide added support and ease of use.
Using a Digital Level
Digital levels are known for their accuracy and precision. If you’re using a digital level, make sure it is properly calibrated before use. Follow the manufacturer’s instructions to calibrate the level and utilize the digital display to achieve precise measurements.
Checking for Plumb and Level Simultaneously
Sometimes, you may need to ensure both plumb and level simultaneously, especially when working on vertical objects or surfaces. To do this, position the level against the surface or object, ensuring it is perfectly vertical. Now, check if the bubble is centered both horizontally and vertically. This will confirm that the surface or object is both level and plumb.
Common Mistakes to Avoid
To ensure accurate leveling results, it’s essential to be aware of common mistakes that can compromise your project’s integrity and aesthetics.
Not Checking the Level’s Accuracy
One of the biggest mistakes is assuming that your level is accurate without properly checking its calibration. Always take the time to verify the accuracy of your level by placing it on a flat surface and observing if the bubble is centered.
Ignoring the Position of the Level
Incorrectly positioning the level can lead to incorrect readings. Hold the level parallel to the surface you’re working on and ensure it is firmly in contact with it. Even a slight tilt or gap between the level and the surface can result in inaccurate leveling.
Overlooking Variations in Bubble Vials
Bubble vials may vary in sensitivity, and some may take longer to settle than others. Avoid rushing the leveling process and give the bubble vials enough time to settle before making adjustments. This will help you achieve more accurate readings.

Maintaining and Storing Your Level
To prolong the lifespan of your level and ensure its accuracy, it’s important to take proper care of it when not in use.
Cleaning and Maintaining the Level
Regularly clean your level using a soft cloth or sponge to remove any debris, dust, or residue. Avoid using harsh chemicals that can damage the vials or the level’s body. Additionally, lubricate any moving parts of the level as recommended by the manufacturer to maintain smooth operation.
Protecting the Level from Damage
To prevent accidental damage, always store your level in a protective case or pouch. This will shield it from potential impacts, dust, and moisture. Avoid placing heavy objects on top of the level, as it can bend or warp the frame, compromising its accuracy.
Storing the Level Properly
Store your level in a dry and temperature-controlled environment. Extreme temperatures or humidity can damage the level’s accuracy. If possible, hang the level on a rack or place it in a dedicated storage compartment to keep it safe and easily accessible for future use.
Conclusion
Congratulations! You now have a comprehensive understanding of how to use a level properly. By mastering the art of leveling, you can significantly improve your DIY projects and achieve professional-looking results. Remember to choose the right level for your needs, prepare your workspace appropriately, and follow the proper techniques explained in this article. With practice and attention to detail, you’ll become a pro at using a level and create beautifully leveled and balanced spaces. So, go ahead and confidently tackle your next DIY project with the power of a level by your side!
