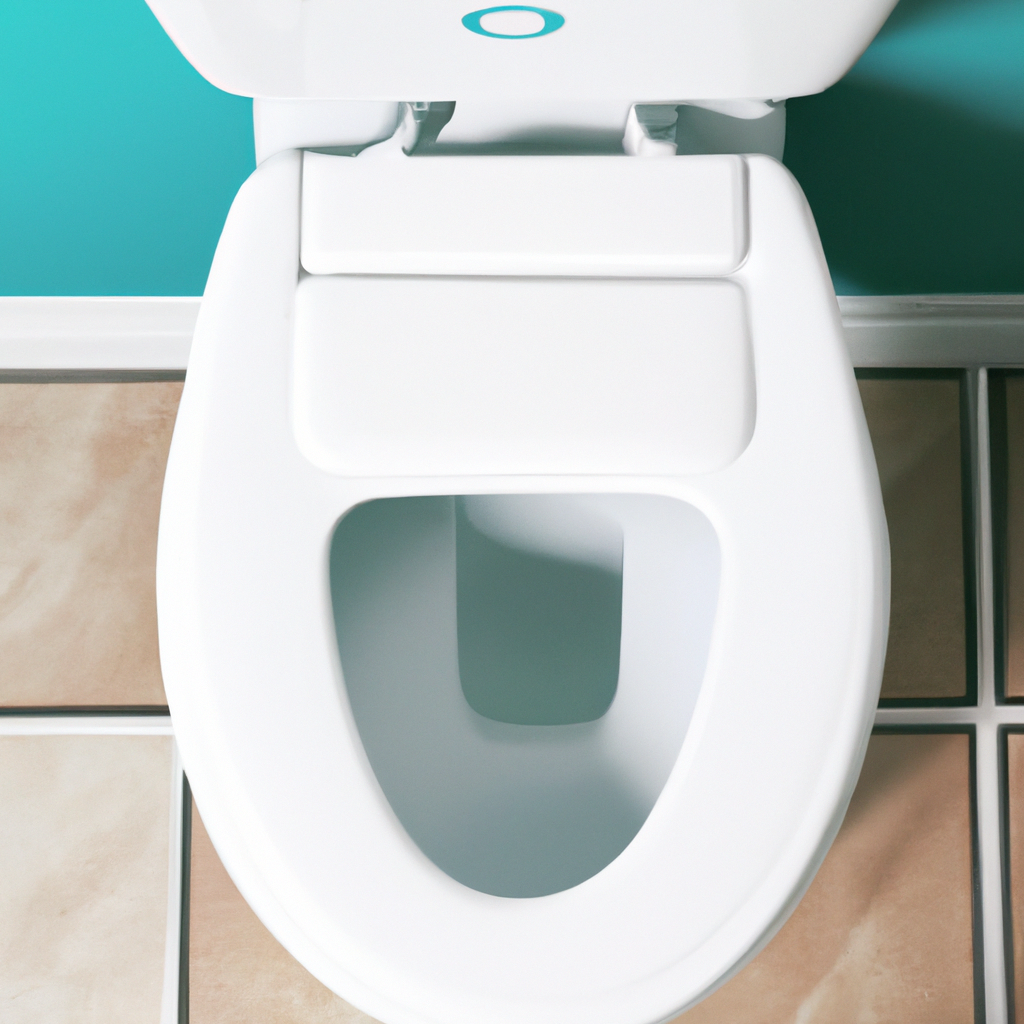
Installing a new toilet may seem like a daunting task, but fear not! In this article, you will find a step-by-step guide that will walk you through the process of installing a new toilet in your home. From gathering the necessary tools and materials to properly connecting the water supply, you’ll be equipped with all the knowledge you need to tackle this project with confidence. So, if you’re ready to say goodbye to that old, outdated toilet and hello to a shiny new one, let’s get started!
Preparing for Installation
Gather Necessary Tools and Materials
Before you can begin installing your new toilet, it’s important to gather all the necessary tools and materials. Here is a list of items you will need:
- New toilet
- Wax seal
- Toilet flange bolts
- Adjustable wrench
- Screwdriver
- Putty knife
- Plunger
- Silicone caulk
- Gloves
- Towels
Having these tools and materials ready before you start will make the installation process much smoother.
Measure the Space
Measuring the space where your new toilet will sit is an essential step in the installation process. You want to ensure that your new toilet fits properly and aligns with the existing plumbing. Measure the distance between the wall and the toilet flange, as well as the width of the area. This will help you choose the right size and type of toilet.
Remove the Old Toilet
Before you can install a new toilet, you’ll need to remove the old one. Start by turning off the water supply to the toilet. This is usually done by turning the valve located on the wall near the base of the toilet. Flush the toilet to drain any remaining water in the tank and bowl. Use a plunger to remove as much water as possible before disconnecting the water supply line. Next, disconnect the water supply line from the fill valve. Finally, remove the nuts securing the toilet to the floor and carefully lift the old toilet off the flange.
Choosing a New Toilet
Selecting the Right Toilet Type
When choosing a new toilet, you’ll find a variety of options available. The most common types of toilets include gravity-feed toilets, pressure-assist toilets, and dual-flush toilets. Gravity-feed toilets use the force of gravity to remove waste, while pressure-assist toilets use air pressure to create a strong flush. Dual-flush toilets have two buttons, allowing you to choose between a partial flush for liquid waste and a full flush for solid waste. Consider your budget, water efficiency, and personal preferences when selecting the right toilet type for your bathroom.
Consider the Size and Height
Toilets come in different sizes and heights, so it’s important to choose one that fits comfortably in your bathroom and meets your needs. Standard-height toilets are typically around 15 inches from the floor to the seat, while comfort-height toilets are about 17-19 inches tall. Consider the height of the people using the toilet and any accessibility needs when deciding on the size and height of your new toilet.
Choosing a Flushing System
The flushing system of a toilet determines how efficiently it removes waste and how much water it uses. Traditional single-flush toilets use the same amount of water for every flush, while dual-flush toilets offer a choice between a partial or full flush. Water-saving toilets, such as high-efficiency toilets, use less water per flush, helping you conserve water and save on your water bills. Consider your water usage and environmental impact when selecting the flushing system for your new toilet.
Installing a Wax Seal
Remove the Toilet Flange
To install a new wax seal, you’ll first need to remove the old toilet flange. Start by removing the nuts securing the flange to the floor. Use an adjustable wrench or a pair of pliers to loosen and remove the nuts. Once the nuts are removed, carefully lift the flange off the drainpipe. Inspect the flange for any damage or signs of wear. If the flange is damaged, it will need to be replaced before proceeding with the installation.
Clean the Flange and Drainpipe
After removing the old flange, it’s important to thoroughly clean the flange and drainpipe to ensure a secure seal. Use a putty knife to scrape off any residue or wax from the flange and drainpipe. Wipe down the area with a damp cloth to remove any remaining debris. This will ensure a smooth surface for the wax seal to adhere to.
Install the Wax Seal
Once the flange and drainpipe are clean, it’s time to install the wax seal. Place the wax seal over the drainpipe, ensuring that it is centered and properly aligned. Gently press the wax seal down to create a tight seal between the drainpipe and the flange. Be careful not to push too hard, as this may cause the wax seal to deform. Once the wax seal is in place, it’s time to move on to attaching the new toilet.
Attaching the New Toilet
Position and Align the Toilet
Carefully position the new toilet over the wax seal, ensuring that it is aligned with the flange bolts. Slowly lower the toilet onto the wax seal, making sure that it fits securely over the drainpipe. Use a slight twisting motion to help the toilet settle into place. Check that the toilet is level and properly centered before proceeding.
Secure the Toilet Base
With the toilet in position, it’s time to secure the base to the floor. Place the provided washers and nuts on the flange bolts and tighten them carefully. Be cautious not to overtighten, as this may crack the toilet. Alternate tightening the nuts until the toilet is securely attached to the floor. Check for any wobbling or movement, and readjust if necessary.
Connect the Water Supply Line
Once the toilet is securely attached to the floor, it’s time to reconnect the water supply line. First, attach one end of the supply line to the fill valve located at the bottom of the toilet tank. Use an adjustable wrench to tighten the nut securely. Then, connect the other end of the supply line to the water supply valve on the wall. Again, use an adjustable wrench to tighten the nut. Finally, turn on the water supply and check for any leaks.
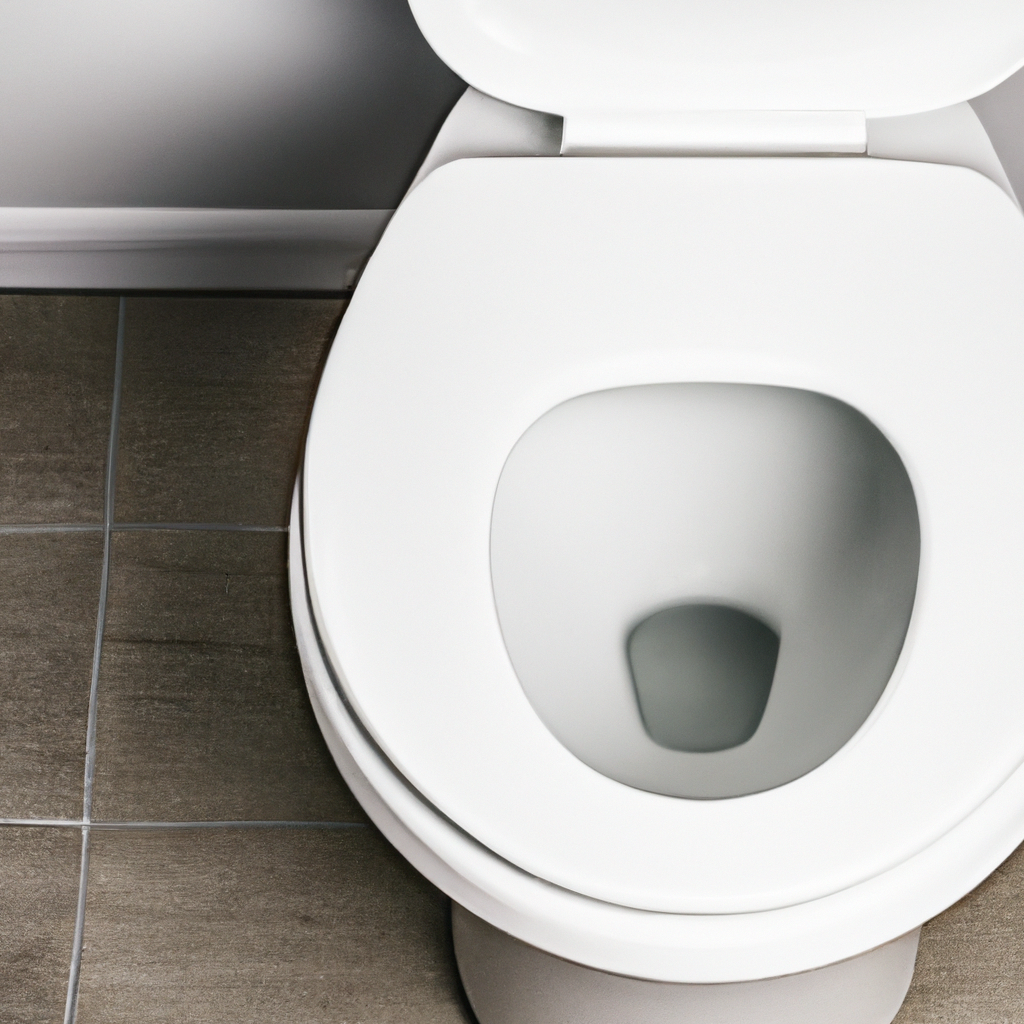
Testing and Finishing Up
Test the Flush and Check for Leaks
With the toilet installation complete, it’s important to test the flush and check for any potential leaks. Flush the toilet several times to ensure that the flushing system is functioning properly. Listen for any strange noises or unusual water flow. Additionally, carefully inspect the base of the toilet and the surrounding area for any signs of water leakage. If you notice any leaks or issues, tighten the connections or seek professional assistance if needed.
Secure the Toilet Seat
After testing the flush, secure the toilet seat onto the bowl. Most toilets come with installation instructions for attaching the seat. Use a screwdriver to tighten the screws, ensuring that the seat is stable and secure. A loose toilet seat can be a safety hazard and cause discomfort.
Apply Silicone Caulk
Applying a thin line of silicone caulk around the base of the toilet can help create a watertight seal and prevent any potential water damage. Use a caulk gun to apply the silicone caulk, starting from one side and working your way around the base. Smooth the caulk with your finger or a caulk smoother to ensure an even and neat finish. Allow the caulk to dry according to the manufacturer’s instructions before using the toilet.
Congratulations! You have successfully installed your new toilet. Enjoy the comfort, efficiency, and functionality it brings to your bathroom. If you encountered any difficulties during the installation process or have any concerns, don’t hesitate to seek professional assistance.
