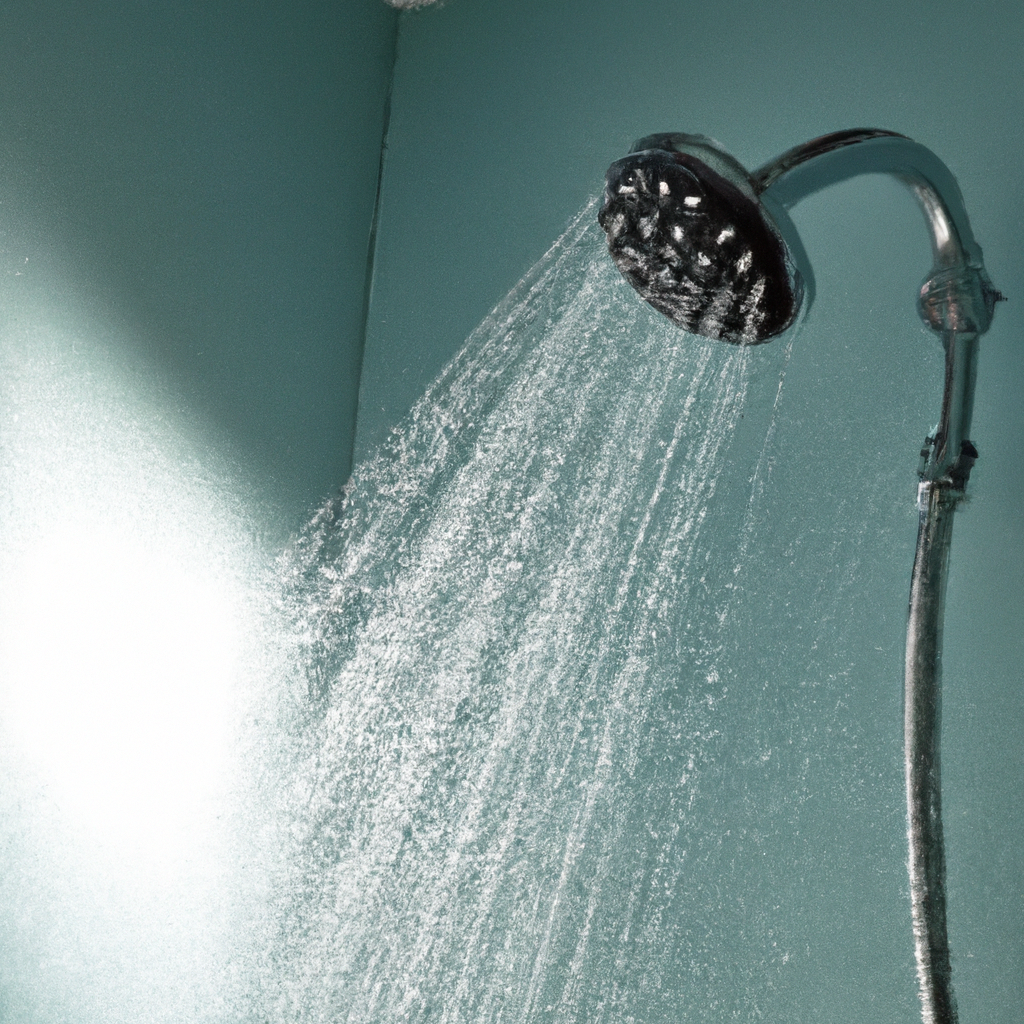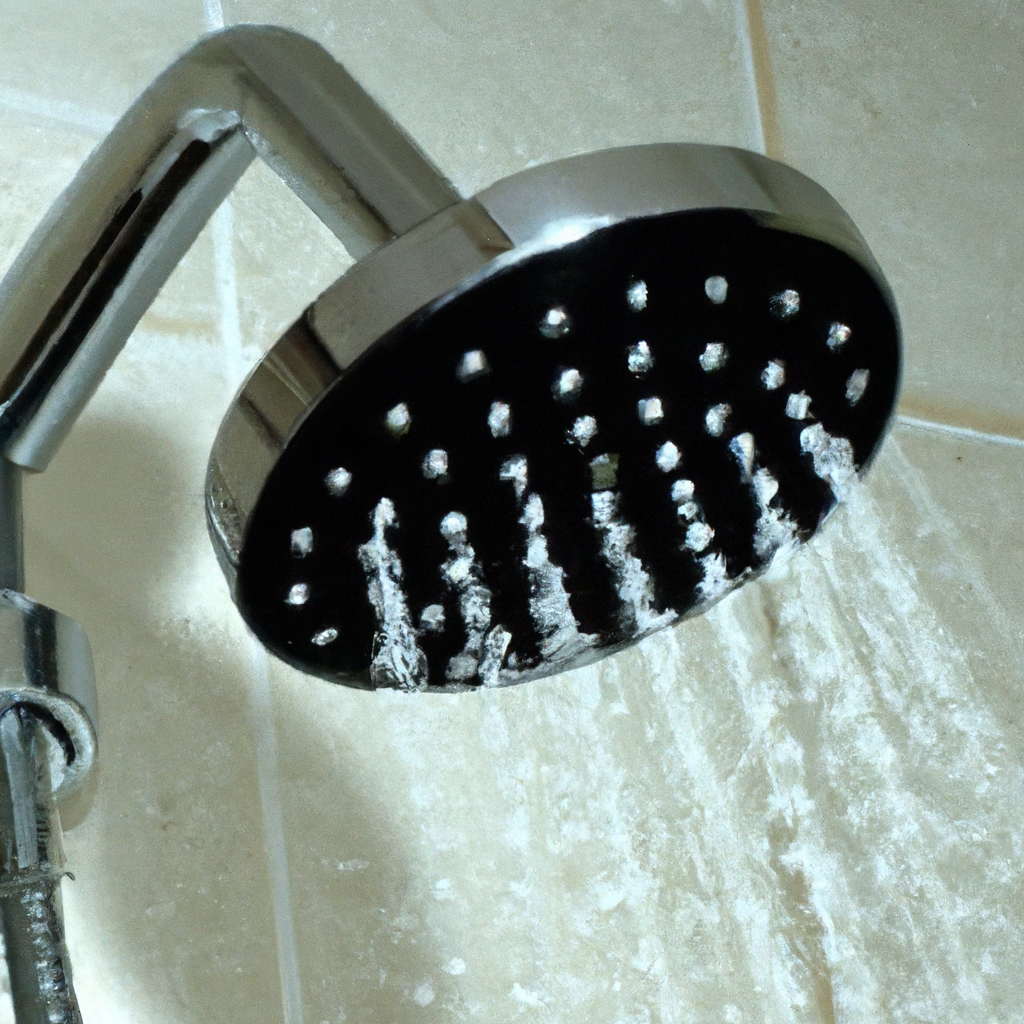
Are you looking to upgrade your showering experience? If so, installing a new showerhead is a simple and effective way to achieve that. In this article, we will guide you through the process of installing a new showerhead, ensuring that you can enjoy a refreshing and invigorating shower in no time. Whether you’re a seasoned DIY enthusiast or a beginner looking to take on a new project, we’ve got you covered. By following our easy step-by-step instructions, you’ll be able to confidently tackle this task and reap the benefits of a rejuvenating shower experience. Get ready to transform your bathroom with a shiny new showerhead!
Gathering the Necessary Tools and Materials
Before you embark on installing a new showerhead, it’s important to gather all the necessary tools and materials to ensure a smooth and hassle-free installation process.
Assessing the current showerhead
Begin by assessing your current showerhead. Take note of its size, type, and any existing issues such as leaks or poor water pressure. This will help you determine the type of showerhead you need to install and whether any additional adjustments or repairs are required.
Determining the type of showerhead to install
With a wide variety of showerheads available in the market, it’s essential to determine the type that suits your preferences and needs. Whether you prefer a rain showerhead, a handheld one, or a standard fixed showerhead, consider factors like water pressure, spray settings, and ease of cleaning.
Checking the water pressure
Before purchasing a new showerhead, it’s crucial to check your water pressure. Low water pressure can affect the performance and functionality of your showerhead. You can easily measure the water pressure using a simple pressure gauge or consult a professional plumber to assess it for you.
Gathering the required tools
To ensure a successful installation, you’ll need a few tools. These commonly include an adjustable wrench, pliers, Teflon tape, a screwdriver, and a rag or towel for cleanup. Having these tools readily available will make the installation process much easier and efficient.
Getting the necessary materials
In addition to the tools, you’ll need a few materials to complete the installation. This typically includes a new showerhead, plumber’s tape (Teflon tape), a showerhead arm, and any other additional components specific to the showerhead you’ve chosen. Double-check the manufacturer’s instructions or consult with a professional to ensure you have all the necessary materials.
Removing the Old Showerhead
Before you can install a new showerhead, it’s important to remove the old one properly and safely. Follow these steps to ensure a smooth removal process.
Preparing the work area
Before removing the old showerhead, create a suitable work area. Lay down a towel or rag to catch any water or debris that may fall during the removal process. This will help protect your bathroom floor from potential damage and make cleanup easier.
Turning off the water supply
Locate the water supply valve for your shower and turn it off. This will prevent any water from flowing while you remove the old showerhead. If you can’t find a specific valve for your shower, you can shut off the main water supply to your entire house temporarily.
Removing the old showerhead
Using an adjustable wrench or pliers, carefully loosen and unscrew the old showerhead. Be gentle with your movements to avoid damaging the shower arm or surrounding fixtures. Once the showerhead is removed, clean any residue or debris from the shower arm using a rag or towel.

Preparing the New Showerhead
Now that you have successfully removed the old showerhead, it’s time to prepare the new one for installation. Follow these steps to ensure a proper setup.
Reading the manufacturer’s instructions
Before proceeding, read the manufacturer’s instructions carefully. Each showerhead may have specific installation steps and requirements that you need to follow. Familiarize yourself with the instructions to ensure a smooth and successful installation process.
Inspecting the new showerhead
Take a close look at the new showerhead to ensure there are no defects or missing parts. Check for any signs of damage or improper assembly. If everything looks good, proceed with the installation. If you notice any issues, contact the manufacturer or retailer for assistance or to request a replacement.
Assembling any additional components
Some showerheads may come with additional components such as a showerhead arm or accessories. Follow the manufacturer’s instructions to assemble these components properly. Ensure that all connections are secure before proceeding with the installation.
Installing the New Showerhead
With the old showerhead removed and the new one prepared, it’s time to install the new showerhead. Follow these steps for a successful installation process.
Determining the correct height and position
Consider the ideal height and position of the new showerhead before installing it. The height should be comfortable for average height individuals and allow for proper water flow. The position should provide adequate coverage for your showering needs. Mark the desired height and position on the shower wall for reference.
Attaching the showerhead arm
If your new showerhead includes a showerhead arm, attach it to the shower wall according to the manufacturer’s instructions. Use a wrench or pliers to securely tighten the arm, ensuring it doesn’t wobble or move when pressure is applied.
Applying plumber’s tape
Before connecting the new showerhead, wrap plumber’s tape (Teflon tape) around the threads of the shower arm to create a tight seal and prevent leaks. Start at the base of the threads and wrap the tape in a clockwise direction, ensuring it covers the entire threaded area.
Connecting the new showerhead
Carefully connect the new showerhead to the shower arm, ensuring a proper fit. Hand-tighten the connection to secure it, avoiding the use of excessive force. Make sure the showerhead is aligned with the desired position you marked earlier.
Tightening all connections
Using an adjustable wrench or pliers, gently tighten all connections. Be cautious not to overtighten, as this can damage the showerhead or the shower arm. Test the stability of the connections by gently applying pressure to the showerhead to ensure everything is securely in place.

Performing a Test Run
With the new showerhead installed, it’s time to test it out and check for any issues or leaks. Follow these steps to ensure proper functionality.
Turning on the water supply
Turn on the water supply valve or main water supply to restore water flow to the shower. Slowly open the valve, allowing water to flow through the new showerhead. It’s normal to experience a minor amount of air or sputtering initially.
Checking for leaks
Carefully inspect the connections between the showerhead, shower arm, and any additional components for any signs of leaks. Check for any water dripping or pooling around the connections. If you notice any leaks, make sure the connections are properly tightened and consider using thread sealant for a more secure seal.
Testing the functionality of the showerhead
Once you’ve confirmed there are no leaks, test the different spray settings and adjust the flow to your desired level. Assess the overall functionality of the showerhead, including coverage, water pressure, and spray patterns. Make any necessary adjustments or repairs if you encounter any issues.
Additional Considerations
While the basic installation process is now complete, there are a few additional considerations you might want to explore to enhance your shower experience.
Using thread sealant instead of plumber’s tape
Some installations may benefit from using thread sealant instead of plumber’s tape. Thread sealant provides a more secure seal and can be a suitable alternative in cases where leaks persist. Follow the manufacturer’s instructions or consult a professional plumber if you choose to use thread sealant.
Installing a shower arm extender
If you find that the showerhead height is not suitable for your needs or the height of other family members, you can consider installing a shower arm extender. This simple addition can help raise or lower the showerhead to a more comfortable position, providing a personalized shower experience.
Installing a flow restrictor
To improve water and energy efficiency, you may choose to install a flow restrictor in your new showerhead. A flow restrictor helps reduce water consumption without sacrificing water pressure or the showering experience. Consult the manufacturer’s instructions or seek professional advice on the appropriate flow restrictor for your specific showerhead.

Maintenance and Cleaning
To ensure optimal performance and longevity of your new showerhead, regular maintenance and cleaning are essential. Follow these guidelines to keep your showerhead in top condition.
Regularly cleaning the showerhead
Mineral deposits from hard water can accumulate over time and affect the showerhead’s performance. Regularly clean your showerhead by soaking it in a solution of equal parts white vinegar and water for a few hours. Scrub away any remaining deposits with a soft brush or cloth, and rinse thoroughly with water.
Removing mineral deposits
If your showerhead has stubborn mineral deposits that are difficult to remove, you can try using a descaling solution specifically designed for showerheads. Follow the instructions provided with the descaling solution, as different products may have varying application methods and contact times.
Replacing worn-out parts
Over time, certain parts of your showerhead may wear out or become damaged. If you notice any leaks, reduced water pressure, or other issues that cleaning or maintenance cannot resolve, it may be time to replace worn-out parts. Consult the manufacturer’s instructions or seek professional assistance to ensure proper replacement procedures.
Troubleshooting Common Issues
If you encounter any issues with your new showerhead, don’t panic. Here are some common problems and their potential solutions.
Low water pressure
If you experience low water pressure after installing a new showerhead, ensure that the water supply valve is fully open. Check for any clogs or obstructions in the showerhead or shower arm, and clean as necessary. If the issue persists, consult a professional plumber to assess the overall water pressure in your home.
Leaking connections
If you notice any leaks around the connections, ensure that all connections are properly tightened. Consider using thread sealant instead of plumber’s tape for a more secure seal. If the leaks persist, disassemble and inspect the connections for any defects or damaged parts. Replace any worn-out or damaged components as necessary.
Non-functional spray settings
If the different spray settings are not working as expected, check for any obstructions or clogs in the showerhead. Clean away any debris or mineral deposits that may be blocking the spray settings. If the issue persists, consult the manufacturer’s instructions or contact customer support for further assistance.

When to Call a Professional
While installing a new showerhead is generally a straightforward process, there are situations where it’s best to seek professional help.
Complicated plumbing setups
If your plumbing setup is complex or involves multiple showers, it may be challenging to install a new showerhead on your own. In such cases, consulting a professional plumber can ensure the installation is done correctly and safely.
Issues with the water supply line
If you encounter any issues with your water supply line during the installation process, it’s crucial to seek professional assistance. Problems with the water supply line can be complex and require the expertise of a licensed plumber to diagnose and resolve.
Benefits of Installing a New Showerhead
Installing a new showerhead comes with several benefits, enhancing your showering experience and promoting water and energy efficiency.
Improved water pressure
One of the primary reasons to install a new showerhead is to improve water pressure. Modern showerheads are designed to optimize water flow, providing a more invigorating and refreshing shower experience. Say goodbye to weak and disappointing showers!
Enhanced shower experience
With a variety of spray settings and functions available in modern showerheads, you can customize your shower experience to suit your preferences. From rain showerheads that mimic a natural downpour to handheld showerheads that offer flexibility, installing a new showerhead can transform your daily showers into a luxurious and enjoyable experience.
Water and energy efficiency
Many new showerheads are designed with water and energy efficiency in mind. They feature flow restrictors that regulate water consumption without compromising water pressure. By installing a new showerhead, you can reduce your water usage and energy bills while still enjoying a satisfying shower.
Whether you’re looking to replace an old, worn-out showerhead or upgrade to a more luxurious and efficient model, installing a new showerhead is a relatively simple and rewarding endeavor. With the right tools, materials, and steps, you can enhance your showering experience, conserve resources, and enjoy the benefits of a revitalizing shower every day.
