If you’re looking to update the look of your kitchen and add a touch of elegance, installing a new kitchen backsplash is a simple yet effective solution. A backsplash not only protects your walls from splatters and stains, but it also adds a pop of color and personality to your space. But how exactly do you go about installing one? In this article, we’ll guide you through the step-by-step process of installing a new kitchen backsplash, from choosing the right materials to ensuring a seamless and professional finish. So, grab your tools and get ready to transform your kitchen into a stylish and functional haven!
Choosing a kitchen backsplash
When it comes to choosing a kitchen backsplash, there are several factors to consider. First and foremost, you should think about the style of your kitchen. Are you going for a modern, sleek look or a more traditional and cozy aesthetic? This will play a big role in determining the type of backsplash that best suits your space.
Once you have determined your kitchen’s style, it’s time to decide on the material for your backsplash. There are many options available, including tiles, peel-and-stick options, beadboard, stainless steel, and glass. Each material has its own advantages and can create a unique look in your kitchen.
As with any home improvement project, it’s important to determine your budget before selecting a kitchen backsplash. Different materials and installation methods can vary greatly in price, so it’s essential to know how much you are willing to spend. Setting a budget will help narrow down your options and make the decision-making process easier.
Before making any final decisions, it’s crucial to measure the area where you plan to install the backsplash. This will ensure that you purchase the correct amount of materials and avoid any unnecessary waste or shortages. Accurate measurements also allow you to plan the layout and design of your backsplash effectively.
Lastly, choose the color and pattern that best complements your kitchen’s overall design. Whether you opt for a neutral palette or a bold statement, the color and pattern of your backsplash can tie the whole room together and add a touch of personality.
Preparing the kitchen
Before you can install your new kitchen backsplash, some preparation is necessary. If you currently have an old backsplash in place, the first step is to remove it. This can typically be done using a putty knife to loosen the tiles or adhesive. Be careful not to damage the wall during this process.
Once the old backsplash has been removed, it’s important to thoroughly clean the area. Remove any dust, grease, or debris to ensure a clean and smooth surface for installation. A mild cleaning solution and a sponge or cloth should do the trick.
Safety should always be a top priority when working on any electrical components. Before beginning the installation process, it’s crucial to turn off the power to any outlets or switches that may be near the backsplash area. This will prevent any accidents or electrical shocks while you work.
In some cases, it may be necessary to remove electrical outlets and switch covers before installing the backsplash. This allows for a more seamless installation and ensures that the backsplash sits flush against the wall. Use a screwdriver to carefully remove the covers and set them aside for reinstallation later.

Gathering the necessary tools and materials
To successfully install a kitchen backsplash, you’ll need a few essential tools. These may include a putty knife for removing an old backsplash, a sponge or cloth for cleaning, a tape measure for accurate measurements, a level to ensure a straight installation, a tile cutter for cutting tiles, a grout float for applying grout, and a trowel for applying adhesive.
The materials required will vary depending on the type of backsplash you choose. For tile backsplashes, you’ll need tiles of your desired material, adhesive or mortar, grout, and sealant. For peel-and-stick options, you’ll need the peel-and-stick sheets and a utility knife for trimming excess material. Beadboard backsplashes require beadboard panels, adhesive, and a saw for cutting the panels to size. Stainless steel backsplashes require stainless steel sheets, adhesive, and a saw for cutting, while glass backsplashes will need glass sheets, adhesive, and grout.
Installing a tile backsplash
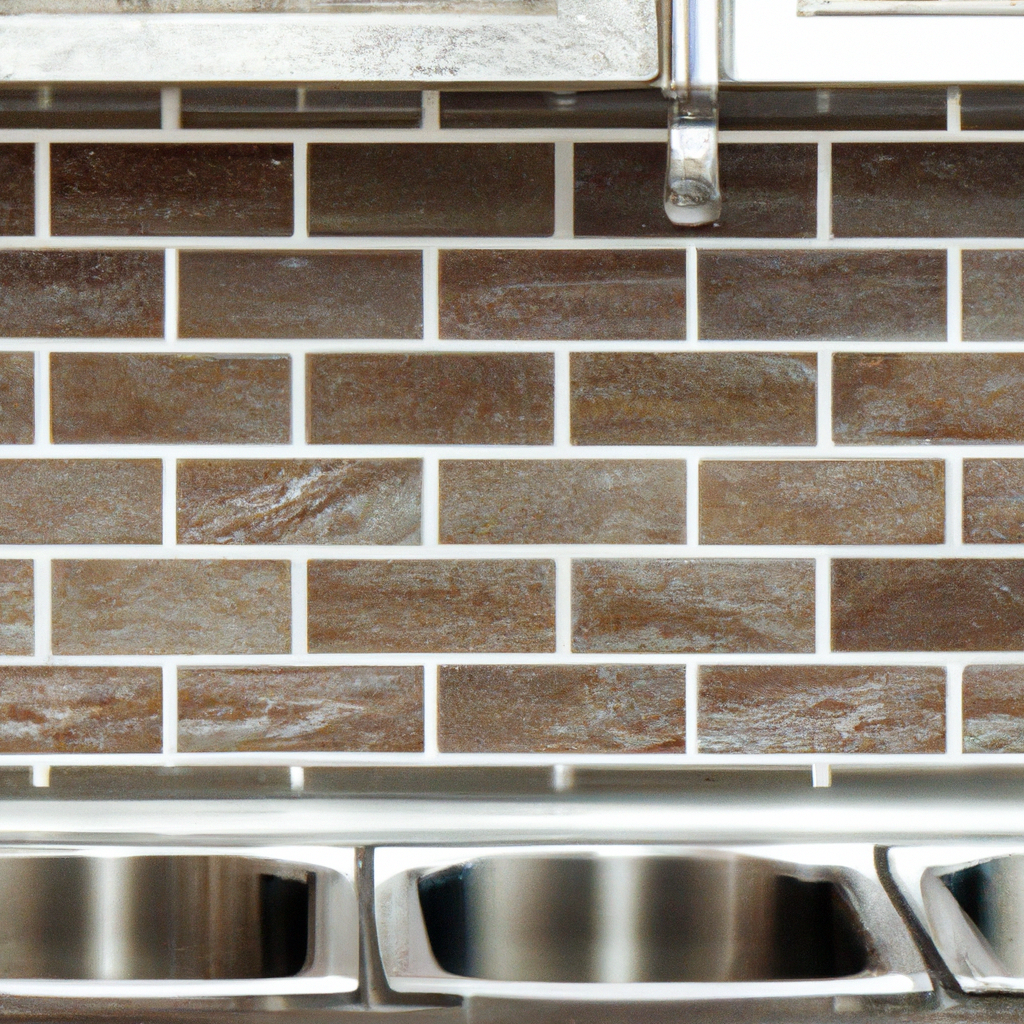
Installing a tile backsplash is a popular choice for many homeowners due to its versatility and durability. Here’s a step-by-step guide to help you through the process:
-
Preparing the surface: Ensure that the wall is clean, dry, and free from any dust or debris. If necessary, use a sanding block to smooth any rough patches.
-
Applying the adhesive: Spread the adhesive or mortar onto the wall using a trowel, making sure to cover the entire area where the tiles will be placed.
-
Setting the tile: Carefully place each tile onto the adhesive, pressing firmly to ensure it adheres properly. Use spacers between each tile to create even gaps.
-
Cutting the tile: Use a tile cutter or a wet saw to cut tiles to fit the edges or corners of the backsplash area. Take accurate measurements and use a straight edge as a guide for precision.
-
Grouting the tile: Once the adhesive has dried, remove the spacers and mix the grout according to the manufacturer’s instructions. Use a grout float to apply the grout, then wipe away any excess with a damp sponge.
-
Cleaning the tile: After the grout has dried, use a clean, damp cloth to wipe away any residue from the tiles. Be gentle to avoid dislodging the grout.

Installing a peel-and-stick backsplash
A peel-and-stick backsplash is an excellent option for those seeking a quick and easy installation process. Here’s how to install one:
-
Preparing the surface: Ensure that the wall is clean, dry, and free from any debris. Sand down any rough patches for a smooth surface.
-
Peeling off the backing: Carefully peel off the backing from the peel-and-stick sheets, starting from one corner.
-
Applying the backsplash: Align the first sheet with the desired starting point on the wall and press firmly to adhere it. Continue placing the sheets, slightly overlapping the edges for a seamless look.
-
Trimming excess material: Once all the sheets are in place, use a utility knife to trim any excess material along the edges or corners.
Installing a beadboard backsplash
Beadboard backsplashes offer a charming and classic look. Here’s how you can install one:
-
Preparing the surface: Ensure that the wall is clean and dry. Measure and mark where the beadboard panels will be installed.
-
Cutting the beadboard: Use a saw to cut the beadboard panels to the desired size. Take accurate measurements before cutting for a precise fit.
-
Attaching the beadboard: Apply adhesive to the back of each beadboard panel and press firmly onto the wall. Use a level to ensure they are straight and even.
-
Finishing and sealing the beadboard: Fill any gaps or seams with caulk to create a seamless appearance. Once the adhesive has dried, paint or stain the beadboard to your desired color, and apply a sealant for added protection.

Installing a stainless steel backsplash
For a sleek and modern look, a stainless steel backsplash is a great option. Here’s how to install one:
-
Preparing the surface: Clean the wall thoroughly and ensure it is dry. Measure and mark where the stainless steel sheets will be installed.
-
Measuring and cutting the stainless steel: Use a tape measure to measure the dimensions of the backsplash area. Transfer the measurements onto the stainless steel sheets and use a saw to cut them to the correct size.
-
Attaching the stainless steel: Apply adhesive directly to the back of each stainless steel sheet. Press firmly onto the wall, starting from one corner and working your way across. Use a level to ensure the sheets are straight.
-
Applying adhesive and pressing the steel: Once all the sheets are installed, apply a thin layer of adhesive around the edges of the stainless steel and press firmly to ensure a secure bond.
Installing a glass backsplash
A glass backsplash can add sophistication and elegance to your kitchen. Here’s how to install one:
-
Preparing the surface: Clean the wall thoroughly and ensure it is dry. Measure and mark where the glass sheets will be installed.
-
Measuring and cutting the glass: Use a tape measure to measure the dimensions of the backsplash area. Transfer the measurements onto the glass sheets and use a glass cutter to cut them to the correct size.
-
Applying adhesive and setting the glass: Apply adhesive directly to the wall, following the manufacturer’s instructions. Carefully place each glass sheet onto the adhesive and press firmly. Use spacers between each sheet for even gaps.
-
Grouting the glass: Once the adhesive has fully cured, remove the spacers and mix the grout according to the manufacturer’s instructions. Use a grout float to apply the grout, ensuring it fills the gaps between the glass sheets. Wipe away any excess grout with a damp sponge.

Finishing touches
After installing the backsplash, there are a few finishing touches to complete the project:
-
Replacing electrical outlets and switch covers: Once the adhesive or grout has fully cured, reattach the electrical outlets and switch covers that were removed earlier. Ensure they are securely fastened and aligned properly.
-
Cleaning the backsplash: Use a mild cleaning solution and a soft cloth to gently clean the surface of the backsplash. Avoid abrasive cleaners or scrub brushes that could damage the material.
-
Sealing the backsplash: Depending on the material you chose for your backsplash, it may require sealing to protect it from stains and damage. Follow the manufacturer’s instructions for sealing products specific to your chosen material.
Troubleshooting
Sometimes, unexpected challenges arise during the installation process. Here are a few common issues and how to address them:
-
Dealing with uneven surfaces: If your wall is not perfectly flat or level, you may need to apply additional adhesive in certain areas or use spacers between the backsplash material and the wall to create a more even surface.
-
Repairing damaged tiles: If a tile becomes cracked or damaged during installation, carefully remove it with a putty knife and replace it with a new one. Ensure the replacement tile matches the rest of the backsplash in color and size.
-
Fixing grout discoloration: If the grout begins to discolor over time, you can clean or replace it. Use a grout cleaner and a stiff brush to remove stains, or completely remove and replace the grout if necessary.
Installing a new kitchen backsplash can be a fun and rewarding project that adds both style and functionality to your kitchen. By following these steps and utilizing the appropriate tools and materials, you’ll be well on your way to a beautifully upgraded kitchen space.
