Ready to learn how to install a new electrical outlet? Whether you’re looking to add more convenience to your home or want to tackle a DIY project, this article will guide you through the process step by step. From gathering the necessary tools to identifying the right wires, we’ve got you covered. By the end, you’ll have the knowledge and confidence to successfully install a new electrical outlet in no time. So let’s get started and bring power to where you need it!
Assessing the Electrical Needs
Before installing a new electrical outlet, it is crucial to assess your electrical needs. This involves determining the electrical load, identifying the required voltage, and finding the appropriate outlet type. By understanding these factors, you can ensure that the new outlet will meet your specific needs.
Determining the Electrical Load
The first step in assessing your electrical needs is to determine the electrical load. This refers to the amount of power that will be drawn from the outlet. You must consider the devices or appliances that will be connected to the outlet and their power requirements.
To determine the electrical load, add up the wattage ratings of all the devices that will be connected to the outlet. This information can usually be found on the device itself or in the user manual. It is essential to ensure that the electrical load does not exceed the capacity of the circuit and wiring in your home.
Identifying the Required Voltage
Once you have determined the electrical load, you need to identify the required voltage for the new outlet. Standard household outlets in most countries have a voltage of 120 volts. However, there are instances where appliances, such as high-powered tools or equipment, may require a higher voltage, such as 240 volts.
Check the voltage specifications of the devices or appliances that will be connected to the new outlet. If a higher voltage is required, you may need specialized wiring and a different type of outlet receptacle. It is crucial to match the voltage requirement to ensure the safe and efficient operation of your electrical devices.
Finding the Appropriate Outlet Type
Lastly, you need to find the appropriate outlet type for your needs. There are several types of outlets available, each designed for specific purposes. The most common type in residential settings is the standard duplex outlet, which accommodates two plugs.
However, there are variations such as Ground Fault Circuit Interrupter (GFCI) outlets, which are required in areas where moisture is present, such as bathrooms and kitchens. GFCI outlets protect against electric shock by instantly shutting off the power if a ground fault is detected.
Other specialized outlets include tamper-resistant outlets, which have built-in safety features to prevent children from inserting objects into the receptacles, and USB outlets, which include USB ports for charging devices directly.
Consider the specific requirements of your electrical devices and the area where the outlet will be installed. This will help you determine the appropriate outlet type to ensure both functionality and safety.
Gathering the Necessary Tools and Materials
Before you begin the installation process, it is important to gather all the necessary tools and materials. This will help ensure a smooth and efficient installation process.
Basic Tools
You will need the following basic tools for installing a new electrical outlet:
- Screwdriver (flathead and Phillips head) – for removing and securing screws.
- Wire cutter/stripper – for cutting and stripping electrical wires.
- Needle-nose pliers – for gripping and bending wires.
- Voltage tester – for checking the presence of electrical current.
Make sure you have the appropriate sizes of screwdrivers and wire cutters/strippers, as they come in different sizes depending on the job at hand.
Electrical Materials
In addition to the basic tools, you will also need the following electrical materials:
- Electrical cable (Romex) – for running the electrical wires from the electrical panel to the new outlet location.
- Electrical outlet box – for housing the outlet and providing a secure connection point.
- Electrical outlet receptacle – for connecting and providing power to your electrical devices.
- Wire connectors – for joining and securing electrical wires together.
- Cable staples or clips – for securing the electrical cable to the wall or other surfaces.
Ensure that you have the correct gauge of electrical cable and wire connectors for your specific installation. The gauge refers to the thickness of the wire and is important for ensuring safe and efficient electrical flow.
Safety Equipment
Safety should always be a top priority when working with electricity. The following safety equipment is essential for installing a new electrical outlet:
- Safety glasses – to protect your eyes from any potential hazards.
- Work gloves – to protect your hands from sharp edges and potential electrical shocks.
- Non-contact voltage tester – to verify that the power is off before you start working.
- Circuit breaker lockout device – to prevent accidentally switching on the circuit while you are working on it.
- Fire extinguisher – to have on hand in case of any electrical fires.
Make sure to wear the appropriate safety equipment throughout the installation process to minimize the risk of injury.

Turning off the Power
Before you begin any electrical work, it is essential to turn off the power to the specific circuit you will be working on. This will help prevent electrical shocks and other potential hazards.
Locating the Electrical Panel
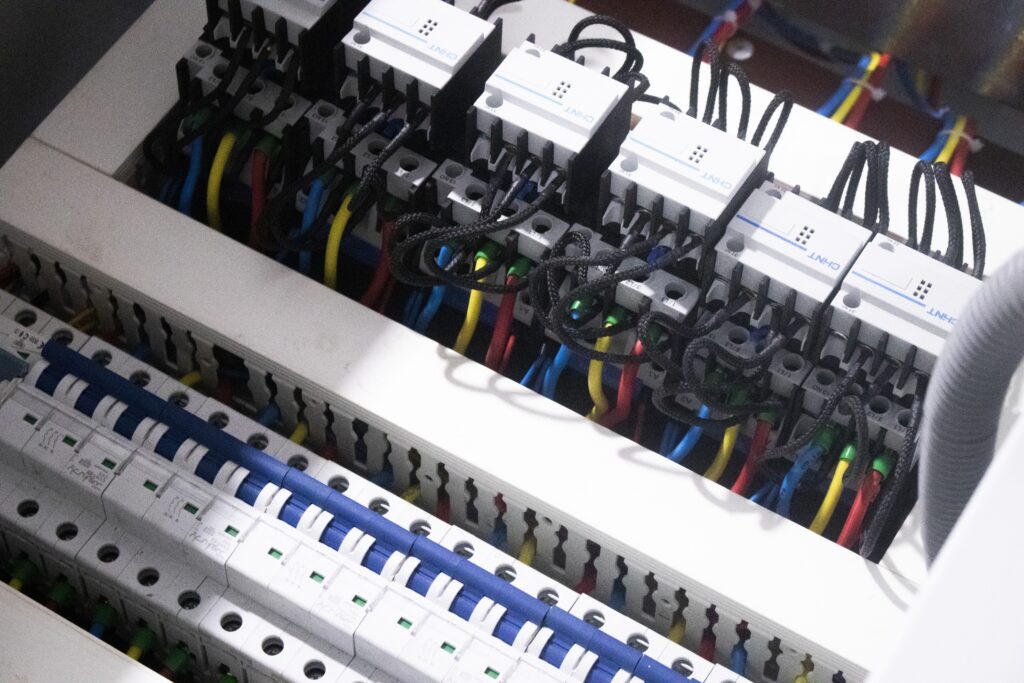
The electrical panel, also known as the breaker box or circuit breaker panel, is where the main electrical supply for your home is distributed and managed. It is usually located in a basement, utility room, or garage.
Take some time to locate your electrical panel and familiarize yourself with its layout. The panel consists of rows of circuit breakers or fuses that control the different circuits throughout your home.
Identifying the Correct Circuit
Once you have located the electrical panel, you need to identify the correct circuit that powers the area where you will be installing the new outlet. This can be done by referring to the panel’s circuit directory or by trial and error.
Turn off lights or unplug devices in the area where the new outlet will be installed. Then, flip the circuit breaker switches one by one while checking if the power to that area has been cut off. When the power is successfully turned off, the lights should go out, and devices should no longer function.
Switching Off the Circuit
With the correct circuit identified, flip the corresponding circuit breaker switch to the “Off” position. This will cut off the power supply to the circuit and ensure your safety while working on the installation.
To provide an additional layer of safety, consider using a circuit breaker lockout device to prevent anyone from accidentally switching on the circuit while you are working on it. This device fits over the circuit breaker switch and securely locks it in the “Off” position.
Always double-check with a non-contact voltage tester to ensure that the power is off before proceeding with the installation.
Choosing the Outlet Location
Choosing the right location for your new electrical outlet is important for both functionality and aesthetics. Consider the following factors when determining the placement of the outlet.
Determining the Required Height
The height at which the outlet should be installed is determined by local electrical codes and personal preference. In general, outlets are commonly installed around 12 to 18 inches above the floor. However, certain areas, such as kitchens or workshops, may require outlets to be installed at a higher height to accommodate specific appliances or work surfaces.
Take into account any furniture or other fixtures that may obstruct the outlet or make it less accessible. Placing the outlet at a convenient height ensures easy access for plugging and unplugging devices.
Selecting a Suitable Wall
The wall on which you intend to install the new outlet should be able to support the outlet box securely. It should be a suitable distance from existing power sources to avoid overcrowding and potential overloading of circuits.
Additionally, consider the distance from the electrical panel to minimize the length of wiring required. Plan the route the wiring will take from the electrical panel to the outlet to ensure a neat and efficient installation.
Considering Accessibility
Accessibility is an important factor when choosing the outlet location. Ensure that the outlet is easily accessible and not obstructed by furniture, appliances, or other objects. This will make it easier to safely connect and disconnect devices and ensure that the outlet is not accidentally damaged.
When planning the location, consider how devices will be plugged in and the length of their power cords. This will help determine the optimal placement of the outlet.

Preparing the Outlet Box
Preparing the outlet box involves selecting the proper box type, marking and cutting the opening in the wall, and securing the box to the wall.
Selecting the Proper Box Type
Depending on the location and application of the outlet, different box types may be required. Standard plastic or metal outlet boxes are commonly used in residential settings. However, special boxes may be needed for specific installations, such as those in outdoor or damp environments.
Determine the box type by considering local electrical codes, specific installation requirements, and the chosen outlet type. Select a box that provides adequate space for the wires and maintains the required clearance between the wires and the box.
Marking and Cutting the Opening
Once you have selected the appropriate box type, it is time to mark and cut the opening in the wall where the box will be installed. Turn off the power to the circuit and use a stud finder to locate any studs or obstacles behind the wall.
Using the outlet box as a template, mark the outline of the opening on the wall. Make sure the opening is large enough to accommodate the box but not too big, as this can weaken the wall.
Using a drywall saw or a reciprocating saw, carefully cut along the marked outline to create the opening. Take your time during this step to ensure an accurate and clean cut.
Securing the Box to the Wall
After cutting the opening, insert the outlet box into the opening in the wall. Place the box flush against the wall surface and secure it in place using screws or mounting brackets. Ensure that the box is level and firmly attached to the wall to provide a stable base for the outlet.
Wiring the Outlet
Wiring the outlet involves gathering the wires, stripping them, and connecting them to the outlet.
Gathering the Wires
Before starting the wiring process, ensure that the power is turned off at the circuit breaker. Gather the necessary wires, including the supply cable from the electrical panel and any additional cables for downstream connections.
Ensure that all wires are of the appropriate gauge and insulation type for the circuit and installation. The electrical cable used differs depending on the voltage requirements and local electrical codes.
Stripping the Wires
Using a wire cutter/stripper, remove approximately ¾ inch of insulation from the end of each wire. This will expose the copper conductors inside. Be careful not to damage the actual wires as you strip the insulation.
If necessary, separate the individual conductors within the cable if they are bundled together. This might be necessary when connecting wires to specific terminals on the outlet.
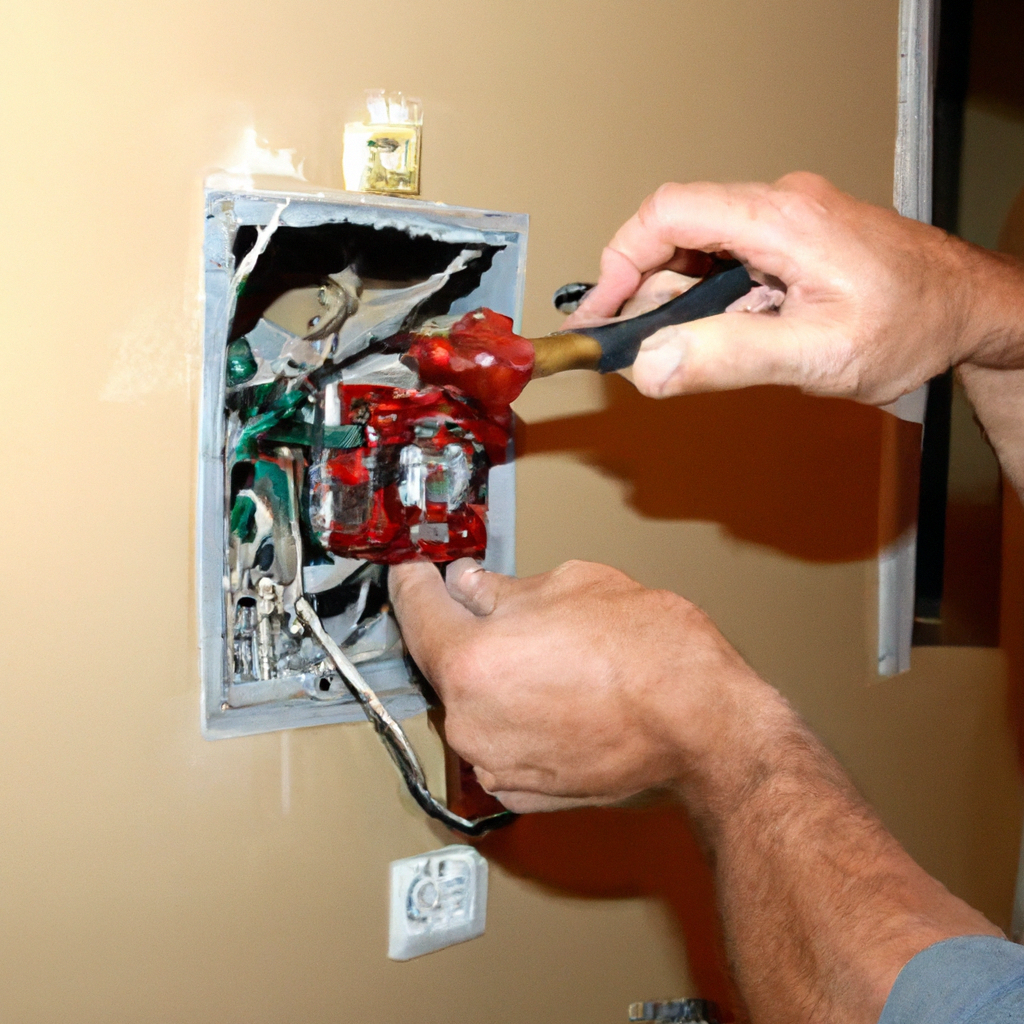
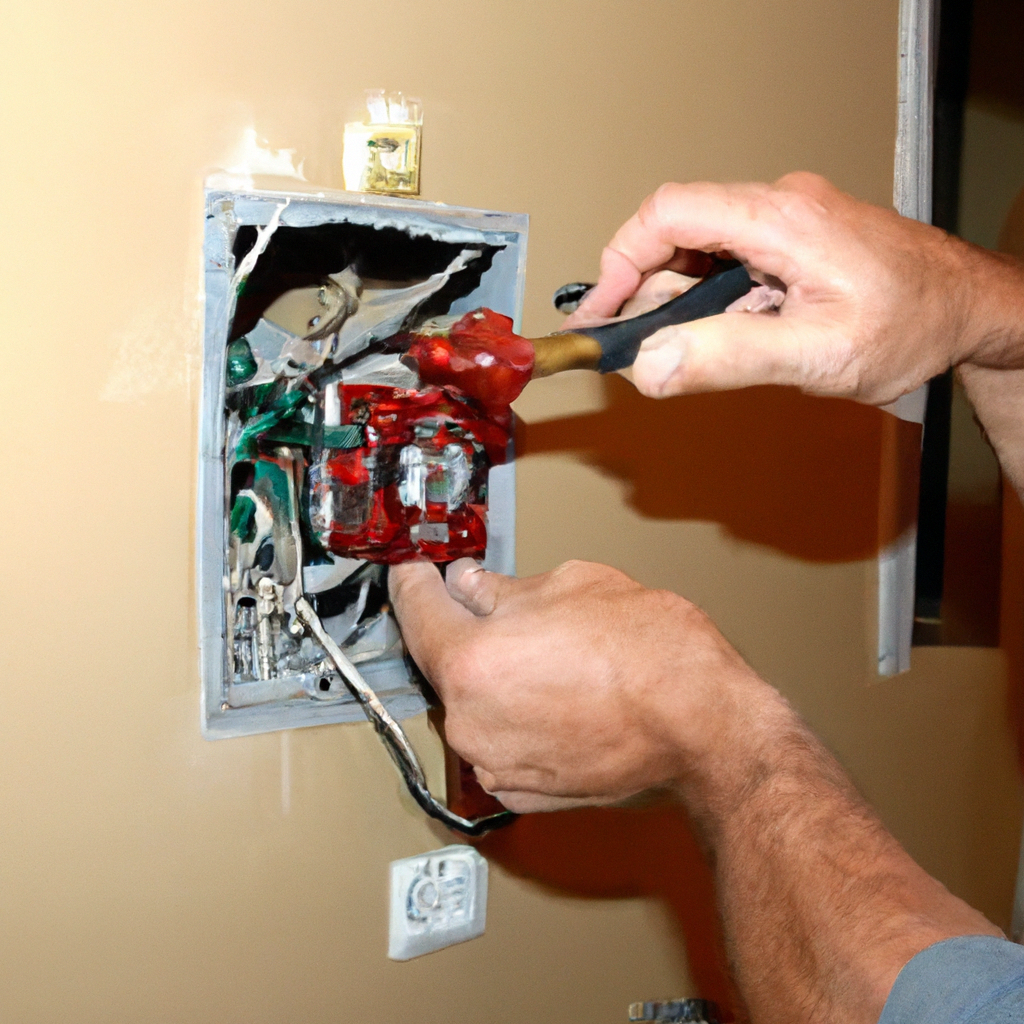
Connecting the Wires to the Outlet
With the wires stripped, it’s time to connect them to the outlet. Most outlets have two brass-colored screws, one silver-colored screw, and a green screw for the ground wire.
Connect the black (hot) wire to one of the brass-colored screws, the white (neutral) wire to the silver-colored screw, and the bare or green (ground) wire to the green screw. Tighten the screws securely, ensuring a strong and reliable connection.
When connecting wires to the outlet, it is essential to follow the manufacturer’s instructions and the specific wiring diagrams. Incorrect wiring can result in a faulty outlet or even electrical hazards.

Grounding the Outlet
Grounding an outlet is an important safety measure that helps protect against electrical shocks. This involves connecting the outlet to the grounding system in your home.
Understanding Grounding
Grounding provides a path for electrical current to safely discharge in the event of a fault or surge. It helps prevent electrical shocks and protects sensitive electronic devices from damage.
The grounding wire, typically bare or green, is connected to the grounding terminal of the outlet and then to the grounding system of your home. This allows excess electrical current to flow harmlessly into the ground.
Connecting the Ground Wire
To ground the outlet, connect the bare or green grounding wire to the green screw on the outlet. Ensure that the wire is securely attached and that there is no exposed conductor.
If the outlet box is metal, it should also be grounded. Connect a short grounding wire, also known as a pigtail, from the grounding screw on the outlet to a grounding screw or metal box connector inside the outlet box. This ensures that the outlet box itself is properly grounded.
Verifying Proper Grounding
It is important to verify the effectiveness of the grounding connection to ensure proper function and safety. Use a multimeter or a circuit tester to check for continuity between the grounding terminal of the outlet and the grounding system.
If you are unsure about the grounding or encounter any issues, consult a qualified electrician to ensure that the outlet is grounded correctly.
Installing the Outlet
Once the wiring and grounding are complete, it is time to install the outlet into the outlet box.
Attaching the Outlet to the Box
Align the outlet’s mounting holes with the screws or brackets inside the outlet box. Gently push the outlet onto the screws or brackets, ensuring a secure fit. If the outlet is attached using screws, tighten the screws until the outlet is firmly held in place.
Make sure that the outlet is oriented correctly so that the grounding terminal is at the bottom, and the brass screws are for the hot wire and the silver screw for the neutral wire.
Securing the Outlet
After attaching the outlet to the box, gently push any excess wiring back into the outlet box. Ensure that there is enough wire to reach the outlet terminals comfortably, without being overly cramped.
If the outlet has mounting screws, use a screwdriver to tighten them, ensuring that the outlet is secure and does not move when pressure is applied.
Double-Checking the Connections
Before proceeding, double-check all the connections to make sure they are secure and properly attached. Gently tug on each wire to ensure they are firmly connected to the outlet terminals. This step is crucial for avoiding loose and potentially dangerous connections.

Restoring the Power
After completing the installation and double-checking all the connections, it is time to restore power to the circuit.
Returning to the Electrical Panel
Now that the outlet is installed and secure, return to the electrical panel. Locate the circuit breaker that was turned off earlier and flip it back to the “On” position.
Switching On the Circuit
With the circuit breaker switched on, the power is restored to the new outlet. Test the outlet by plugging in a light or a small device to ensure it is functioning correctly. If the light or device turns on, the outlet has been installed successfully.
Testing the Outlet
It is important to test the outlet to ensure that it is working as expected. Use a voltage tester to check for the presence of electrical current at the outlet. Test both the hot and neutral slots of the outlet to ensure that there is proper voltage and that it matches your electrical needs.
If you encounter any issues, such as no power or improper voltage, double-check the wiring connections and contact a licensed electrician if necessary.
Troubleshooting Common Issues
Even with careful installation, issues may arise with the new electrical outlet. It is important to be aware of common problems and how to troubleshoot them.
No Power to the Outlet
If there is no power to the outlet after installation, check the following:
- Ensure that the circuit breaker is in the “On” position.
- Double-check the wiring connections, ensuring they are securely attached.
- Test the outlet with a voltage tester to verify the presence of electrical current.
- If the outlet still has no power, consult a professional electrician to investigate the issue further.
Outlet Not Working as Expected
If the outlet is not working as expected, such as not providing power or causing intermittent issues, consider the following troubleshooting steps:
- Verify that the wiring connections are secure and correctly connected.
- Test the outlet with a voltage tester to ensure proper voltage.
- Check for any visible damage to the outlet or wiring.
- Replace the outlet if it appears faulty or damaged.
If these steps do not resolve the issue, consult a qualified electrician for further assistance.
Safety Concerns
If at any point during the installation process you notice sparks, smoke, or a burning smell, immediately turn off the power at the circuit breaker and contact a licensed electrician. These signs indicate a potential electrical hazard and should not be ignored.
Maintaining safety is crucial when working with electricity. If you are unsure of any aspect of the installation or encounter any issues, it is always best to consult a knowledgeable professional to ensure a safe and successful installation of your new electrical outlet.
