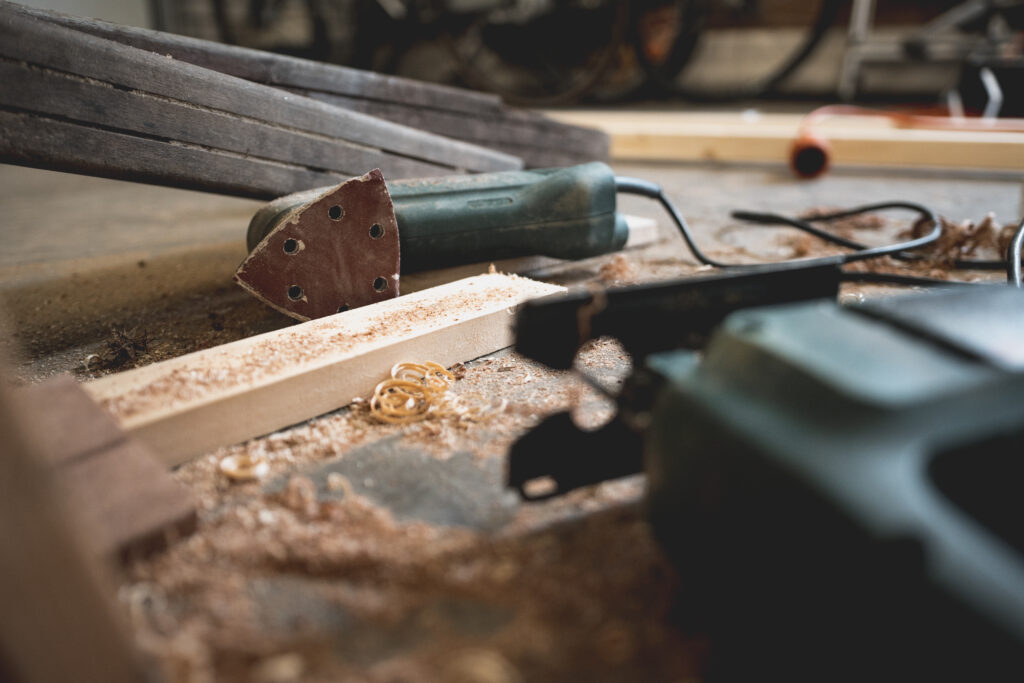
So, you’ve been dreaming about lounging on your very own deck, soaking up the sun and enjoying the outdoors. But where to begin? Building a basic wooden deck may seem like a daunting task, but fear not! In this article, we’ll guide you step-by-step through the process, making it easier than ever to bring your deck dreams to life. From designing and planning to selecting materials and construction techniques, we’ve got you covered. So grab your tools and get ready to embark on a rewarding DIY project that will transform your outdoor space into a haven of relaxation and entertainment.

Designing Your Deck
Determining the deck size
When designing your deck, the first step is to determine the size that best fits your needs. Consider the available space in your yard and how you plan to use the deck. Do you envision it as a cozy outdoor seating area or a place to host large gatherings? Take measurements of the area and consider any existing structures or obstacles that may affect the deck’s size. Keep in mind building codes and regulations that may dictate certain dimensions.
Choosing the deck style
Once you have determined the size, it’s time to think about the style of deck you want. There are various options to consider, such as a traditional rectangular shape, a multi-level deck, or even a curved design. Think about the overall aesthetic you want to achieve and how it will blend with your home and landscaping. Additionally, consider any special features you might want to incorporate, such as built-in seating or a pergola.
Selecting the right materials
Choosing the right materials for your deck is crucial to ensure its durability and longevity. The most common materials for decking boards are wood, composite, and PVC. Each material has its own benefits and considerations. Wood provides a natural and classic look but requires regular maintenance. Composite decking offers low maintenance and durability, but may lack the authentic appearance of wood. PVC decking is highly resistant to moisture and insects, making it a great choice for humid and coastal areas. Consider your budget, maintenance preferences, and the overall aesthetic when selecting the materials for your deck.
Obtaining Tools and Materials
Tools needed for the project
Before you start building your deck, it is essential to have the right tools on hand. Here are some common tools you may need:
- Tape measure
- Level
- Circular saw or miter saw
- Power drill
- Screwdriver
- Hammer
- Chalk line
- Shovel
- Post hole digger
- Safety equipment (goggles, gloves, etc.)
Having the necessary tools will make the construction process smoother and more efficient. If you don’t already own some of these tools, consider borrowing or renting them to avoid unnecessary expenses.
Materials required for the deck
In addition to tools, you will also need several materials to build your deck. The specific materials will vary depending on your design and chosen decking material. Here are some common materials you may need:
- Decking boards
- Ledger board
- Support beams
- Joists
- Post anchors or footings
- Railing posts
- Balusters
- Handrails
- Concrete mix (if using footings)
- Deck screws or nails
- Waterproofing or stain/sealer (if using wood)
Make a list of the materials you will need based on your design and consult with your local hardware store for recommendations and availability.
Calculating the quantity of materials
To ensure you purchase the correct amount of materials, it is important to calculate the quantities required for your deck. Measure the dimensions of the deck and consult the manufacturer’s guidelines for the specific materials you’ve chosen. For example, if using decking boards with a standard width of 6 inches and a length of 8 feet, calculate the number of boards needed based on the total square footage of the deck. Take into account any wastage or additional boards needed for angled cuts or stairs. It’s always better to have a little extra material on hand than to run out in the middle of the project.
Preparing the Ground
Clearing the area
Before you start any construction, it is essential to clear the area where your deck will be built. Remove any plants, rocks, or debris from the construction site. Clearing the ground will not only provide a clean and level surface for your deck but also prevent any potential damage or issues in the future.
Removing existing obstacles
If there are existing obstacles in the construction area, such as trees, shrubs, or old structures, you will need to remove them before building the deck. Take the necessary precautions to avoid damaging any nearby structures or utilities. If you’re unsure about removing certain obstacles, consult with a professional to ensure a safe and efficient process.
Leveling the ground
Once the area is cleared, it’s time to level the ground for the foundation of your deck. Use a shovel and a level to remove any high spots and fill in any low areas. A level ground is essential for the stability and durability of your deck. Consider using a string level or laser level to ensure an even surface across the entire deck area. Take your time during this step to ensure a solid foundation for your deck.
Building the Foundation
Digging post holes
The foundation of your deck starts with digging post holes. These holes will hold the support beams that provide the structural integrity for your deck. The depth and diameter of the post holes will depend on the local building codes and the size of your deck. It is important to dig the post holes to the required depth to ensure stability and prevent shifting over time.
Installing concrete footings
If your local building codes require it or you prefer extra stability, you can install concrete footings in the post holes. This involves pouring concrete into the holes and allowing it to cure. The concrete footings will provide a solid base for the support beams and ensure the longevity of your deck. Follow the instructions provided with the concrete mix and consult local building regulations to ensure compliance.
Setting up support beams
After the post holes are prepared, it’s time to set up the support beams for your deck. Place the support beams in the post holes or on the concrete footings and secure them with appropriate hardware, such as brackets or anchor bolts. Make sure the beams are level and properly aligned before moving forward. The support beams will carry the weight of the deck and distribute it evenly, so take extra care during this step to ensure a strong foundation.

Installing Deck Joists
Measuring and marking joist layout
Once the foundation is in place, it’s time to install the deck joists. Measure and mark the layout of the joists according to your design and the manufacturer’s recommendations. The spacing between the joists will depend on the size and span of the decking boards. Use a chalk line or string to create straight and parallel lines for accurate installation.
Attaching ledger board
If your deck is attached to your house, you will need to install a ledger board. The ledger board is attached to the exterior wall of your house and provides support for one side of the deck. Use proper flashing and waterproofing techniques to ensure the ledger board is securely attached and protected from water damage.
Positioning and securing joists
Once the ledger board is installed (if applicable), position the deck joists along the markings you made earlier. Secure the joists to the support beams using appropriate hardware, such as joist hangers or screws. Ensure the joists are level and properly aligned to support the decking boards. Take your time during this step to ensure the structural integrity of your deck.
Laying the Decking Boards
Choosing the right decking material
Before you start laying the decking boards, it is important to choose the right material for your desired look and maintenance preferences. If you’ve chosen wood decking boards, consider the type of wood (e.g., pressure-treated lumber, cedar, or tropical hardwoods) and its resistance to moisture, insects, and weathering. Composite and PVC decking boards offer low maintenance and long-lasting options but may have different installation requirements. Choose the material that suits your preferences and budget.
Starting with the first board
To begin laying the decking boards, start with the first board at one corner of the deck. Leave a small gap between the board and any adjacent structures, such as the house or railings, for expansion and contraction. Secure the first board in place using appropriate screws or nails, depending on the chosen material. Use a level to ensure each board is straight and level as you progress.
Securing the remaining boards
Continue installing the remaining decking boards, leaving a small gap between each board for drainage and expansion. Use a carpenter’s square or spacer tool to maintain consistent spacing between the boards. Secure each board to the joists using the recommended fasteners and techniques for the chosen material. Make sure each board is aligned, level, and securely attached to provide a stable and attractive deck surface.

Adding Balusters and Rails
Installing posts for railing
If your deck design includes railing, you will need to install posts to support the railing system. Determine the location and spacing for the posts, ensuring compliance with local building codes and regulations. Install the posts by securing them to the deck surface or the support beams. Take into account the desired height and style of the railing when positioning the posts.
Securing railings and balusters
Once the posts are in place, it’s time to secure the railings and balusters. Depending on your chosen railing system, you may need to attach the railings to the posts using brackets or screws. Follow the manufacturer’s instructions for proper installation techniques. Then, attach the balusters to the bottom rail, ensuring proper spacing for safety and aesthetics. Take your time during this step to ensure a sturdy and visually appealing railing system.
Attaching handrails
If your deck design includes handrails, attach them to the top railing or balusters for added safety and support. Position the handrails at the desired height and secure them using appropriate hardware. Make sure the handrails are securely attached and can withstand pressure and weight. Always consider safety guidelines and accessibility requirements when installing handrails.
Applying Finishing Touches
Staining or sealing the deck
To protect your wooden deck and enhance its appearance, consider staining or sealing the wood. Choose a stain or sealer that suits the type of wood and the desired aesthetic. Before applying any product, clean the deck surface to remove any debris or stains. Follow the manufacturer’s instructions for proper application techniques and the recommended number of coats. Staining or sealing your deck will not only improve its durability but also add a beautiful finish.
Adding decorative elements
Once your deck is structurally complete, you can add decorative elements to enhance its overall look and functionality. Consider adding built-in seating, planters, or lighting fixtures to create a cozy and inviting atmosphere. Incorporate your personal style and design preferences into these decorative elements to make your deck a truly unique and enjoyable space.
Installing stairs or ramps
If your deck is elevated or designed to provide access to different areas of your yard, you may need to install stairs or ramps. Consider the safety guidelines and local building codes when designing and installing stairs or ramps. Ensure the dimensions, slope, and railing height meet the required standards. Take into account the materials used for the stairs or ramp to ensure durability and easy maintenance.
Performing Safety Checks
Inspecting the structure for stability
After completing the construction of your deck, it is essential to perform safety checks to ensure its stability. Inspect the entire structure, including the foundation, support beams, joists, and decking boards. Look for any signs of shifting, sagging, or damage. Tighten any loose screws or fasteners and make any necessary repairs or adjustments. A structurally sound deck will guarantee the safety and longevity of your outdoor space.
Verifying railing height and spacing
If your deck includes railing, verify the height and spacing of the railings and balusters. Check that the height meets the required standards to prevent accidental falls. Ensure the spacing between the balusters is not large enough for a child or animal to slip through. Making these checks will help provide a safe and secure environment for everyone enjoying your deck.
Ensuring proper drainage
One often overlooked aspect of deck construction is ensuring proper drainage. Water pooling on the deck surface can lead to deterioration and damage over time. Check that the deck boards are properly spaced to allow rainwater to drain off the surface. Ensure the slope of the deck is sufficient to prevent water accumulation. Consider installing a drainage system or waterproof membrane to further protect your deck and increase its longevity.
Maintaining Your Wooden Deck
Regular cleaning and debris removal
To maintain the beauty and longevity of your wooden deck, regular cleaning and debris removal are crucial. Sweep the deck surface regularly to remove leaves, dirt, and other debris. Use a mild detergent or specialized deck cleaner to remove stains or mildew. Avoid using harsh chemicals or pressure washers that may damage the wood. Regular cleaning will not only keep your deck looking its best but also prevent mold or rot from forming.
Periodic inspections and repairs
Perform periodic inspections of your deck to identify any signs of wear, damage, or rot. Look for cracked or splintered boards, loose fasteners, or any structural issues. Make any necessary repairs promptly to prevent further deterioration. Replace any damaged or rotted boards to maintain the structural integrity and safety of your deck. Keeping up with regular inspections and repairs will ensure your deck remains in top condition for years to come.
Reapplying stain or sealer
Over time, the protective coating on your wooden deck will wear off. It is important to periodically reapply stain or sealer to maintain the wood’s appearance and protect it from the elements. Follow the manufacturer’s instructions for reapplication intervals and techniques. Before reapplying, clean the deck surface thoroughly to remove any dirt or previous coating remnants. Regularly reapplying stain or sealer will keep your deck looking fresh and extend its lifespan.
Building a basic wooden deck requires careful planning, proper tools, and quality materials. By following the steps outlined in this article, you can create a functional and beautiful outdoor space. Remember to prioritize safety throughout the construction process and maintain your deck regularly to extend its lifespan. With a little effort and attention to detail, you’ll soon be enjoying your own personalized outdoor oasis.