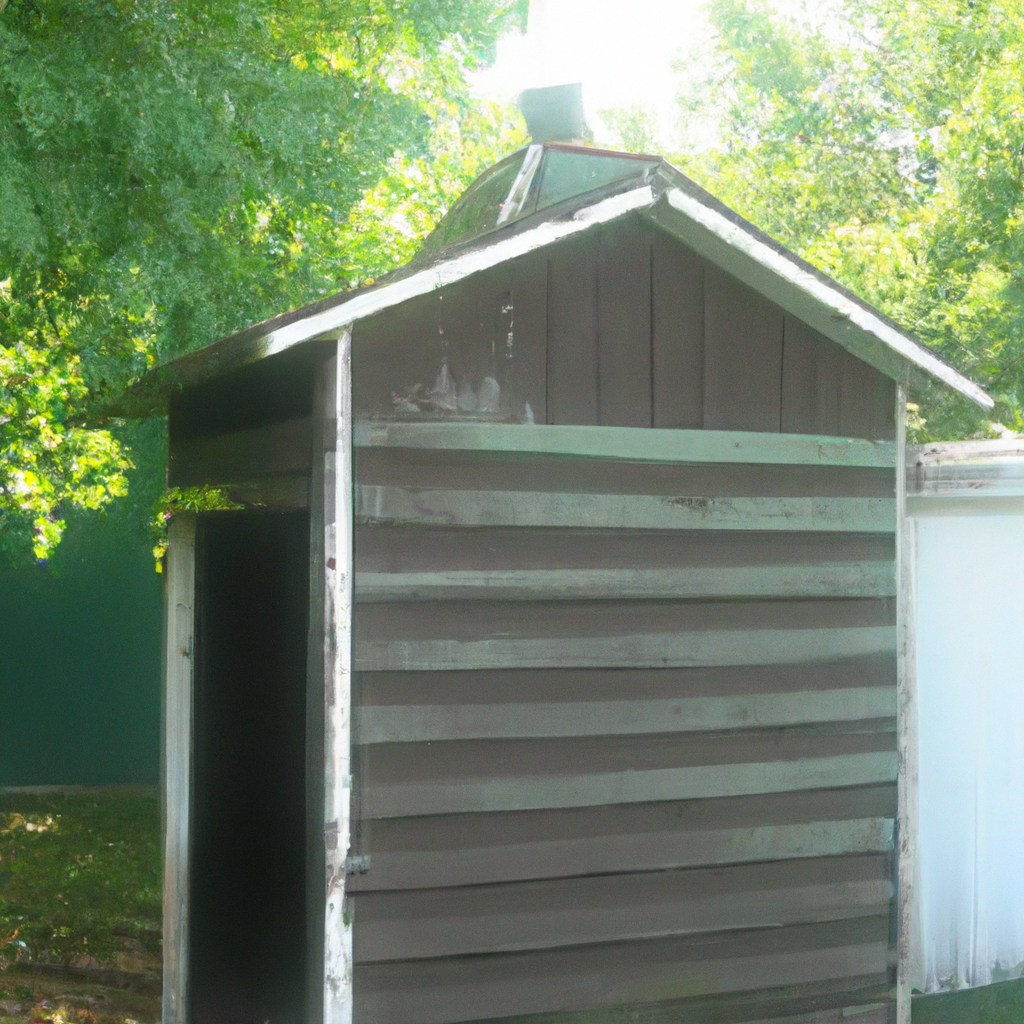
You’re ready to embark on a new project – building a basic outdoor shed. Whether you need some extra storage space or a quiet spot to retreat to, this article will guide you through the process. From choosing the right location to gathering the necessary materials and putting it all together, we’ll help you build a functional and stylish shed that will enhance your outdoor space. So, grab your tools and get ready to create a space that’s uniquely yours.
Choosing the Right Location
Considering the purpose
When choosing the location for your outdoor shed, it’s important to consider its purpose. Are you planning to use it for storage, as a workspace, or maybe as a cozy backyard retreat? The purpose of the shed will determine factors such as size, accessibility, and proximity to your house.
Checking local building codes
Before you start building your shed, it’s crucial to check local building codes and regulations. Different areas have specific guidelines regarding the size, height, setback requirements, and even the materials you can use. Contact your local building department or consult the zoning regulations to ensure compliance and avoid any potential issues in the future.
Evaluating ground conditions
Another important consideration when choosing the location is the ground conditions. Is the area prone to flooding or sitting water? Is the soil stable enough to support the weight of the shed? Evaluating the ground conditions will help you determine if any site preparation is needed, such as leveling the ground or installing a foundation to ensure stability and longevity of your shed.
Determining the Shed Size and Design
Assessing storage needs
One of the key factors in determining the size of your shed is assessing your storage needs. Consider the items you plan to store in the shed, such as gardening tools, outdoor furniture, or sports equipment. Make a list of these items and estimate the amount of space they will require. This will give you a good idea of the minimum size your shed should be to accommodate your storage needs.
Planning for future use
While it’s essential to build a shed that meets your current needs, it’s also a good idea to plan for future use. Will you need additional storage space in the future? Are you considering using the shed for other purposes down the line? Anticipating your future needs will help you determine if you should build a slightly larger shed or include features that can easily be adapted for different uses.
Selecting a shed design
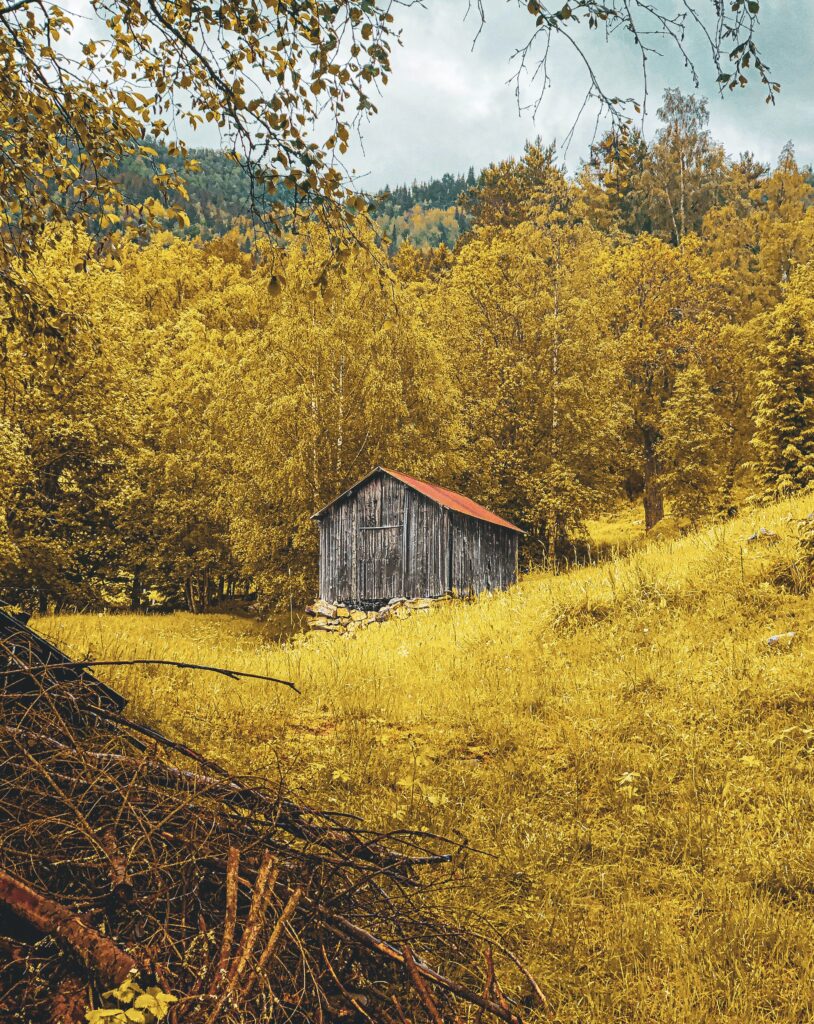
Once you have determined the size of your shed, it’s time to choose a design that suits your personal preferences and matches your home’s aesthetic. There are various shed designs available, such as gable, gambrel, or even a more modern design. Consider factors such as roof style, window placement, and overall design features to find a shed design that not only meets your functional needs but also enhances the overall look of your outdoor space.
Gathering Materials and Tools
Creating a materials list
Before you begin construction, it’s essential to create a comprehensive materials list. This list should include all the necessary materials for the shed’s frame, walls, roofing, and finishes. Consult with a local home improvement store or a professional to ensure you have all the correct materials and quantities. This will help you streamline the construction process and ensure you have everything you need on hand.
Obtaining necessary tools
In addition to materials, gathering the right tools is crucial for a successful shed-building project. Some of the basic tools you may need include a measuring tape, circular saw, hammer, drill, level, and a square. Depending on the complexity of your shed design, you may also need additional tools like a miter saw or a nail gun. Make a list of all the tools needed and ensure they are in good working condition before you start construction.
Choosing quality materials
Choosing quality materials is essential to ensure the durability and longevity of your shed. Opt for pressure-treated lumber for the frame and ensure it is properly rated for outdoor use. Consider using weather-resistant materials for the walls, roof, and finishes to protect your shed from the elements. Investing in quality materials upfront will save you time and money on repairs or replacements in the long run.
Preparing the Site
Clearing the area
Once you have chosen the location for your shed, the first step in preparing the site is clearing the area. Remove any obstacles, such as rocks, roots, or vegetation, that may interfere with the construction process. Clearing the area will create a clean and level surface for your shed.
Leveling the ground
Next, you’ll need to ensure that the ground is level. Use a shovel or a garden rake to remove any uneven spots or excess soil. A level surface is crucial for proper installation and stability of your shed. It will prevent any future issues, such as doors or windows not functioning properly or water pooling around the base.
Installing the foundation
Depending on your shed design and local building codes, you may need to install a foundation. Foundations provide stability and help protect your shed from moisture or shifts in the ground. Common types of shed foundations include concrete piers, gravel, or pressure-treated lumber skids. Follow the manufacturer’s instructions and local building regulations to properly install the foundation for your shed.
Constructing the Shed Frame
Building the base
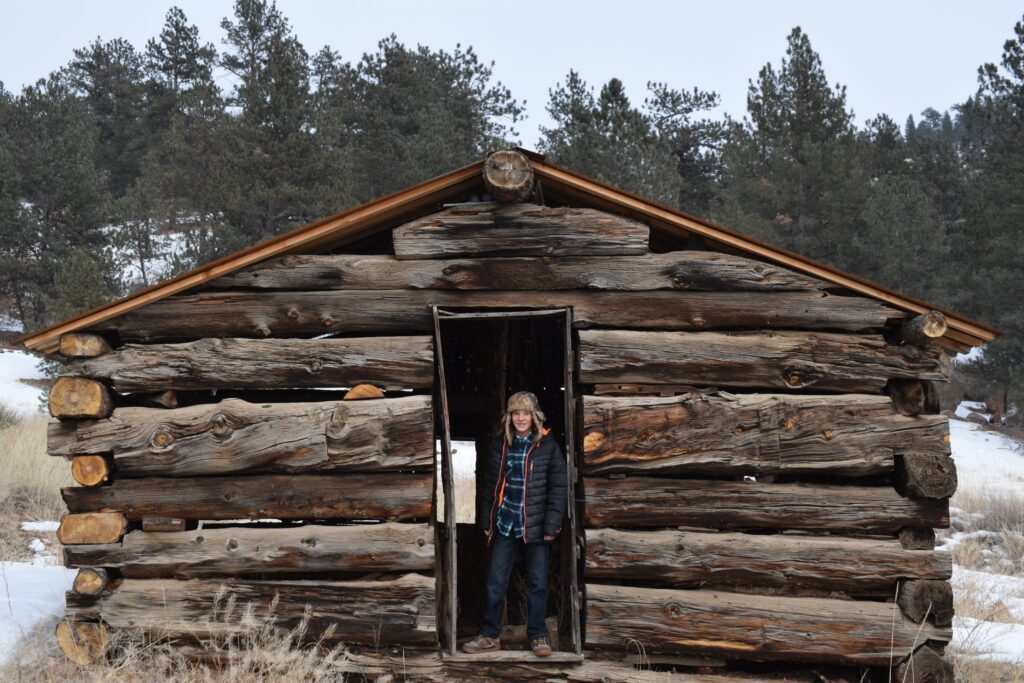
The base of the shed, also known as the floor frame, provides the foundation for the rest of the structure. Constructing a solid and level base is crucial for the overall stability and longevity of your shed. Use pressure-treated lumber for the floor joists and secure them with appropriate fasteners. Double-check the measurements and ensure the base is square before proceeding to the next step.
Framing the walls
Once the base is complete, you can start framing the walls of your shed. Measure and cut the wall studs according to your shed’s design and use a level and a square to ensure everything is properly aligned. Secure the wall studs together using nails or screws. Depending on your shed design, you may need to leave openings for doors and windows.
Adding the roof structure
After the walls are framed, it’s time to add the roof structure. The type of roof you choose will depend on your shed design. Common roof styles for outdoor sheds include gable, gambrel, or lean-to. Follow the design specifications and manufacturer’s instructions to properly install the roof trusses or rafters. This step is crucial for the shed’s overall strength and resistance to weather conditions.
Installing Doors and Windows
Choosing appropriate doors
Choosing the right doors for your shed is essential for functionality and security. Consider factors such as the size of the opening, the material of the door, and any desired features, such as windows or locks. Common types of shed doors include single doors, double doors, or sliding doors. Select a door that not only fits your shed design but also provides easy access to your stored items.
Installing door frame
Before installing the doors themselves, you’ll need to install the door frame. Measure the opening carefully and ensure it is level and square. Use appropriate fasteners to secure the door frame in place. Checking for proper alignment and functionality at this stage will save you time and frustration later on.
Adding windows
If you desire natural light or ventilation in your shed, consider adding windows. Windows not only enhance the aesthetics of the shed but also provide practical benefits. Measure and cut the openings for the windows and install them securely, ensuring proper insulation and weatherproofing. Additionally, consider adding screens or blinds to keep pests and direct sunlight at bay.

Building the Shed Walls
Creating wall frames
To build the walls of your shed, you’ll need to create wall frames. Measure and cut the wall studs and top and bottom plates according to your shed’s design. Use a level and a square to ensure the frames are properly aligned and square. Secure the wall frames together using fasteners, ensuring a sturdy and stable structure.
Attaching wall sheathing
Once the wall frames are complete, it’s time to attach the wall sheathing. Wall sheathing provides additional strength and acts as a barrier against the elements. Common options for wall sheathing include plywood or oriented strand board (OSB). Measure and cut the sheathing to fit each wall panel, leaving room for windows and doors. Secure the sheathing to the wall frames using appropriate fasteners.
Installing wall insulation
If you plan to use your shed year-round or need to regulate the temperature inside, consider installing insulation. Insulation will help maintain a comfortable environment inside the shed by reducing heat transfer. Common types of insulation for sheds include fiberglass batts or rigid foam insulation. Install the insulation between the wall studs, ensuring a snug fit and proper coverage. It’s important to seal any gaps or openings to prevent air leakage.
Roofing the Shed
Preparing for roofing
Before you start installing the roofing material, it’s important to prepare the shed. Ensure the roof structure is sturdy and properly aligned, and fix any potential issues, such as loose nails or gaps. Clean the roof surface and remove any debris or dust. Inspect the roof for any signs of damage or potential leaks.
Installing roof trusses
To properly support the roofing material, you’ll need to install roof trusses or rafters. Follow your shed design and manufacturer’s instructions to accurately place and secure the trusses. Use appropriate connectors and fasteners to ensure a strong and durable roof structure. Double-check the alignment and make any necessary adjustments before proceeding.
Covering the roof
After the trusses are installed and secured, it’s time to cover the roof. There are various roofing materials available, such as asphalt shingles, metal panels, or even thatch. Consider factors such as durability, weather resistance, and personal preference when selecting the roofing material. Follow the manufacturer’s instructions for installation to ensure proper coverage and protection against the elements.
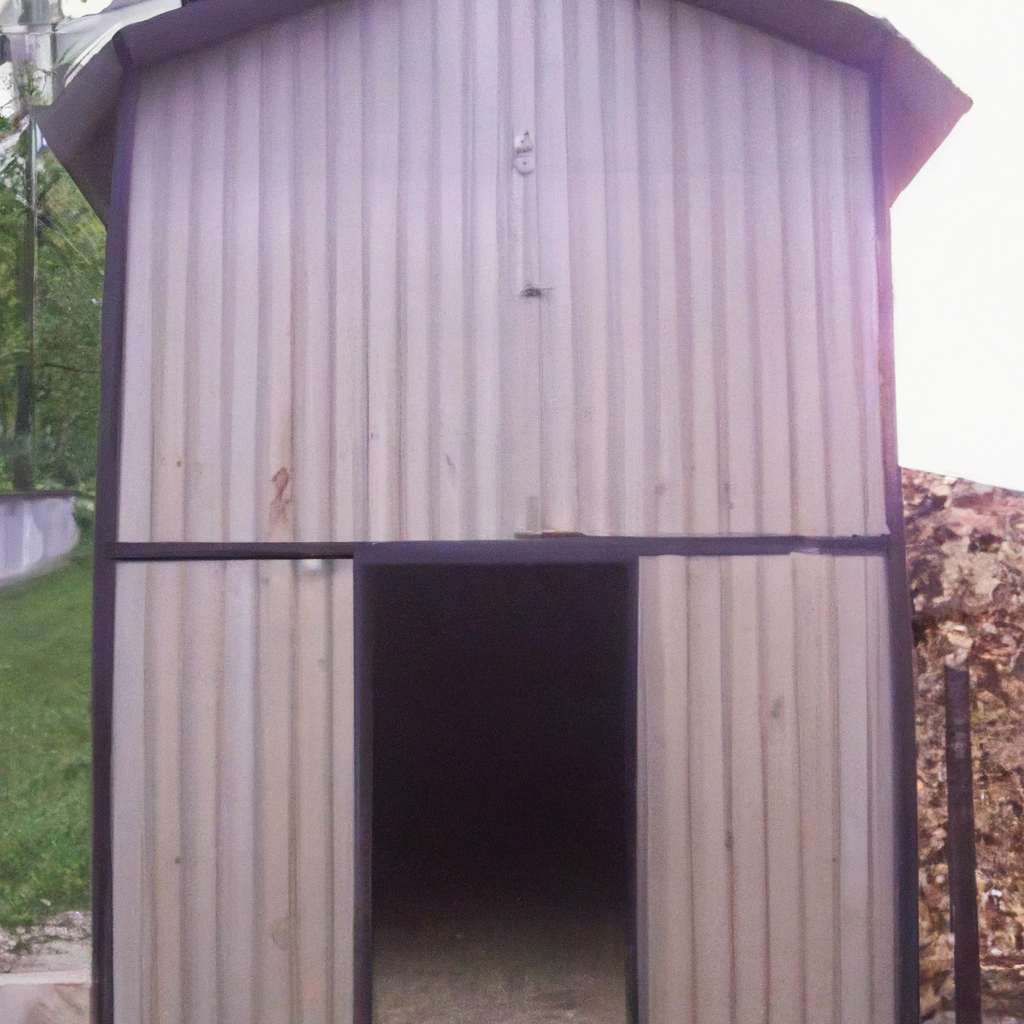
Adding Exterior Finishes
Applying siding or cladding
To enhance the appearance and protect the exterior of your shed, you can apply siding or cladding. Common options for shed exteriors include vinyl, wood, or fiber cement siding. Choose a material that complements your home’s exterior and fits your desired aesthetic. Follow the manufacturer’s instructions to properly install the siding, ensuring a clean and professional finish.
Finishing the roof edges
To complete the look of your shed, it’s important to finish the roof edges. This will not only enhance the appearance but also prevent water from seeping into the shed. Depending on your shed design, you can use various techniques, such as installing drip edges, flashing, or fascia boards. These will provide a neat and watertight finish to your shed’s roof.
Painting or staining the exterior
The final step in adding exterior finishes to your shed is painting or staining. This not only enhances the overall appearance but also provides protection against the elements. Choose a paint or stain color that complements your outdoor space and consider using products specifically formulated for exterior use. Follow the manufacturer’s instructions for preparing and applying the paint or stain, ensuring a long-lasting and beautiful finish.
Applying Interior Finishes
Insulating the interior
To create a comfortable environment inside your shed, consider insulating the interior walls. Insulation will help regulate the temperature and reduce noise transmission. Follow the same principles as for the exterior walls, ensuring a proper fit and seal. Additionally, consider using a vapor barrier to prevent moisture buildup and protect the insulation.
Installing drywall
Drywall provides a clean and finished look to the interior of your shed. Measure and cut the drywall panels to fit each wall, leaving room for windows and doors. Secure the drywall to the wall frame using appropriate screws or nails. Finish the seams with joint compound and apply multiple coats for a smooth and seamless finish. Sand the drywall surface and prime it before painting or wallpapering.
Adding shelving and storage
To maximize the functionality of your shed, consider adding shelving and storage solutions. Depending on your storage needs, you can install shelves, hooks, or racks to keep your tools, equipment, or other items organized. Customizable storage systems are available, allowing you to configure the space to fit your specific requirements. Take measurements and plan the layout before installing the storage solutions.
Building a basic outdoor shed may seem like a daunting task, but with careful planning and the right tools and materials, it can be an achievable DIY project. By following the steps outlined in this article, you’ll be well on your way to constructing a functional and aesthetically pleasing shed that meets your storage needs and enhances your outdoor space. Remember to always consult local building codes, use quality materials, and prioritize safety throughout the entire construction process. With patience and determination, you’ll soon have a beautiful outdoor shed that adds value and versatility to your property.
