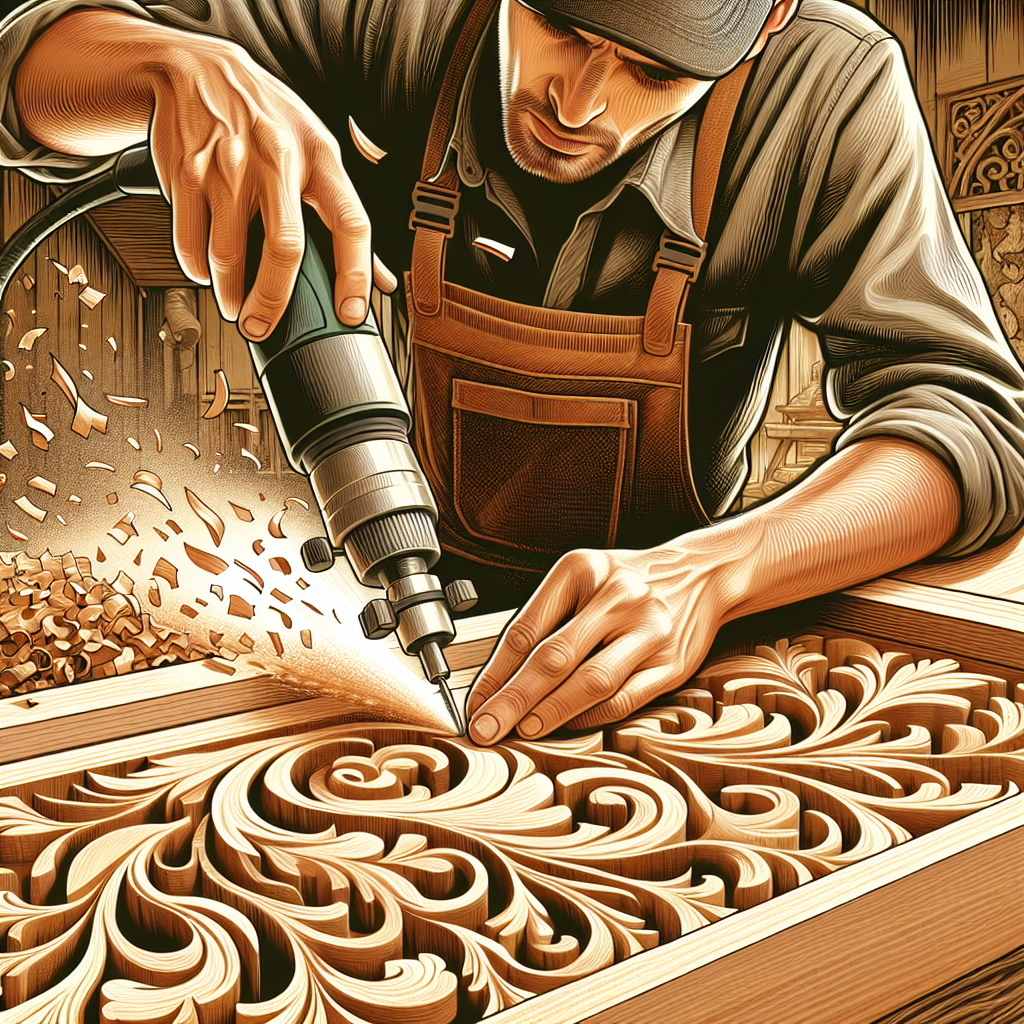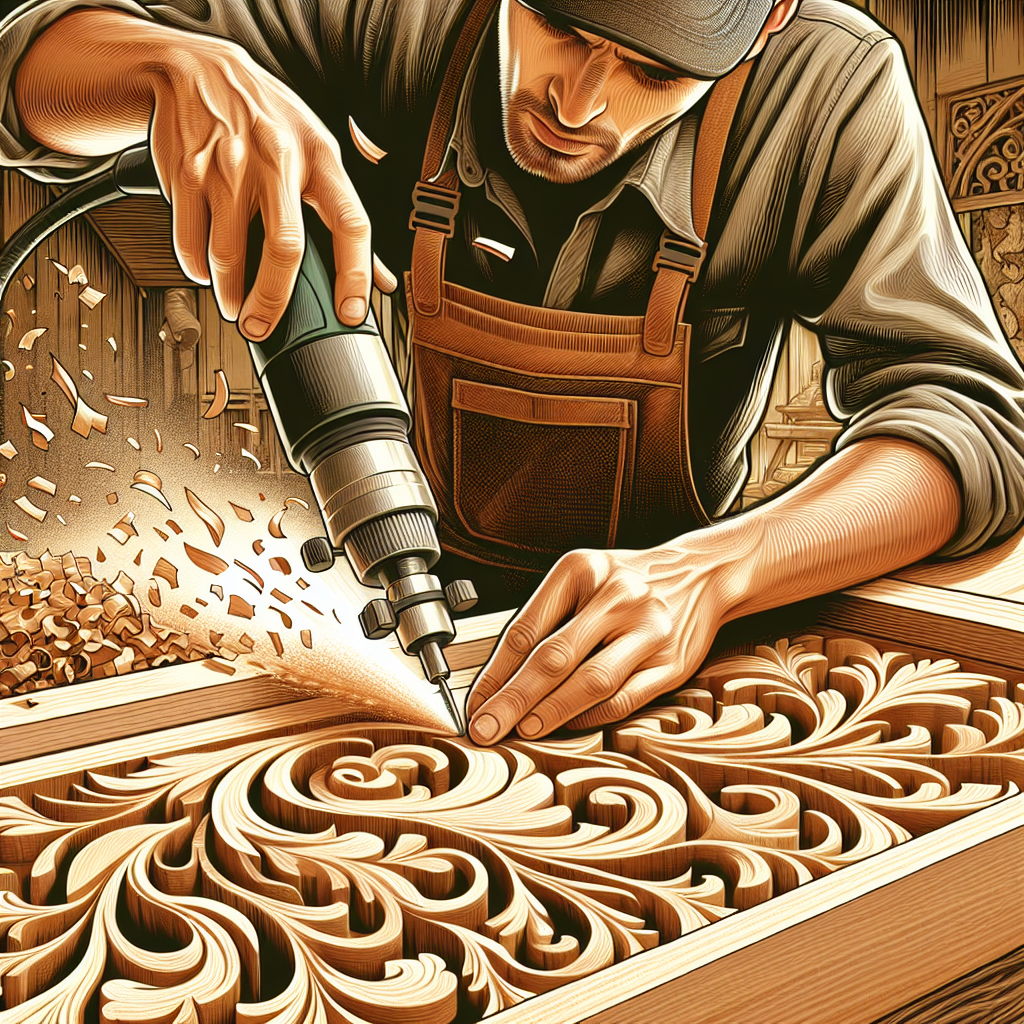
Have you ever wondered if you can use a router for making intricate decorative edges on wood? Well, the answer is a resounding yes! A router is a versatile tool that can transform plain pieces of wood into beautifully crafted masterpieces. Whether you’re a woodworking enthusiast or just starting out, using a router to create decorative edges can add a touch of elegance and finesse to your projects. In this article, we will explore how a router can be your secret weapon in achieving stunning and professional-looking woodworking designs.
Choosing the Right Router
When it comes to creating decorative edges on wood, choosing the right router is essential. There are several factors to consider before making a purchase. First and foremost, you need to evaluate the power and speed of the router. A router with higher horsepower will be more capable of handling larger projects and tougher materials. Similarly, a router with variable speed options allows you to adjust the speed according to the specific task at hand. This flexibility is crucial when it comes to achieving different edge designs.
Furthermore, it is important to assess the base and bit compatibility of the router. The base of the router should be sturdy and provide stability while working on various wood surfaces. Additionally, you need to ensure that the router is compatible with a wide range of router bits. Different bits are used to create different profiles and designs, so having compatibility with a variety of bit options expands your creative possibilities.
Lastly, it is worth checking for additional features that certain routers may offer. Some routers come equipped with built-in dust collection systems, which help keep your workspace clean and minimize airborne particles. Others may have soft-start features that gradually increase the router’s speed, reducing the likelihood of jerking and kickback. These additional features can greatly enhance your woodworking experience and make your decorative edge projects more efficient.
Selecting the Appropriate Bit
Once you have chosen the right router, selecting the appropriate router bit is the next vital step in achieving the desired decorative edge on your wood. Router bits come in various profiles, and each profile creates a different effect. Understanding the different router bit profiles is crucial in making the right choice.
Some common router bit profiles include straight, roundover, chamfer, cove, ogee, and roman ogee. Each profile creates a unique edge design, catering to different aesthetic preferences. By experimenting with different profiles, you can achieve a wide range of decorative edge styles.
When choosing the right bit, it is important to consider the design you want to create. For example, if you are looking to create a rounded or beaded edge, a roundover bit would be suitable. On the other hand, if you prefer a more intricate and elaborate design, an ogee or a roman ogee bit would be a better choice. Taking the time to understand the specific characteristics of each bit profile will empower you to make informed decisions and achieve your desired edge design.
It is also essential to consider safety precautions when selecting a router bit. Make sure to choose a bit with a shank size that matches your router’s collet size. Using bits with mismatched shank sizes can lead to instability and pose a safety risk. Additionally, opting for high-quality bits made from durable materials ensures longevity and reduces the likelihood of breakage or damage during use.

Preparing the Wood
Before you begin working with the router, it is crucial to properly prepare the wood. The type of wood you choose will greatly impact the final result of your decorative edge. Different types of wood have distinct grain patterns and hardness levels, which can affect how the router bit interacts with the wood’s surface.
Selecting a suitable wood type is important for achieving the desired finish and ensuring the wood can withstand the routing process. Softer woods like pine or cedar are more forgiving and easier to work with, making them ideal for beginners. Hardwoods like oak or maple, while more challenging to rout, result in stunning and durable decorative edges.
Once you have chosen the wood, it is essential to measure and mark it accurately. Precise measurements and markings ensure that your decorative edge aligns perfectly with your project’s specifications. Taking the time to measure and mark your wood will help you achieve symmetrical edges and a professional finish.
To ensure stability during the routing process, it is important to secure the wood properly. Using clamps or a router table with a fence can help prevent any movement or slippage while working. This provides a safer and more controlled environment for routing and ensures consistent and accurate decorative edge cuts.
Setting Up the Router
Now that your wood is prepared, it’s time to set up your router for the decorative edge cut. The first step is to install the chosen router bit. Make sure to follow the manufacturer’s instructions for inserting and securing the bit properly. It is crucial to tighten the collet securely to avoid any slippage or accidents during operation.
Once the bit is installed, adjust the depth of cut according to the desired edge design. This can be done by raising or lowering the router’s base or utilizing features like depth stop rods or turret stops, depending on your router model. Adjusting the depth of cut accurately ensures that you achieve the desired depth and precision in your decorative edge.
Before you start routing, it is important to secure the router itself. A stable router allows for better control and accuracy during the decorative edge cut. Some routers come with built-in clamps or mounting holes that can be used to secure the router to a workbench or router table. Alternatively, using a router mat or a non-slip pad beneath the router can help prevent any movement or vibrations while operating.

Making Decorative Edges
Once the router is set up and secured, it’s time to start making decorative edges on your wood. There are various edge cuts and designs you can experiment with to achieve the desired aesthetic.
One of the simplest edge cuts is the straight edge cut. This involves running the router along the edge of the wood, resulting in a clean and sharp edge. The straight edge cut is versatile and can be used for a wide range of projects.
If you prefer a softer, rounded edge, the roundover or beading edge cut is a great option. This cut removes the sharpness of the wood’s edge and creates a smooth and curved profile. The roundover and beading edge cuts are commonly used on furniture pieces and decorative trim.
For a more angled and decorative edge, the chamfering edge cut is ideal. This cut creates a beveled edge by removing material from the corner of the wood. Chamfered edges add visual interest and are often used in cabinetry and architectural details.
For those looking for more intricate and ornate designs, options like the cove, ogee, roman ogee, and other specialized profile bits offer a vast array of possibilities. These cuts create more complex curves and shapes, adding elegance and sophistication to your woodworking projects. To ensure precision and consistency when using these specialized bits, using templates and guides can be beneficial. Templates and guides help guide the router along the desired path, resulting in accurate and uniform decorative edges.
Finishing Touches
After completing the decorative edges, it is essential to give your wood a finishing touch. Sanding the edges smoothens out any imperfections or roughness left from the routing process. Using progressively finer grit sandpaper, work your way up to achieve a smooth and polished finish.
To remove any dust and debris generated during routing and sanding, thoroughly clean the wood. This is particularly important before applying any wood finish. Removing all particles ensures a clean surface and prevents them from getting trapped in the finish.
Once the wood is clean and dry, you can apply a suitable wood finish to enhance the beauty and protect your decorative edges. Various finishes, such as oil-based stains, polyurethane, or lacquer, provide different levels of shine, durability, and color enhancement. Choose a finish that complements the wood type and your desired aesthetic.

Troubleshooting and Tips
While routing decorative edges can be a rewarding woodworking technique, it is important to be aware of potential issues and take necessary precautions.
To prevent tearout and splintering, ensure that the router bit is sharp and properly aligned. Using a router bit with multiple flutes can help reduce tearout. Additionally, routing in the direction of the wood grain can minimize tearout and splintering.
Burning the wood is another common challenge when using a router. To avoid burning, maintain a steady speed and feed rate while routing. Using a slower speed and making multiple passes can also help prevent excessive heat buildup.
To maintain control and stability during routing, it is crucial to hold the router firmly with both hands. Keep your hands and fingers clear of the router bit at all times. Using push blocks or other safety devices can provide added control and keep your hands at a safe distance from the bit.
Safety Considerations
When working with routers and creating decorative edges on wood, safety should always be a top priority. Here are some important safety considerations to keep in mind:
- Always wear appropriate eye protection to protect your eyes from flying wood chips or debris.
- When routing, wear a dust mask or respirator to avoid inhaling airborne particles and protect yourself from potential health hazards.
- Keep your hands and fingers clear of the router bit at all times. Never attempt to make adjustments or remove debris while the router is running.
- Work in a well-ventilated area to ensure proper air circulation and minimize exposure to fumes or harmful dust particles.
By following these safety guidelines, you can minimize the risk of accidents or injuries while working with routers and achieve safe and successful decorative edge cuts.

Projects and Inspiration
Once you have mastered the art of creating decorative edges on wood, you can explore various projects to showcase your newfound skills. Here are a few project ideas to inspire your creativity:
- Creating simple picture frames with decorative edges can add a touch of elegance to your photographs or artwork.
- Building shelves with decorative edges can transform a plain storage solution into an eye-catching and functional piece of furniture.
- Designing custom furniture pieces, such as tables, cabinets, or doors, allows you to incorporate personalized decorative edges and create unique focal points in your space.
- For those interested in advanced woodworking techniques, exploring architectural details like crown molding, baseboards, or window casings can elevate your craftsmanship to new heights.
Conclusion
Using a router for making decorative edges on wood opens up endless design possibilities for your woodworking projects. By choosing the right router, selecting the appropriate bit, preparing the wood properly, and setting up the router accurately, you can achieve stunning decorative edges that enhance the beauty and craftsmanship of your creations.
With a wide range of edge cuts to choose from and the ability to customize profiles, you can bring your woodworking vision to life. By incorporating safety precautions, troubleshooting tips, and finishing touches, you can create decorative edges that are not only visually appealing but also durable and long-lasting.
So, unleash your creativity, explore different router bit profiles, and embark on a woodworking journey filled with decorative edge designs. With practice, patience, and attention to detail, you can master the art of decorative edges and add a touch of sophistication to your woodworking projects. Unlock the true potential of your woodworking skills and create masterpieces that showcase your craftsmanship and creativity.
