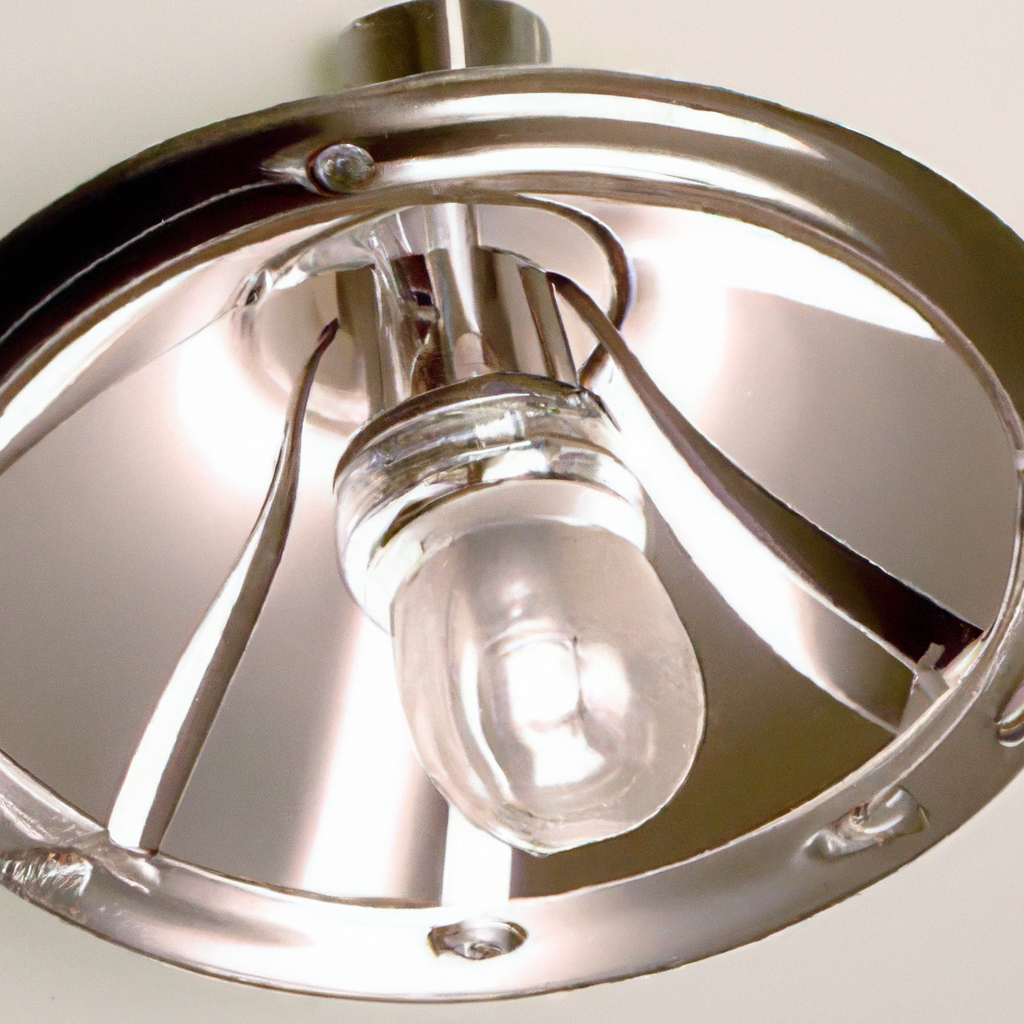
So you’re ready to give your room a fresh new look by installing a brand new light fixture? You’ve come to the right place! This article will guide you through the step-by-step process of installing a new light fixture, making it an easy and stress-free project. Whether you’re a seasoned DIY enthusiast or a beginner, we’ve got you covered with all the essentials you need to know. So grab your tools and let’s get started on brightening up your space with a stunning new light fixture. Installing a new light fixture may seem like a daunting task, but with the right materials and a little guidance, you can successfully complete the installation on your own. In this article, we will walk you through the step-by-step process of installing a new light fixture. So let’s get started with the materials you’ll need for the job.
Materials needed
Before you begin the installation process, make sure you have the following materials handy:
Step ladder
A step ladder will come in handy for reaching the ceiling or elevated areas where you’ll be installing the light fixture. Opt for a sturdy and stable step ladder to ensure your safety throughout the process.
Screwdriver
A screwdriver is an essential tool for removing screws and securing connections during the installation. Make sure you have both a flat-head and a Phillips-head screwdriver on hand to accommodate different types of screws.
Wire stripper
A wire stripper is necessary for removing the outer insulation from wires to expose the copper conductor. It ensures clean and precise wire stripping, preventing any potential damage to the wires.
Wire connectors
Wire connectors, also known as wire nuts, are used to secure and connect wires together. These connectors come in various sizes, so make sure you have a selection to accommodate different wire sizes.
Voltage tester
Safety should always be a top priority when working with electrical installations. A voltage tester allows you to check if the power is off and ensure there is no electrical current running through the wires that you’ll be working with.
New light fixture
Of course, you’ll need a new light fixture for the installation. Choose a fixture that suits your style and meets the requirements for the space you’ll be installing it in. Make sure it comes with all the necessary hardware.
Pliers
Pliers are versatile tools that can come in handy during various stages of the installation process. They can be used to tighten wire nuts, bend wires, or make adjustments as needed.
Electrical tape
Electrical tape is an essential item for insulating wire connections and adding an extra layer of protection. It helps to prevent any accidental contact between wires and ensures a secure and reliable connection.
Now that you have all the necessary materials prepared, let’s move on to the next important step: ensuring safety.
Ensure safety
Safety should always be the first priority when working with electricity. Before you begin the installation process, there are a few key safety measures you need to take.
Turn off the power
The first step in ensuring your safety is to turn off the power to the light fixture you’ll be replacing. Locate the circuit breaker or fuse box and switch off the corresponding circuit. Double-check that the power is off by testing nearby outlets or switches with a voltage tester.
Test the wires
Even with the power turned off, it’s always a good idea to test the wires using a voltage tester. This will give you peace of mind and ensure that there is no residual electrical current running through the wires.
Use a step ladder
To ensure your safety and reach elevated areas where the light fixture will be installed, use a sturdy step ladder that can support your weight. Avoid standing on chairs or other unstable objects that may lead to accidents or injuries.
By taking these safety precautions, you’ll be ready to proceed with the installation process. Now let’s move on to dismantling the existing fixture.
Dismantle existing fixture
Before you can install your new light fixture, you’ll need to remove the old one. Follow these steps to safely dismantle the existing fixture.
Remove the old fixture cover
Using a screwdriver, carefully remove the screws securing the cover of the old fixture. Set the screws aside, as you’ll need them later to secure the cover of your new fixture. Once the screws are removed, gently detach the cover from the fixture.
Disconnect the wiring
Inside the fixture, you’ll find wires connecting it to the electrical supply. Carefully disconnect these wires by unscrewing the wire nuts that hold them together. Take note of the wire colors and their corresponding connections, as you’ll need this information when connecting the wires to your new fixture.
With the old fixture successfully dismantled, it’s time to move on to preparing for the installation of your new light fixture.
Prepare for installation
To ensure a smooth installation process, it’s important to prepare the area and gather the necessary tools before proceeding. Follow these steps to get ready.
Measure the mounting bracket
Every light fixture comes with a mounting bracket that needs to be attached to the electrical box in the ceiling. Before you can do this, measure the dimensions of the bracket to ensure it fits properly.
Attach the mounting bracket
Using the screws provided with your new light fixture, attach the mounting bracket to the electrical box in the ceiling. Make sure the bracket is securely fastened and level. This will provide a stable base for your new fixture.
Now that the mounting bracket is in place, let’s move on to the next step: connecting the wiring.
Connect the wiring
Properly connecting the wiring is crucial for the functionality and safety of your new light fixture. Follow these steps to successfully connect the wires.
Identify the wires
Each wire has a specific purpose and color. To correctly connect the wires, identify their functions. Usually, the black wire is the hot wire, the white wire is the neutral wire, and the green or copper wire is the ground wire. However, always refer to the manufacturer’s instructions for your specific fixture.
Strip the wires
Using a wire stripper, carefully remove approximately half an inch of the outer insulation from the end of each wire. Be cautious not to damage the copper conductor inside.
Connect the wires
Twist together the corresponding wires from the fixture and the electrical supply. For example, connect the black wire from the fixture to the black wire from the electrical supply, the white wire to the white wire, and the green or copper wire to the ground wire. Secure each connection with a wire nut, ensuring a tight and secure fit.
Now that the wiring is complete, it’s time to attach your new light fixture.
Attach the new fixture
With the wiring properly connected, it’s time to attach your new light fixture to the mounting bracket. Follow these steps for a successful installation.
Mount the new fixture
Align the fixture with the mounting bracket, ensuring that the screw holes on the fixture match up with those on the bracket. Gently slide the fixture onto the bracket, making sure it sits flush against the ceiling.
Secure the fixture with screws
Using the screws provided with your fixture, secure it to the mounting bracket. Tighten the screws just enough to hold the fixture securely in place, but avoid overtightening, as it may damage the fixture or the bracket.
Congratulations! You’ve successfully installed your new light fixture. But before you celebrate, there are a few more steps to make sure everything is working properly.

Test and adjust
Now that your new light fixture is in place, it’s time to test it and make any necessary adjustments.
Turn on the power
Before testing the functionality of the fixture, turn the power back on at the circuit breaker or fuse box. Once the power is restored, use the light switch or control mechanism to turn on the fixture.
Check the functionality
Observe your new light fixture to ensure that it turns on and illuminates as expected. If it doesn’t work, double-check the wiring connections to make sure everything is securely connected. If necessary, consult the manufacturer’s instructions or seek professional assistance.
Adjust the height or direction
If your fixture allows for adjustment, now is the time to make any necessary changes to the height or direction. Follow the manufacturer’s instructions to adjust the light fixture to your desired position and angle.
With the functionality tested and any adjustments made, it’s time to make sure all connections are secure.
Secure connections
To ensure the longevity and safety of your new light fixture, it’s important to secure all the wire connections.
Fasten wire nuts
Check that all wire nuts are securely fastened and tightened. Give each wire nut a gentle tug to confirm that the connection is snug. This will prevent any loose connections that may cause electrical issues later on.
Tightly attach all connections
Double-check that all screws, including those securing the fixture to the mounting bracket, are tightly secured. Loose connections may result in a wobbly or unstable fixture.
With the connections secure, it’s time to add the finishing touches.
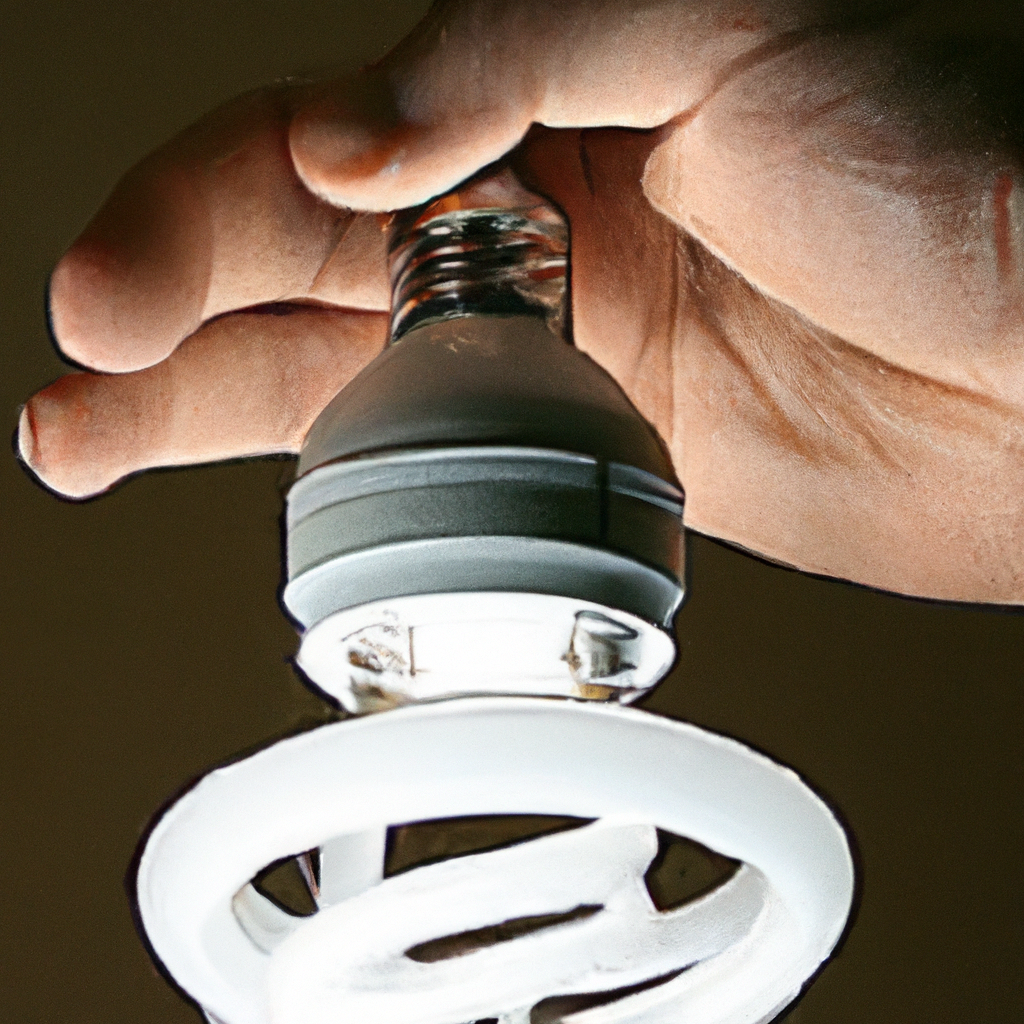
Attach fixture cover
To complete the installation and give your new light fixture a polished look, attach the fixture cover following these steps.
Place the cover over the fixture
Carefully align the cover with the fixture, ensuring that the screw holes on the cover line up with those on the fixture.
Secure the cover with screws
Using the screws you removed earlier, secure the cover to the fixture. Tighten the screws gently, being careful not to overtighten and damage the cover or fixture.
Now that the cover is in place, your new light fixture installation is complete. Let’s finish by turning on the power and illuminating your space.
Turn on the power
With the installation complete and all screws tightened, it’s time to turn the power back on. Return to the circuit breaker or fuse box and switch the appropriate circuit back on. Test the newly installed light fixture once more to ensure everything is operating correctly.
Congratulations! You’ve successfully installed a new light fixture. By following these step-by-step instructions and taking the necessary safety precautions, you’ve accomplished a great DIY project that not only enhances the lighting in your space but also adds a personal touch to your home. Enjoy your newly installed fixture and the warm, inviting ambiance it brings.
