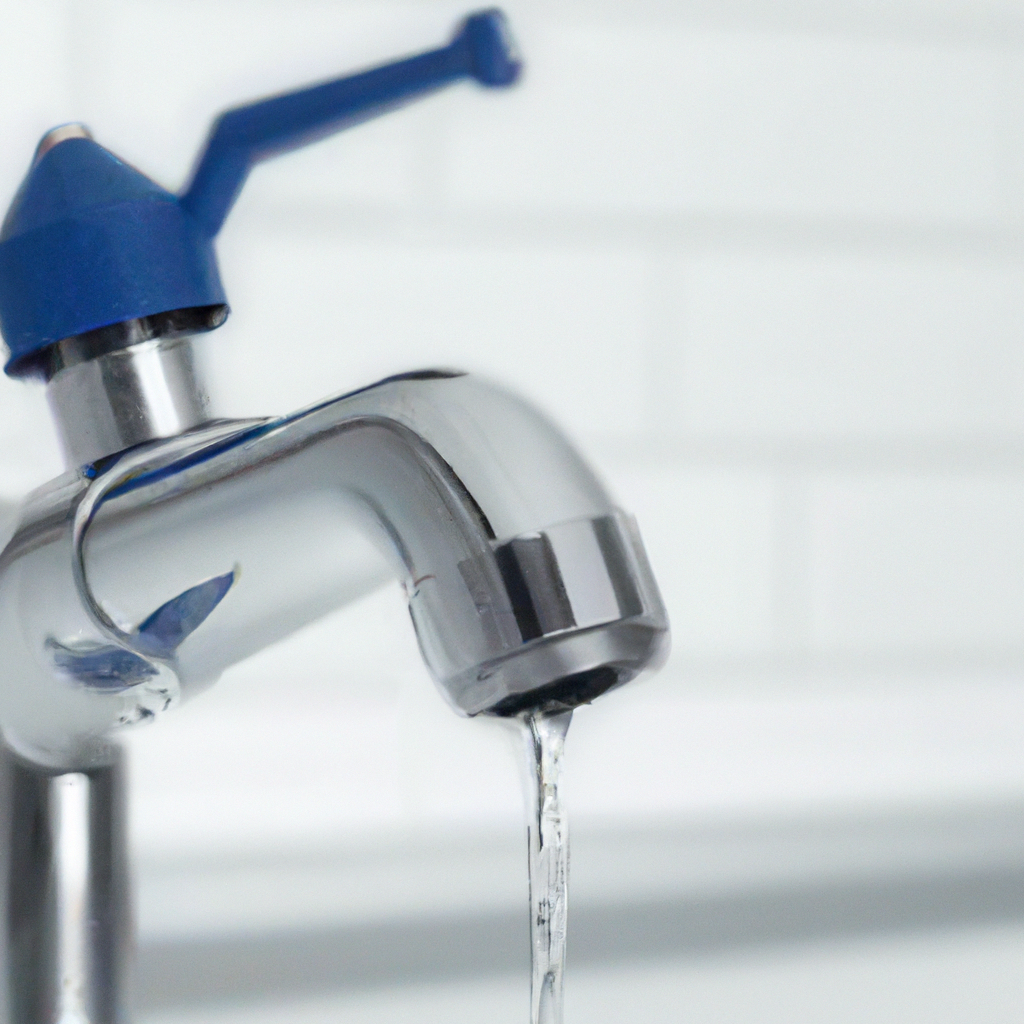
Have you ever been annoyed by the constant dripping sound of a leaky faucet? Well, fret no more because in this article, we will guide you on how to repair a leaky faucet all by yourself. With just a few simple steps and a little bit of patience, you’ll soon bid farewell to that pesky leak and say hello to a quiet, functioning faucet. So, grab your toolbox and let’s get started on fixing that leak!

Identify the type of faucet
When it comes to repairing a leaky faucet, the first step is to identify the type of faucet you have. There are four common types of faucets: compression faucets, cartridge faucets, ball faucets, and ceramic-disc faucets.
Compression faucets
Compression faucets are the most traditional type of faucet. They have separate hot and cold handles that you need to twist clockwise to turn off the water flow. These faucets use rubber washers to create a watertight seal, and when these washers become worn or damaged, they can cause leaks.
Cartridge faucets
Cartridge faucets are modern faucets that use a cartridge to control the water flow. They have a single handle that you can move up and down to adjust the water temperature. When cartridge faucets leak, it is usually due to a worn-out cartridge that needs to be replaced.
Ball faucets
Ball faucets are less common but can still be found in some older homes. They have a single handle that controls both the water temperature and flow. Inside the faucet, there is a ball-shaped control valve that can develop leaks over time.
Ceramic-disc faucets
Ceramic-disc faucets are considered to be the most durable and long-lasting type of faucet. They have a single handle that you can move left and right to adjust both the water temperature and flow. These faucets use ceramic discs to regulate the water flow, and when these discs get damaged, they can cause leaks.
Gather the necessary tools
Before you start repairing your leaky faucet, it’s important to gather all the necessary tools. Here’s a list of tools you’ll likely need:
Adjustable wrench
An adjustable wrench will come in handy when you need to loosen or tighten different components of the faucet. It allows you to get a firm grip without damaging the faucet’s finish.
Screwdriver
A screwdriver is essential for removing screws and other fasteners that hold the faucet together. Make sure you have both a flat-head and a Phillips-head screwdriver, as different faucets may require different types of screws.
Allen wrench
Some faucets, especially cartridge and ball faucets, may require an Allen wrench to remove specific components. It’s best to have a set of Allen wrenches in different sizes to ensure you have the right one for the job.
Plumber’s tape
Plumber’s tape, also known as Teflon tape, is used to create a watertight seal between threaded connections. It’s essential to have plumber’s tape on hand when reassembling the faucet to prevent future leaks.
Replacement parts
It’s always a good idea to have replacement parts on hand, especially if you’re not sure which component is causing the leak. Common replacement parts include O-rings, washers, cartridges, valve stems, and other specific components for your particular faucet type.
Turn off the water supply
Before you start disassembling the faucet, it’s crucial to turn off the water supply to avoid any unwanted leaks or water damage. Here’s how you can do it:
Locate the water shut-off valve
The water shut-off valve is usually located underneath the sink. It’s typically a small valve with a lever or a round knob. Turn the valve clockwise until it stops to shut off the water flow to the faucet.
Turn off the main water supply
If you can’t locate a dedicated shut-off valve for the faucet, you can turn off the main water supply to your home. The main shut-off valve is usually located near your water meter or inside the basement. Turn the valve clockwise until it stops to cut off the water supply to the entire house.
Prepare the workspace
Now that the water supply is turned off, it’s time to prepare the workspace for repairing the faucet. Follow these steps to ensure a smooth and organized repair process:
Clear the area around the faucet
Remove any items or clutter from the area around the faucet. This will give you more space to work and prevent any accidental damage to nearby objects.
Cover the sink drain
Covering the sink drain with a towel or a sink stopper is essential to prevent small parts from falling down the drain. Losing a tiny screw or washer can make the repair process more challenging and time-consuming.
Place a towel underneath the faucet
Lay a towel underneath the faucet to catch any water or small parts that may fall during the disassembly process. This will help keep your workspace clean and make it easier to locate any dropped components.

Disassemble the faucet
Now that you have prepared the workspace, it’s time to disassemble the faucet and identify the source of the leak. Follow these steps to disassemble a typical faucet:
Remove the handle
Start by removing the handle of the faucet. Depending on the type of faucet, you might need to unscrew a decorative cap, use an Allen wrench to loosen a set screw, or simply twist the handle counterclockwise to remove it.
Remove the escutcheon plate
Once the handle is removed, you will likely find an escutcheon plate beneath it. The escutcheon plate is a decorative cover that hides the faucet’s inner workings. Remove any screws or fasteners holding the plate in place, and gently pry it off using a screwdriver if necessary.
Remove the cartridge or valve stem
With the escutcheon plate removed, you should now have access to the cartridge or valve stem. Carefully remove it by unscrewing or pulling it out, depending on the type of faucet. Take note of its orientation and make any necessary observations regarding its condition.
Inspect for damage or wear
While the faucet is disassembled, take the opportunity to inspect all the components for any signs of damage or wear. Look for cracks, corrosion, mineral buildup, or any other issues that could be causing the leak. This inspection will help you determine which parts need to be replaced.
Replace faulty components
Once you have identified the faulty components causing the leak, it’s time to replace them. Here’s how you can replace common components in different faucet types:
Replace the O-rings
If you have a compression faucet and the leak is coming from the spout, the O-rings are likely the culprit. Remove the old O-rings and replace them with new ones of the same size. Applying some plumber’s grease to the O-rings will ensure a smooth and watertight seal.
Replace the washer
Compression faucets also have a rubber washer at the end of the valve stem, which can wear out and cause leaks. Remove the old washer and replace it with a new one of the appropriate size. Make sure it’s properly seated and tightened.
Replace the cartridge or valve stem
For cartridge or ceramic-disc faucets, the entire cartridge or valve stem may need to be replaced. This is usually the most effective way to fix leaks in these types of faucets. Follow the manufacturer’s instructions to correctly install the replacement cartridge or valve stem.
Replace damaged or worn parts
Inspect the other components you identified during the disassembly process and replace any that are damaged or worn. This may include decorative caps, screws, fasteners, or specific parts unique to your faucet model. Having replacement parts on hand will facilitate this process.

Apply plumber’s tape
Before reassembling the faucet, it’s crucial to apply plumber’s tape to ensure a tight and secure final installation. Follow these steps to apply plumber’s tape correctly:
Wrap the threads with plumber’s tape
Take a strip of plumber’s tape and wrap it clockwise around the threads of any connecting pieces or fittings that will be screwed together. Wrapping two or three layers of tape will create a more reliable seal.
Ensure a tight seal
Press the tape firmly onto the threads to make sure it adheres properly. The tape should create a smooth surface and prevent any water from leaking through the connections. Be cautious not to overlap too much tape, as it may cause threads to misalign during reassembly.
Reassemble the faucet
With the faulty components replaced and plumber’s tape applied, you are now ready to reassemble the faucet. Follow these steps to ensure a proper and secure reassembly:
Install the replacement components
Start by reinstalling the cartridge or valve stem, making sure to align it correctly according to the manufacturer’s instructions. Then, reattach the escutcheon plate by securing it with any screws or fasteners you previously removed.
Secure them firmly
Once the escutcheon plate is in place, reinstall the handle by following the reverse process of how you removed it. Depending on the faucet type, you may need to tighten a set screw, screw on a decorative cap, or simply twist the handle back into place. Make sure the handle is secure but avoid over-tightening to prevent damage.

Turn on the water supply
With the faucet reassembled, it’s time to turn the water supply back on and check for any remaining leaks. Follow these steps to safely restore the water flow:
Slowly turn on the water supply
Start by slowly turning on the water supply valve underneath the sink or the main water supply valve for your home. Open it gradually to allow the water pressure to build up gradually within the faucet. This will help prevent any sudden bursts of water or leaks.
Check for leaks
Once the water supply is fully restored, carefully inspect the faucet for any signs of leaks. Observe the spout, handles, connections, and any other areas where a leak could occur. If you notice any leaks, tighten the corresponding components or consider replacing them if necessary.
Clean up and maintenance
After successfully repairing your leaky faucet, it’s essential to clean up the workspace and perform routine maintenance to prevent future issues. Here are some recommended steps:
Remove any debris or residue
Clean the area around the faucet, removing any leftover debris, plumber’s tape, or other materials used during the repair process. This will keep your sink and countertop clean and prevent any potential clogs or damage.
Regularly check for leaks
Make it a habit to regularly check your faucet for any signs of leaks. Even a small drip can waste water and potentially lead to larger issues over time. Addressing leaks promptly will save you money on water bills and prevent water damage.
Perform routine maintenance
To extend the lifespan of your faucet and prevent leaks, it’s important to perform routine maintenance. This may include cleaning or descaling the faucet aerator, lubricating any moving parts, or addressing any minor repairs as soon as you notice them. Following the manufacturer’s maintenance recommendations will help keep your faucet in optimal condition.
Repairing a leaky faucet is a manageable task that can save you money, conserve water, and improve the functionality of your plumbing fixtures. By identifying the type of faucet, gathering the necessary tools, carefully disassembling and replacing faulty components, and following the proper reassembly steps, you can successfully repair a leaky faucet on your own. Remember to take your time, follow safety precautions, and consult professional help if needed. With a little effort and basic tools, your faucet will be in perfect working order in no time!
