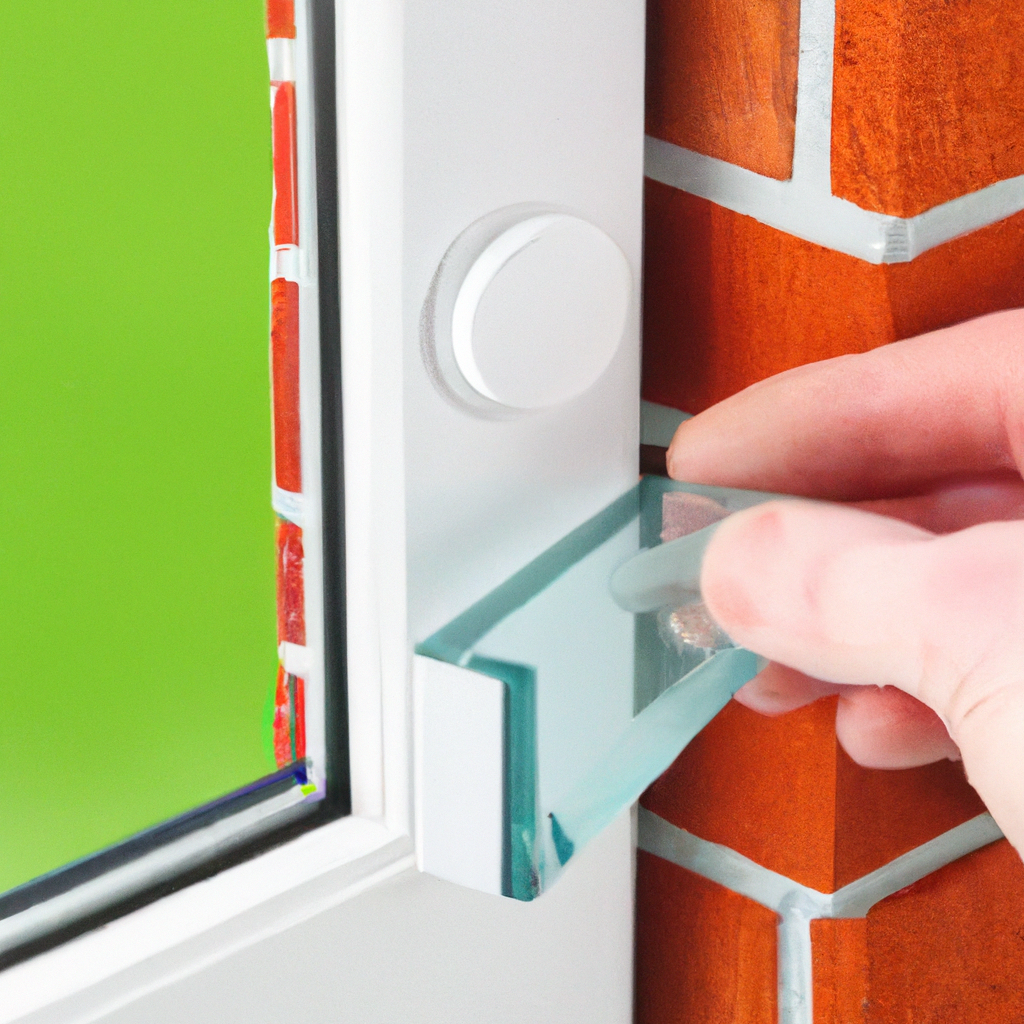
So, you’ve found yourself in the unfortunate predicament of having a broken window pane. Whether it was the result of a stray baseball or a pesky tree branch, it’s time to roll up your sleeves and tackle this task head-on. Don’t fret, because with a little guidance and a friendly attitude, you’ll have that window looking good as new in no time. Let’s walk through the steps together and discover just how simple it can be to replace a broken window pane.
Assessing the Damage
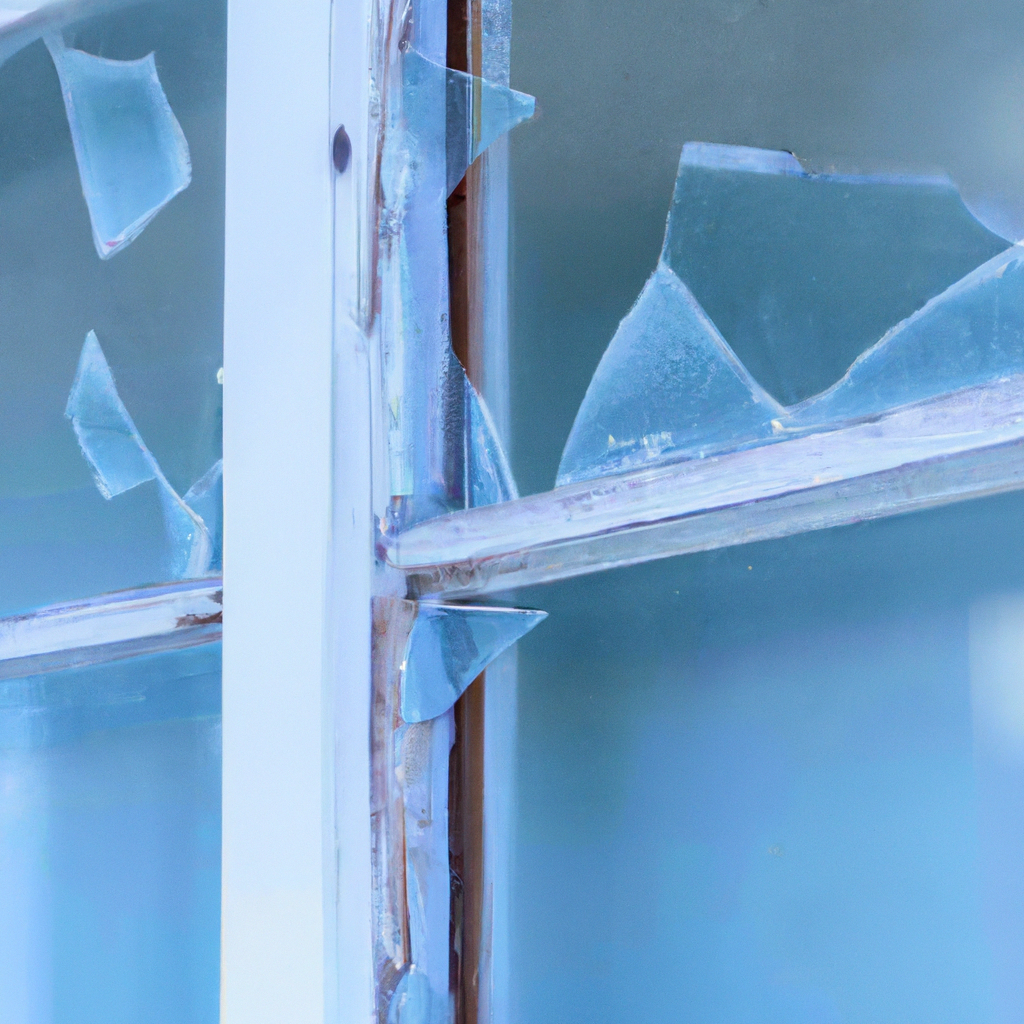
When faced with a broken window pane, the first step is to assess the damage. Take a close look at the window and inspect the broken area. Look for any cracks or shattered glass, and determine the extent of the damage. This will help you prepare for the next steps in the process.
Inspecting the Broken Window Pane
To properly inspect the broken window pane, carefully examine the area. Look for any pieces of broken glass that may be loose or protruding. Take note of any cracks that may spread from the damaged area. By thoroughly inspecting the window, you can gain a better understanding of the specific repairs required.
Determining the Type of Window Pane
Different types of window panes may require specific replacement techniques. Determine whether your window pane is single-paned, double-paned, or another type. This information will be important when selecting the replacement glass and understanding how to properly install it.
Measuring the Dimensions of the Pane
To ensure a proper fit for the replacement glass, accurate measurements are crucial. Measure the height, width, and thickness of the broken window pane. Take note of any unique shapes or curves that may require specialized cutting or ordering. These measurements will guide you in selecting the right size and shape for the replacement glass.
Gathering the Necessary Tools and Materials
Before starting the replacement process, gather all the necessary tools and materials. This will help you work efficiently and effectively, while also ensuring your safety throughout the project.
Safety Equipment
Safety should always be a priority when replacing a broken window pane. Prepare safety equipment such as gloves, safety glasses, and a dust mask. These items will protect you from any potentially sharp glass fragments or hazardous materials during the repair process.
Window Pane Replacement Kit
A window pane replacement kit is a convenient solution that includes all the essential materials needed for the repair. These kits often contain the replacement glass, putty or adhesive, glazing points, and a putty knife. Consider purchasing a kit to ensure you have all the necessary components readily available.
Additional Tools
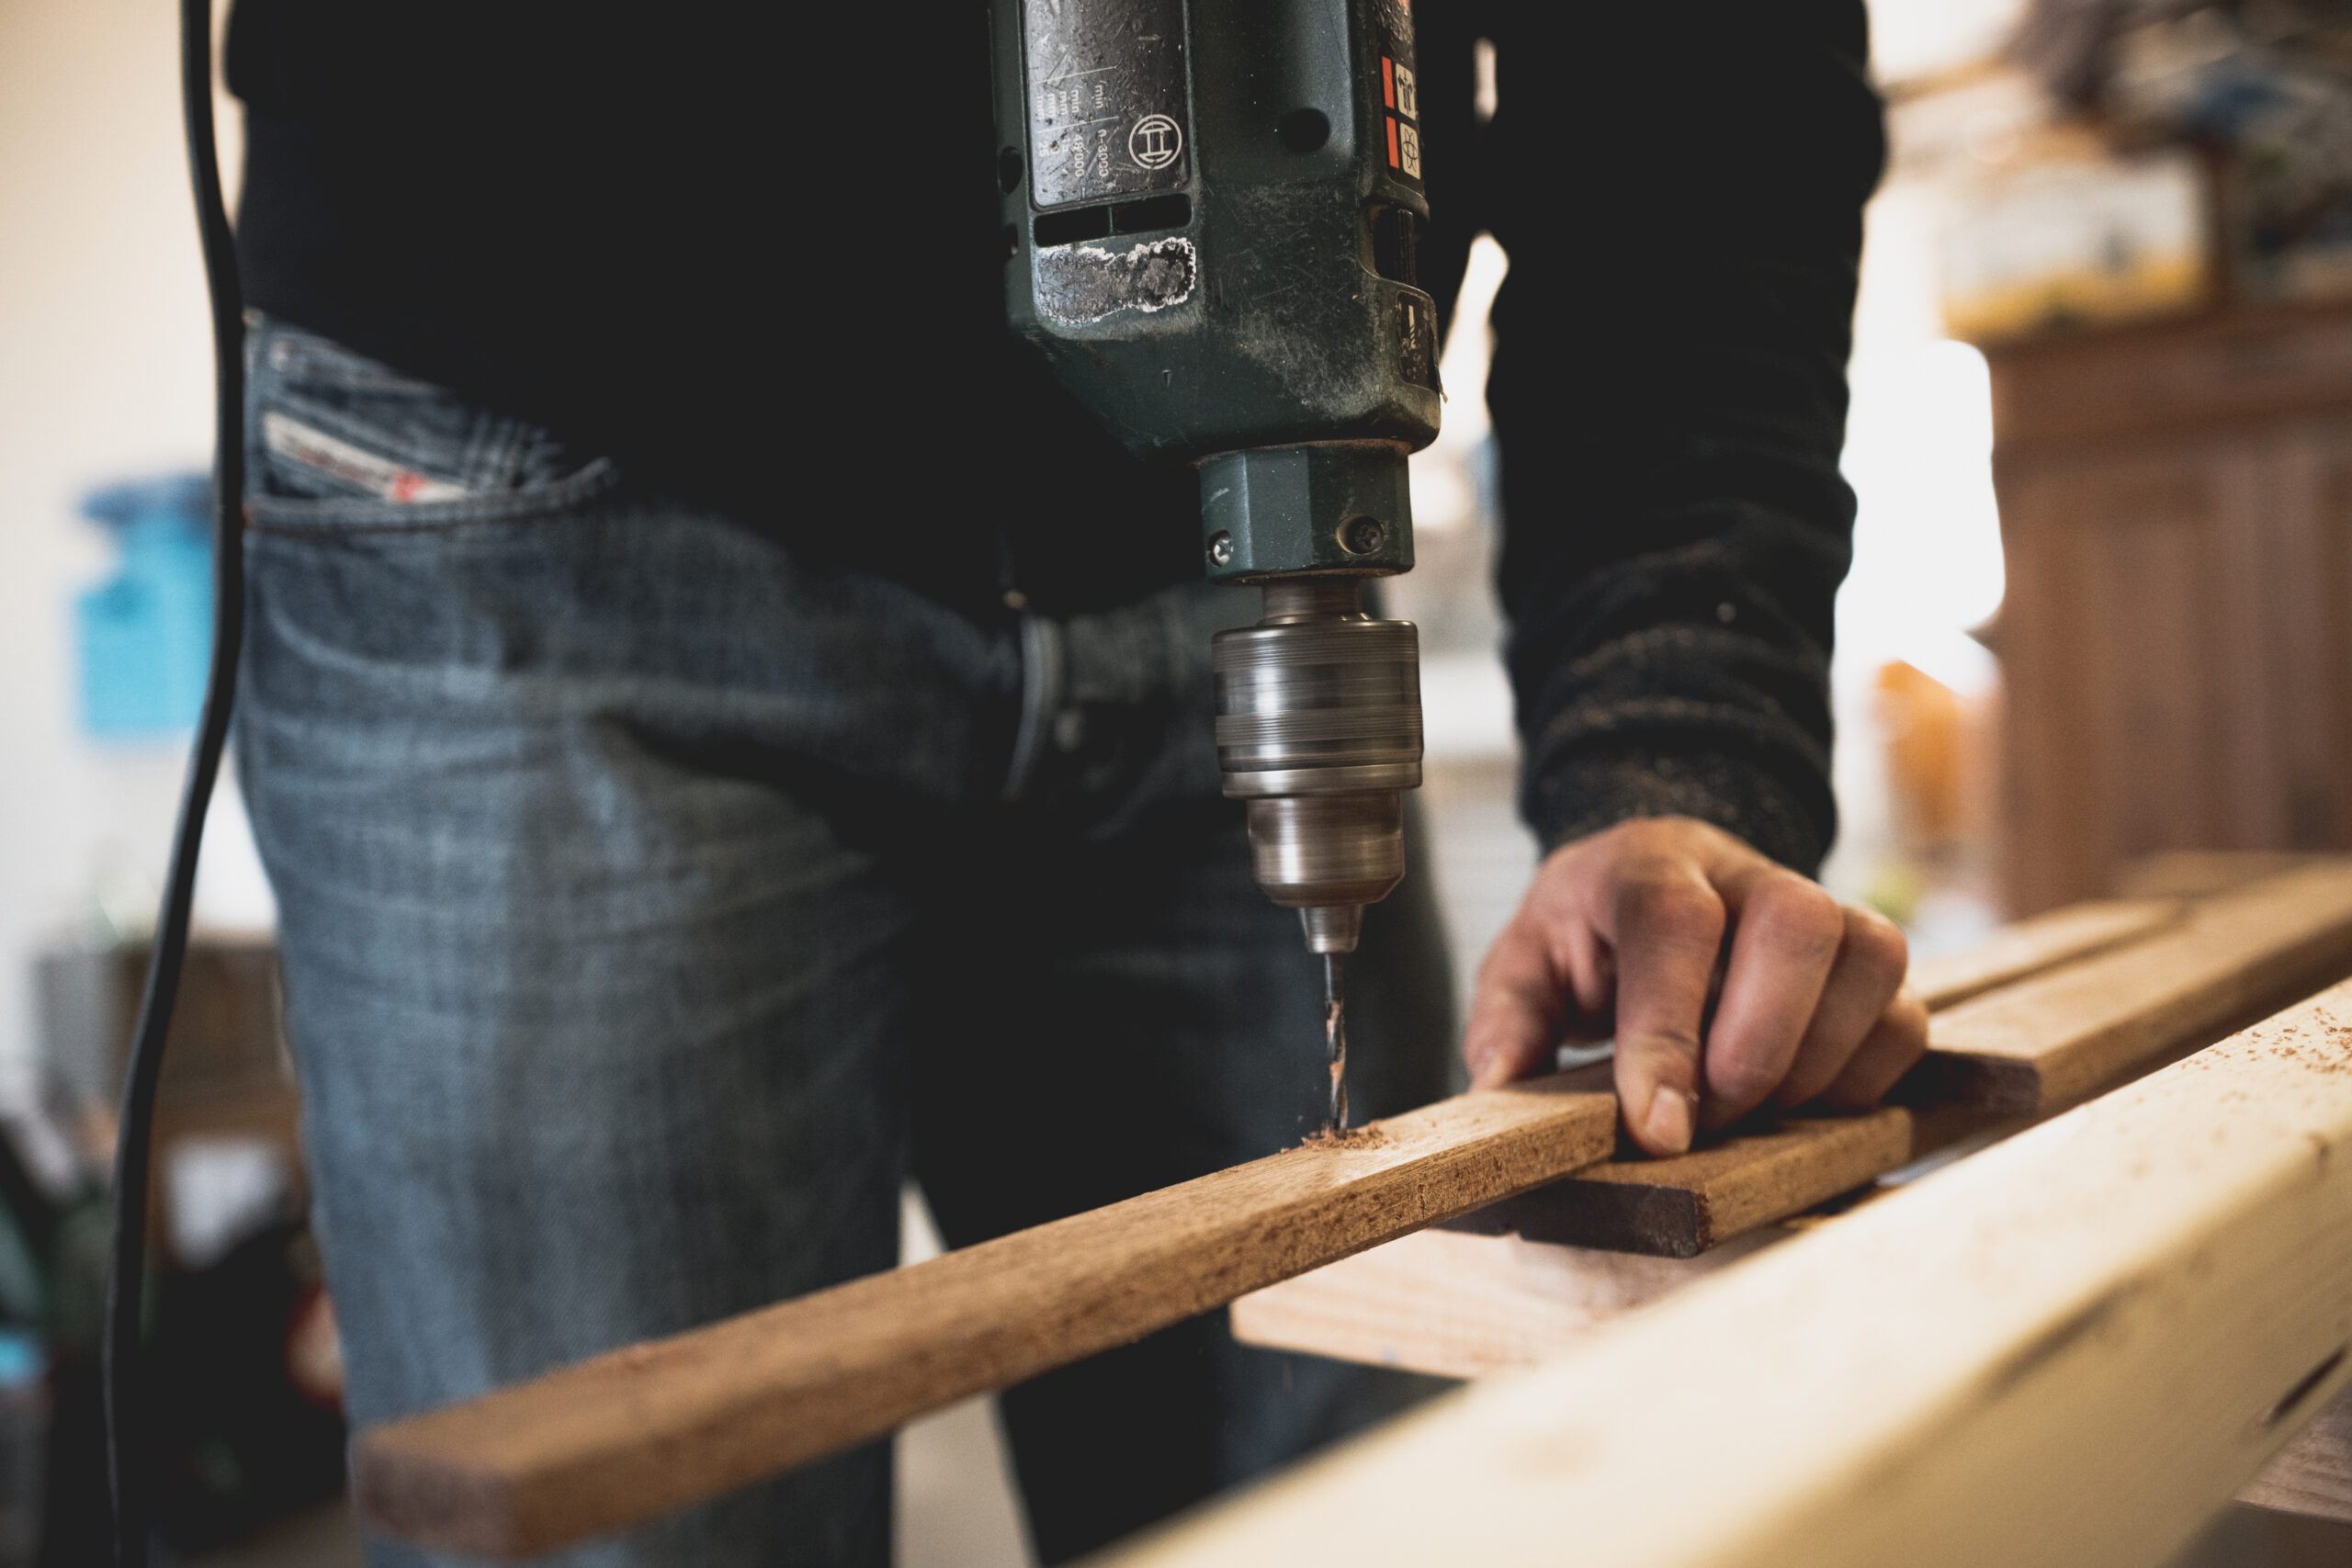
In addition to the replacement kit, there are a few additional tools that may be required for the task. These tools may include a utility knife, a chisel or scraper to remove old putty, a tape measure, and a caulking gun for applying adhesive. Make sure to have these tools on hand before proceeding with the replacement process.
Removing the Broken Window Pane
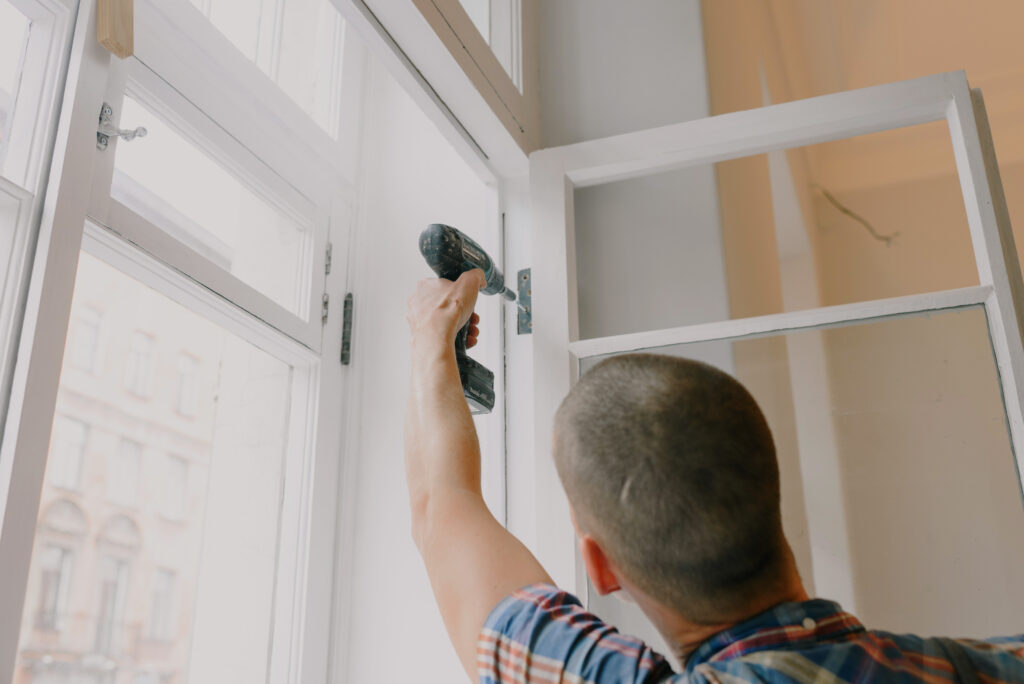
Now that you’ve gathered all the necessary tools and materials, it’s time to remove the broken window pane. This step involves carefully removing the window trim, extracting the broken glass, and cleaning the window frame to prepare for the replacement.
Removing the Window Trim and Putty
Using a utility knife or chisel, carefully remove the window trim surrounding the broken pane. Take your time and work slowly to avoid damaging the trim or the surrounding window frame. Once the trim is removed, use the chisel or scraper to remove any remaining putty or adhesive.
Extracting the Broken Glass
With the trim and putty removed, it’s time to extract the broken glass from the frame. Be cautious as you remove the glass to prevent any injuries from sharp edges. Use gloved hands or a pair of pliers to carefully pull out the broken pieces. Dispose of the glass safely.
Cleaning the Window Frame
Once the broken glass is removed, take the opportunity to clean the window frame thoroughly. Use a brush or vacuum to remove any debris or dust from the frame. Wipe down the frame with a damp cloth to ensure it is clean and ready for the replacement pane.
Preparing the Replacement Pane
Before installing the replacement glass, there are a few important steps to prepare it properly. Whether you choose to order a custom-cut or cut it yourself, applying a protective coating or film can help prolong the lifespan of the glass.
Ordering or Cutting the Replacement Glass
If you are ordering a replacement glass, provide the measurements you took earlier to ensure an accurate fit. Alternatively, you can choose to cut the glass yourself if you have the necessary skills and tools. Follow proper safety precautions when cutting the glass to avoid accidents.
Applying a Protective Coating or Film
To protect the replacement glass and prolong its life, consider applying a protective coating or film. These coatings can help prevent scratches, UV damage, and make cleaning the glass easier in the future. Follow the manufacturer’s instructions when applying the coating or film to ensure proper adhesion.
Installing the Replacement Pane
With the broken window pane removed and the replacement prepared, it’s time to install the new glass. This step involves applying putty or adhesive, carefully placing the replacement glass into the frame, and securing it with trim.
Applying the Putty or Adhesive
Following the instructions provided with the replacement kit, apply a thin layer of putty or adhesive to the cleaned window frame. Use a putty knife or caulking gun to evenly spread the putty or adhesive. Take care not to apply too much, as excess material can create an uneven surface.
Placing the Replacement Glass into the Frame
Gently place the replacement glass into the frame, aligning it properly with the surrounding trim. Be cautious not to press too hard or cause any damage to the glass or frame. Ensure that the replacement glass fits snugly into the frame without any gaps.
Securing the Glass and Trim
To secure the replacement glass, insert glazing points or clips along the edges of the frame. These points will hold the glass in place. With the glass in position, carefully reattach the window trim that was removed earlier. Use small nails or screws to secure the trim, ensuring it aligns properly with the glass.
Finishing Touches and Cleanup
Once the replacement pane is installed, it’s time to add the finishing touches and clean up any leftover residue or debris.
Removing Excess Putty or Adhesive
Inspect the edges of the replacement glass and trim for any excess putty or adhesive. Use a putty knife or scraper to carefully remove any excess material, ensuring a neat and clean appearance.
Painting or Staining the Trim
If desired, now is the time to paint or stain the window trim to match the surrounding decor. Select a paint or stain that is suitable for the material of the trim and apply it evenly. Allow sufficient drying time before handling the window.
Cleaning the New Glass
To complete the window replacement process, give the new glass a thorough cleaning. Use a glass cleaner and a lint-free cloth to remove any fingerprints, smudges, or marks that may have accumulated during the installation process. Enjoy the clear, pristine view through your newly replaced window pane.
Dealing with Complex Window Designs
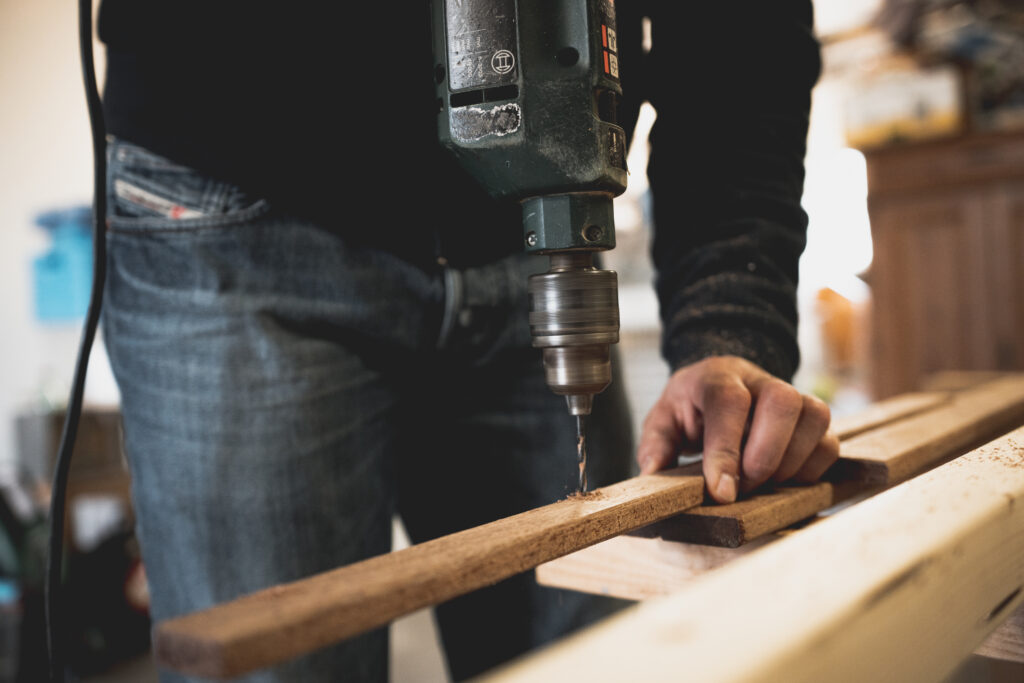
While the standard window pane replacement process applies to most windows, there may be cases where more complex designs require additional steps or considerations.
Replacing Divided or Multi-Paned Windows
For windows with divided or multi-paned designs, the replacement process may involve removing individual panes instead of a single piece of glass. Take extra care when removing and replacing these smaller panes, ensuring they fit snugly within the framework.
Addressing Specialty Window Components
Some windows may have specialty components such as decorative overlays or hardware that need to be addressed during the replacement process. Take note of these unique features and consult any relevant manufacturer instructions or professional advice to ensure they are properly maintained or replaced.
Ensuring Safety and Preventing Future Damage
Safety should always be a top priority when replacing a broken window pane. Additionally, taking precautions to prevent future damage and maintaining regular inspections can help prolong the lifespan of your windows.
Using Safety Precautions Throughout the Process
Ensure your safety by wearing proper protective equipment, such as gloves, safety glasses, and a dust mask. Take your time during each step of the process to avoid accidents or injuries. If you’re unsure about any aspect of the replacement process, don’t hesitate to seek professional guidance.
Securing the Window Against Potential Breakage
To prevent future damage to your windows, consider reinforcing them against potential breakage. Installing window guards, security film, or adding additional locking mechanisms can help enhance the security and durability of your windows.
Maintaining Regular Window Inspections
Regularly inspecting your windows can help identify any potential issues before they become major problems. Look for signs of wear, damage, or deterioration, and address them promptly. By taking a proactive approach to window maintenance, you can extend their lifespan and avoid costly repairs in the future.
Seeking Professional Help
While replacing a broken window pane can be a DIY project, there are situations where it’s best to contact a professional window repair service.
When to Contact a Professional
If you lack the necessary tools, skills, or confidence to replace a broken window pane, it’s best to seek professional help. Professionals have the expertise and experience to handle the task efficiently and safely. Additionally, if the damage is extensive or involves specialty windows, professional assistance may be necessary for a successful repair.
Choosing a Reputable Window Repair Service
When selecting a window repair service, consider their reputation, experience, and customer reviews. Look for professionals who specialize in window repairs or replacements and ensure they are properly licensed and insured. Request a detailed estimate before committing to any services and compare prices and warranties among different providers.
Conclusion
Replacing a broken window pane may seem like a daunting task, but with the right tools, materials, and a step-by-step process, it can be accomplished successfully. By assessing the damage, gathering the necessary tools, removing the broken pane, preparing the replacement, and installing the new glass, you can restore your window to its functional and aesthetically pleasing state. Remember to follow safety precautions throughout the process, secure your window against future damage, and conduct regular inspections to maintain the longevity of your windows. If you feel unsure or overwhelmed, never hesitate to reach out to a professional for assistance. With a restored and functional window, you can enjoy the benefits of natural light, insulation, and a beautiful view once again.
