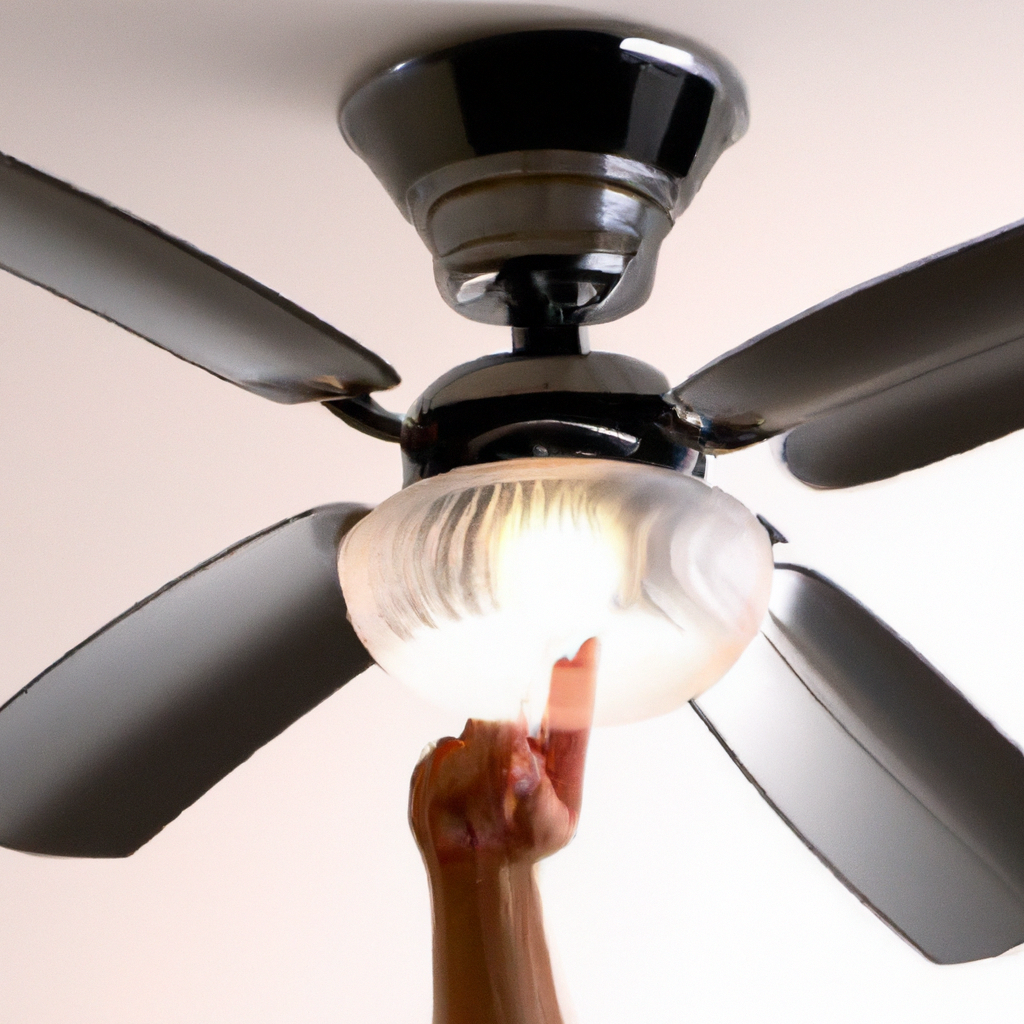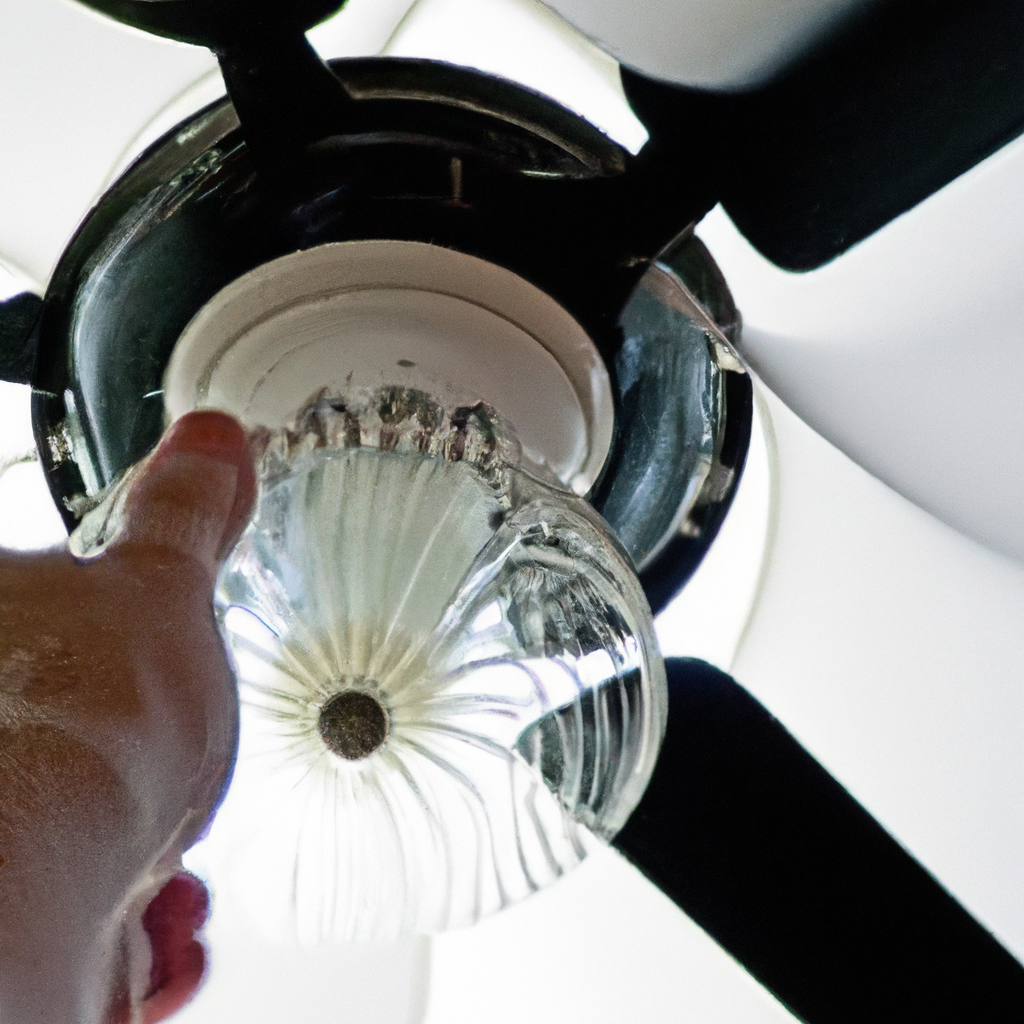
Thinking about installing a ceiling fan but not sure if you’re up for the task? Well, you’re in the right place. In this article, we’ll explore the question on everyone’s mind: Can I install a ceiling fan myself? We’ll go over the considerations and steps involved, empowering you with the knowledge to confidently take on this DIY project. So, grab your toolbox and let’s get started!

Safety Precautions
Turning off the electricity
Before beginning any electrical work, the first and most crucial safety precaution is to turn off the electricity. Locate the circuit breaker or fuse box that controls the power to the room where you’ll be installing the ceiling fan. Switch off the corresponding breaker or remove the fuse to ensure that there is no live electricity running through the wires.
Using protective gear
When working with electrical equipment, it is essential to prioritize your safety by wearing suitable protective gear. Before installing a ceiling fan, make sure to wear safety goggles or glasses to protect your eyes from any debris or loose particles that may fall during the installation process. Additionally, wearing gloves can prevent accidental electrical shock and protect your hands from any sharp edges or screws.
Working on a stable surface
To ensure your safety while installing a ceiling fan, it is crucial to work on a stable surface. Use a sturdy ladder that is suitable for your ceiling height and weight requirements. Make sure the ladder is placed on a level surface and do not lean or overreach while standing on it. Maintaining a stable working position will help prevent accidents and make the installation process smoother and safer.
Tools and Materials
Ceiling fan kit
Before starting the installation process, make sure you have all the necessary tools and materials at hand. A ceiling fan kit typically includes the fan itself, mounting bracket, screws, and wires. It may also include additional components such as a light fixture, remote control, or wall switch, depending on the model you choose. Ensure that you have the appropriate kit for your specific ceiling fan installation.
Ladder
A sturdy ladder is an essential tool for installing a ceiling fan. Choose a ladder that is tall enough to reach the level of your ceiling, allowing you to work comfortably and safely while attaching the fan. Ensure that the ladder is stable and securely positioned before climbing up to avoid any accidents or falls.
Screwdriver
A screwdriver is a basic tool that you will need to assemble and secure various components of the ceiling fan. Choose a screwdriver with interchangeable heads to accommodate different types and sizes of screws commonly used in ceiling fan installations.
Wrench
A wrench is another key tool required for installing a ceiling fan. You may need a wrench to tighten nuts and bolts during the assembly process. Ensure that you have an adjustable wrench that can fit different sizes to make the installation more efficient.
Wire stripper
A wire stripper is a tool specifically designed to remove the outer insulation from electrical wires without damaging the conductive wire inside. It is essential for preparing the electrical wiring and connecting the fan to the power source. Make sure you have a wire stripper that is suitable for the gauge of the wires being used in your installation.
Voltage tester
A voltage tester is used to check if electrical wires are live or have a current running through them. It is a crucial tool to ensure your safety by verifying that the power has been turned off before working on the electrical connections. Use a voltage tester to confirm that there is no electricity flowing through the wires before proceeding with the installation.
Assessing the Ceiling
Type of ceiling
Before choosing and installing a ceiling fan, it is important to consider the type of ceiling you have. There are various types, including standard flat ceilings, sloped ceilings, and cathedral ceilings. Each type may require specific installation methods or additional components to ensure stability and proper functionality of the fan. Familiarize yourself with the type of ceiling you have and consult the manufacturer’s instructions for any specific guidelines.
Ceiling height
Ceiling height plays a crucial role in determining the appropriate size and mounting method for your ceiling fan. Measure the distance from the ceiling to the floor to ensure you choose a fan that has sufficient clearance and won’t be too close to the ground when installed. Additionally, be aware of any potential obstructions, such as low-hanging light fixtures or ventilation ducts, which may affect the fan’s placement.
Ceiling fan weight
It is important to consider the weight of the ceiling fan you plan to install, as it must be properly supported by the ceiling structure. Check the manufacturer’s specifications for the weight of the fan, including any additional attachments such as light fixtures. Ensure that your ceiling can support the weight of the fan and the motion it will generate without compromising safety or structural integrity.
Choosing the Right Fan
Size and height
Choosing the right size and height for your ceiling fan is crucial for optimal performance and aesthetics. Measure the dimensions of your room to determine the appropriate fan size based on the square footage. For example, a larger room may require a fan with longer blades and a higher CFM (cubic feet per minute) to effectively circulate air. Additionally, consider the height of the fan and ensure it leaves sufficient clearance for tall individuals and any potential obstructions.
Quality and design
When choosing a ceiling fan, consider the quality and design that will best suit your needs and preferences. Look for reputable brands that offer reliable performance, durable materials, and long-lasting warranties. Consider the aesthetic appeal of the fan, such as the finish, style, and overall design, to complement your room’s decor and personal taste.
Remote control or wall switch
Decide whether you prefer a ceiling fan that can be controlled via a remote control or a wall switch. Some fans come with a remote control that allows you to adjust the fan speed, turn on/off the lights, and change settings from the convenience of your seat. Alternatively, you may prefer a wall switch for a more traditional approach. Consider your personal preferences and convenience when choosing the control method for your ceiling fan.
Preparing the Electrical Wiring
Turning off the power
Before attempting any electrical work, it is crucial to turn off the power source to avoid electrical shock or damage. Locate the circuit breaker or fuse that corresponds to the room where you’ll be installing the ceiling fan and switch it off. Use a voltage tester to double-check that the power is indeed off before proceeding to work on the electrical wiring.
Checking existing wiring
Once the power is turned off, inspect the existing wiring to ensure its suitability for the ceiling fan installation. Look for any loose or damaged wires, as well as the availability of a neutral wire and a ground wire. If you are unsure about the condition or compatibility of the existing wiring, it is recommended to consult a professional electrician for guidance and potential upgrades.
Installing a support brace
If you are replacing a light fixture with a ceiling fan, it is essential to install a support brace to ensure stability and prevent any potential accidents. A fan support brace is designed to handle the additional weight and motion of the fan. Follow the manufacturer’s instructions to install the support brace securely to the ceiling joists before proceeding to assemble the fan.
Assembling the Ceiling Fan
Reading the instructions
Before assembling the ceiling fan, read the manufacturer’s instructions carefully to familiarize yourself with the specific steps and requirements. Pay close attention to any safety guidelines, wiring instructions, and recommended tools for the installation process. Following the instructions diligently will help ensure a smooth and successful installation.
Attaching the mounting bracket
The mounting bracket serves as the base for attaching the fan to the ceiling. Follow the manufacturer’s instructions to securely attach the mounting bracket to the electrical box on the ceiling. Ensure that the bracket is level and firmly secured to provide a stable foundation for the fan.
Connecting the wires
Follow the wiring instructions provided by the manufacturer to connect the wires of the ceiling fan. Typically, the wires will need to be connected according to their corresponding color-coded connections: black to black, white to white, and green or copper to the grounding wire. Use wire connectors or wire nuts to secure the connections and ensure proper conductivity. Take extra care to avoid loose or exposed wires that could potentially cause electrical hazards.

Mounting the Fan
Attaching the fan to the bracket
With the mounting bracket in place, carefully lift and attach the fan motor assembly to the bracket. Follow the manufacturer’s instructions to ensure a secure and stable attachment. Use the provided screws or bolts to fasten the fan to the bracket, taking care not to overtighten and cause any damage.
Securing the canopy
The canopy is the cover that conceals the wiring and ceiling box, giving the installation a clean and finished look. Attach the canopy to the fan motor assembly following the manufacturer’s instructions. Ensure that the canopy is aligned and securely fastened to prevent any wobbling or instability.
Checking for any wobbling
Once the fan is mounted, double-check for any signs of wobbling or imbalance. A wobbling fan could indicate an incorrect installation or an issue with the fan blades. Ensure that all screws and bolts are tightly secured, and check that the fan blades are evenly spaced and properly aligned. If necessary, make adjustments to eliminate any wobbling or imbalance for optimal performance and safety.
Installing the Fan Blades and Lights
Attaching the blades
Refer to the manufacturer’s instructions to attach the fan blades to the motor assembly. Typically, this involves inserting the blade brackets into designated slots on the motor assembly and securing them with screws or clips. Follow the recommended tightening sequence and torque specifications to ensure a balanced and stable installation.
Installing light fixture (if applicable)
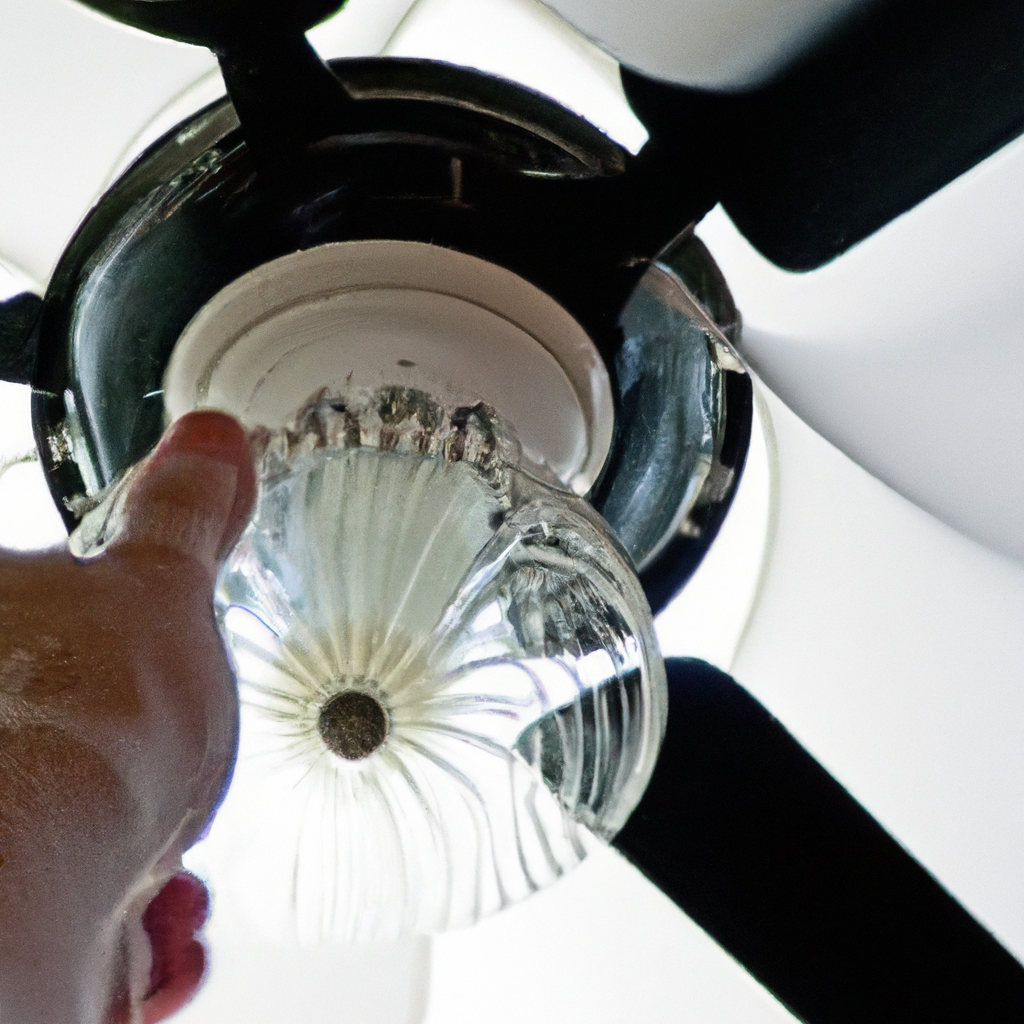
If your ceiling fan includes a light fixture, follow the manufacturer’s instructions to install it. Generally, this involves attaching the light fixture assembly to the fan motor assembly and connecting the wiring according to the instructions provided. Ensure that the light fixture is securely attached and all wiring connections are properly insulated.
Testing the fan and lights
Before completing the installation, perform a thorough test to ensure that both the fan and lights, if applicable, are functioning properly. Turn on the power and use the remote control or wall switch to check the fan speed, airflow, and light functionality. Pay close attention to any unusual noises, vibrations, or flickering lights. If any issues arise, troubleshoot or consult the manufacturer’s instructions for further guidance.
Testing and Troubleshooting
Verifying the connections
After the installation is complete, use a voltage tester to double-check the wiring connections for any potential issues. Ensure that all wire connections are secure and properly insulated, and that there are no exposed or loose wires that could pose a safety hazard. Additionally, test all switches and controls to confirm their functionality.
Testing fan rotation and speed
Once the electrical connections have been verified, test the fan rotation and speed. Use the remote control or wall switch to adjust the fan speed settings and observe the rotation direction. During the warmer months, the fan blades should rotate counterclockwise to create a cooling breeze. In colder months, switch the direction to clockwise to help circulate warm air throughout the room.
Identifying and fixing any issues
While testing, be attentive to any potential issues such as abnormal noises, excessive wobbling, or poor performance. If you encounter any problems, refer to the troubleshooting section of the manufacturer’s instructions. It may be necessary to tighten screws, adjust blade alignment, or seek professional assistance if the issues persist. Addressing any issues promptly will help ensure the long-term functionality and safety of your ceiling fan.
Final Steps
Closing up the ceiling
Once you have verified the proper functioning of the ceiling fan, it’s time to close up the ceiling. Carefully tuck any excess wiring into the electrical box and ensure that the canopy is securely attached, hiding the electrical box. Double-check that all screws and bolts are tightened, and there are no loose parts that could pose a safety risk. Finally, use a clean cloth or duster to remove any dust or debris that may have accumulated during the installation process.
Enjoying your DIY ceiling fan installation
Congratulations, you have successfully installed a ceiling fan yourself! Take a step back and admire your handiwork. Enjoy the improved airflow and comfort that the ceiling fan provides. Relax and bask in the satisfaction of a successful DIY project. Remember to properly maintain and clean your ceiling fan regularly for optimal performance and longevity.
